64
5 Touch [
OK
].
6 Enter the current password.
7 Touch [
Go
].
A message indicating that the security setting is cancelled
appears.
Restoring this product to the
default settings
You can restore settings or recorded content to the default
settings. Various methods are used to clear user data.
Method 1: Remove the vehicle battery
p
Some of the settings and recorded contents will not be reset.
Method 2: Restore the default settings from the
“System” menu
Refer to
Restoring the default settings
on page 65.
Method 3: Press the RESET button
Refer to
Resetting the microprocessor
on page 4
p
Some of the settings and recorded contents will not be reset.
Restoring the default settings
CAUTION
Do not turn off the engine while restoring the settings.
p
This setting is available only when you stop your vehicle in a
safe place and apply the handbrake.
1 Display the “
System
” setting screen.
Refer to
Displaying the “
System
” setting screen
on page
2 Touch [
AV Source Settings
].
3 Touch [
Restore Settings
].
A message confirming whether to initialise the settings appears.
4 Touch the item you want to initialise.
All Settings
Almost all settings or recorded content returns to the
default.
Audio Settings
p
This setting is available when the source is turned off.
Theme Settings
Bluetooth Settings
5 Touch [
Restore
].
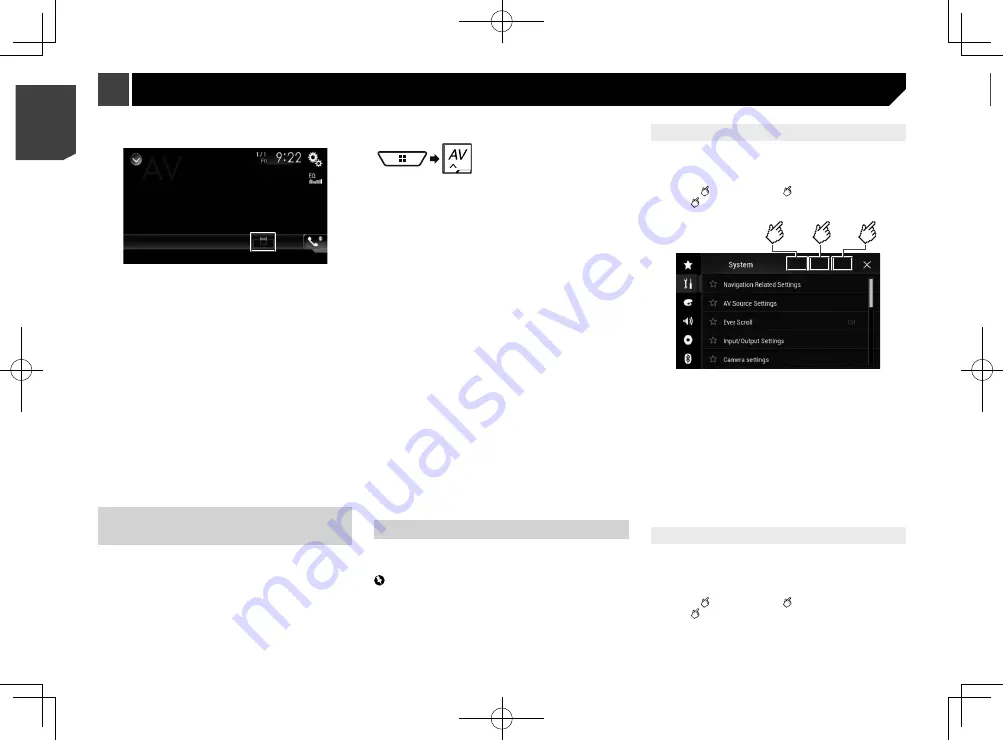
1 Touch the following key.
2 Touch the desired mode.
Full
:
A 4:3 picture is enlarged in the horizontal direction only,
enabling you to enjoy an image without any omissions.
Zoom
:
A 4:3 picture is enlarged in the same proportion both verti-
cally and horizontally.
Normal
:
A 4:3 picture is displayed normally, without changing its
proportion.
Trimming
An image is displayed across the entire screen with the
horizontal-to-vertical ratio left as is. If the screen ratio differs
from the image, the image may be displayed partly cut off
either at the top/bottom or sides.
p
Different settings can be stored for each video source.
p
When a video is viewed in a wide screen mode that does not
match its original aspect ratio, it may appear different.
p
The video image will appear coarser when viewed in “
Zoom
”
mode.
Selecting the video for the rear
display
You can choose either to show the same image as the front
screen or to show the selected source on the rear display.
p
Video files on the external storage device are not available as
a source for the rear display when [
Apple CarPlay
] is acti-
vated in [
Smartphone Setup
].
F80BT
p
Video files on the external storage device are not available as
a source for the rear display when [
Android Auto
] is acti-
vated in [
Smartphone Setup
].
1 Display the AV source selection screen.
2 Touch [
Rear
].
3 Touch the source you want to show on the rear
display.
Mirror
The video on the front screen of this product is output to the
rear display.
— Not all videos or sounds can be output to the rear display.
DVD/CD
The video and sound of a disc are output to the rear display.
— Compatible video types are DVD-V, Video-CD, DivX, MPEG-
1, MPEG-2, and MPEG-4 only.
USB/iPod1
The video and sound of the USB storage device or iPod are
output to the rear display.
— The port that supports the rear display will only be USB
port 1.
— Compatible file types are MPEG-4, H.264, WMV, MKV, and
FLV only.
SD
(*1)
The video and sound of the SD memory cards are output to
the rear display.
— Compatible file types are MPEG-4, H.264, WMV, MKV, and
FLV only.
AV
The video and/or sound of the AV input source are output to
the rear display.
— The video image and sound are output only when “
AV
Input
” is set to “
Source
”.
Refer to
Starting procedure (for AV source)
on page 50.
Source OFF
Nothing is output to the rear display.
p
(*1)
F80BT
Setting the anti-theft function
You can set a password for this product. If the back-up lead is cut
after the password is set, this product prompts for the password
at the time of next boot up.
Important
If you forgot your password, contact the nearest authorized
Pioneer Service Station.
Setting the password
1 Display the “
System
” setting screen.
Refer to
Displaying the “
System
” setting screen
on page
2 Touch
1
, followed by
2
, and then touch and
hold
3
.
1
2
3
3 Touch [
Set Password
].
4 Enter the password.
p
5 to 16 characters can be entered for a password.
5 Touch [
Go
].
6 Enter a password hint.
p
Up to 40 characters can be entered for a hint.
7 Touch [
Go
].
p
If you want to change the password currently set, enter the
current password and then enter the new one.
8 Check the password, and then touch [
OK
].
Deleting the password
The current password and password hint can be deleted.
1 Display the “
System
” setting screen.
Refer to
Displaying the “
System
” setting screen
on page
2 Touch
1
, followed by
2
, and then touch and
hold
3
.
Refer to
Setting the password
on page 64.
3 Touch [
Clear Password
].
4 Touch [
Yes
].
64
< CRB4783-A >
< CRB4783-A >
Other functions
Other functions


