Diagnostic Software
EN 52
DVDR880-890 /0X1
5.
5.2
Player Script Interface
5.2.1
Description
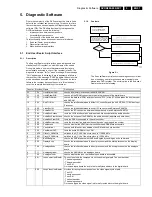
The Player script will give the opportunity to perform a test that
will determine which of the DVD recorder's modules are faulty,
to read the error log and to perform an endurance loop test. To
successfully perform the tests, the DVD recorder must be
connected to a TV set.
To be able to check results of certain nuclei, the player script
expects some interaction of the user (i.e. to approve a test
picture or a test sound). Some nuclei (e.g. nuclei that test
functionality of the DVDR module) require that a DVD+RW disc
is inserted.
Only tests within the scope of the diagnostic software will be
executed hence only faults within this scope can be detected.
5.2.2
Structure of the Player Script
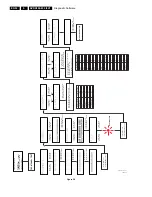
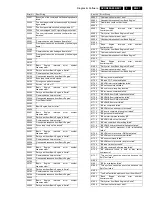
The player script consists of a set of nuclei testing the hardware
modules in the DVD recorder: the Display PWB, the Digital
PWB, the Analogue In/Out PWB and the DVDR module.
Nuclei run by the player test need some user interaction; in the
next table this interaction is described. The player test is done
in two phases:
•
Interactive tests: this part of the player test depends
strongly on user interaction and input to determine nucleus
results and to progress through the full test. Reading the
error log information can be useful to determine any errors
that occurred recently during normal operation of the DVD
player.
•
The loop test will perform the same nuclei as the dealer
test, but it will loop through the list of nuclei indefinitely.
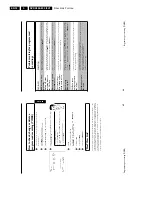
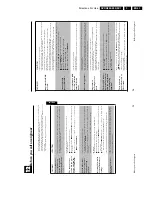
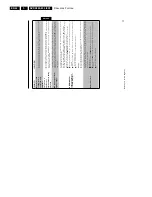
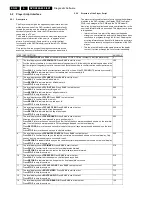
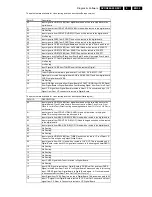
STEP DESCRIPTION
NUCLEUS
1
Press
OPEN/CLOSE
and
PLAY
at the same time and POWER ON the recorder to start the playerscript
2
2
The local display shows
FPSEGMENTS
. Press
PLAY
to start the test.
First the
starburst pattern
is lit, then the
horizontal segments
are lit, followed by the
vertical segments
and the
last test is
light all segments
test. After each of the 4 tests the user has to confirm that the correct pattern was
lit.
Press
PLAY
to confirm that the correct pattern was lit (four times if the FPSEGMENTS test was successful).
Press
RECORD
to indicate that the correct pattern was not successfully lit.
Press
STOP
to skip this nucleus.
502
3
The local display shows
FPLABELS
. Press
PLAY
to start the test.
Press
PLAY
to confirm that all labels are lit.
Press
RECORD
to indicate that not all labels are lit.
Press
STOP
to skip this nucleus.
503
4
The local display shows
FPLIGHT ALL
. Press
PLAY
to start the test.
Press
PLAY
to confirm that everything was lit.
Press
RECORD
to indicate that not all patterns are lit.
Press
STOP
to skip this nucleus.
520
5
The local display shows
FPLED
. Press
PLAY
to start the test.
Press
PLAY
to confirm that the led is lit.
Press
RECORD
to indicate that the led is not lit.
Press
STOP
to skip this nucleus.
504
6
The local display shows
FPFLAP OPEN
. Press
PLAY
to start the test.
Press
PLAY
to confirm that the flap has opened.
Press
RECORD
to indicate that the flap did not open.
Press
STOP
to skip this nucleus.
522
7
The local display shows
FPKEYBOARD
. Press
PLAY
to start the test.
Attention all keys have to be pressed to get a positive result!
Press
PLAY
for more than one second to confirm that all the keys were pressed and shown on the local dis-
play. If not all the keys were pressed, a FAIL message will appear on the local display.
Press
RECORD
for more than one second to indicate that not all keys were pressed and shown on the local
display.
Press
STOP
for more than one second to skip this nucleus.
505
8
The local display shows
FPREMOTE CONTROL
. Press
PLAY
to start the test.
Press
PLAY
to confirm that a key on the remote control was pressed and shown on the local display. Only
one key has to be pressed to get a successful result.
Press
RECORD
to indicate that the key on the remote control was pressed but not shown on the local display.
Press
STOP
to skip this nucleus.
506
9
The local display shows
FPDIMMER
. Press
PLAY
to start the test.
Press
PLAY
to confirm that the text on the local display was dimmed.
Press
RECORD
to indicate that the text on the local display was not dimmed.
Press
STOP
to skip this nucleus.
518
10
The local display shows
FPBEEPER
. Press
PLAY
to start the test.
Press
PLAY
to confirm that the beeper on the front panel sounded.
Press
RECORD
to indicate that the beeper on the front panel did not sound.
Press
STOP
to skip this nucleus.
514
11
The local display shows
FPFLAP CLOSE
. Press
PLAY
to start the test.
Press
STOP
to skip this nucleus.
523
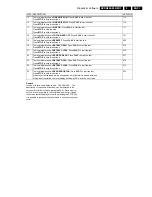
12
The local display shows
ROUTE VIDEO
. Press
PLAY
to start the test.
Press
STOP
to skip this nucleus.
712
13
The local display shows
ROUTE AUDIO
. Press
PLAY
to start the test.
Press
STOP
to skip this nucleus.
713
14
The local display shows
COLOUR-BAR ON
. Press
PLAY
to start the test.
Press
STOP
to skip this nucleus.
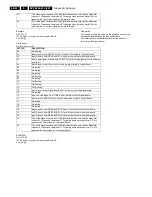
120
Summary of Contents for DVDR880/001
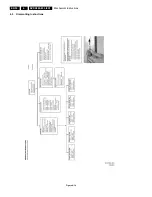
Page 48: ...Mechanical Instructions EN 50 DVDR880 890 0X1 4 4 5 Dismantling Instructions Figure 4 14 ...
Page 166: ...Circuit IC Descriptions and List of Abbreviations EN 168 DVDR880 890 0X1 9 ...
Page 167: ...Circuit IC Descriptions and List of Abbreviations EN 169 DVDR880 890 0X1 9 ...
Page 174: ...Circuit IC Descriptions and List of Abbreviations EN 176 DVDR880 890 0X1 9 IC7411 ...
Page 182: ...Circuit IC Descriptions and List of Abbreviations EN 184 DVDR880 890 0X1 9 ...
Page 183: ...Circuit IC Descriptions and List of Abbreviations EN 185 DVDR880 890 0X1 9 ...
Page 184: ...Circuit IC Descriptions and List of Abbreviations EN 186 DVDR880 890 0X1 9 ...
Page 203: ...Circuit IC Descriptions and List of Abbreviations EN 205 DVDR880 890 0X1 9 ...

