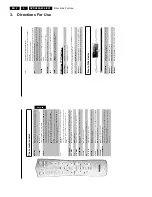
Directions For Use
EN 12
DVDR880-890 /0X1
3.
14
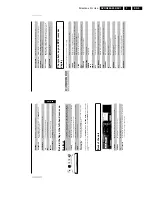
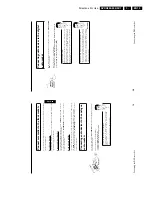
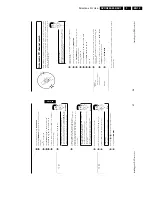
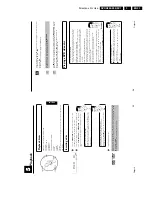
a
'
Time
',
'
Year
',
'
Month
',
'
Date
'
appears
on
my
TV
screen
for
confirmation
Normally,
the
date
and
time
are
transferred
from
the
data
of
the
TV
channel
that
is
stored
under
programme
P01.
If
the
aerial
signal
is
too
weak
or
disrupted,
you
must
manually
set
the
time
and
date:
1
Check
if
the
time
in
line
'
Time
'
is
correct.
2
If
required,
change
the
time
with
the
number
buttons
0..9
on
your
remote
control.
3
Select
the
next
line
with
A
or
B
.
4
Check
the
displayed
settings
for:
Year
',
'
Month
'
and
'
Date
'.
5
When
all
information
is
correct,
save
by
pressing
OK
.
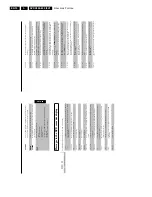
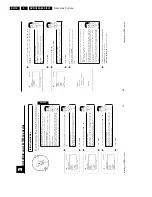
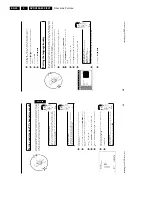
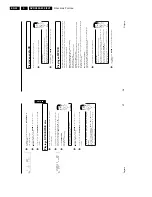
Problem
Virgin
mode
Audio
Language
English
Español
Français
Português
Italiano
Press
OK
to
continue
a
I
can
see
more
installation
menus
on
my
TV
set
Not
all
the
necessary
data
has
been
transferred.
Please
enter
the
settings
by
hand
as
follows.
For
more
information
on
the
various
functions
see
'Initial
installation'
in
'Installing
your
DVD
recorder'.
1
Select
the
desired
audio
language
using
B
or
A
and
confirm
with
OK
.
2
Select
the
desired
subtitle
language
with
B
or
A
and
confirm
with
OK
.
3
Select
the
desired
picture
format
using
B
or
A
.
'
4:3
letterbox
'
For
a
4:3
TV
set;
cinema
format
(black
bars
above
and
below
the
picture)
'
4:3
panscan
'
For
a
4:3
TV
set;
full
height
format
with
the
sides
cut
off
'
16:9
'
For
a
16:9
TV
set
4
Confirm
with
OK
.
5
Select
your
country
with
B
or
A
.
If
your
country
does
not
appear,
select
'
Other
'.
6
Confirm
with
OK
.
Problem
Initial
installation
is
now
complete.
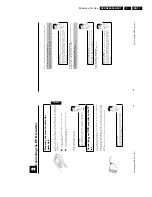
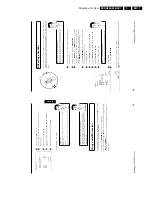
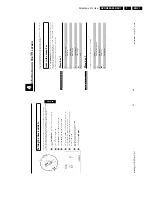
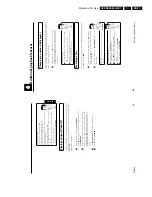
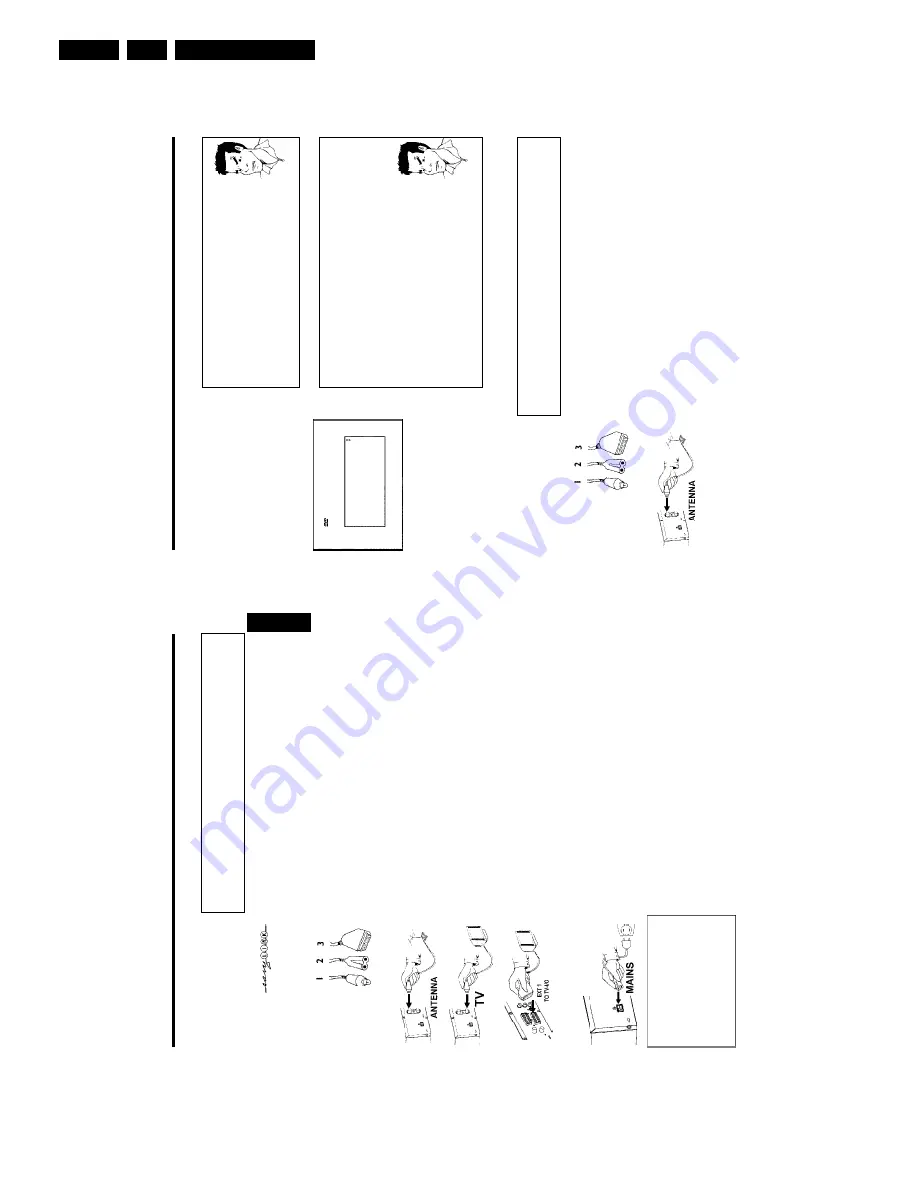
Connecting
with
a
scart
cable
without
'Easy
Link'
Have
the
following
cables
ready:
an
aerial
cable
(1,
supplied),
a
mains
cable
(2,
supplied),
a
scart
cable
(3).
1
Remove
the
aerial
cable
plug
from
your
TV
set.
Insert
it
into
the
ANTENNA
socket
at
the
back
of
the
DVD
recorder.
Connecting
the
DVD
recorder
13
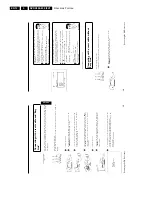
Connecting
with
a
scart
cable
and
'Easy
Link'
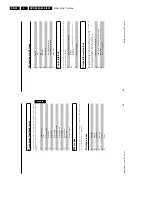
Your
DVD
recorder
can
exchange
information
with
your
TV
set
using
'Easy
Link'.
Your
TV
channels
can
also
be
transferred
in
the
same
order
from
your
TV
set
to
your
DVD
recorder
using
'Easy
Link'.
Have
the
following
cables
ready:
an
aerial
cable
(1,
supplied),
a
mains
cable
(2,
supplied),
a
special
scart
cable
(3,
suitable
for
Easylink).
1
Switch
off
your
TV
set.
2
Remove
the
aerial
cable
plug
from
your
TV
set.
Insert
it
into
the
ANTENNA
socket
at
the
back
of
the
DVD
recorder.
3
Insert
one
end
of
the
supplied
aerial
cable
into
the
TV
socket
at
the
back
of
the
DVD
recorder
and
the
other
end
into
the
aerial
input
socket
at
the
back
of
the
TV
set.
4
Plug
a
special
scart
cable
(for
Easylink)
into
the
scart
socket
EXT
1
TO
TV-I/O
at
the
back
of
the
DVD
recorder
and
the
corresponding
scart
socket
at
the
back
of
the
TV
set
(see
TV
set
operating
instructions).
5
Switch
on
the
TV
set.
6
Insert
one
end
of
the
supplied
mains
cable
into
the
mains
socket
4
MAINS
at
the
back
of
the
DVD
recorder
and
the
other
end
into
the
wall
socket.
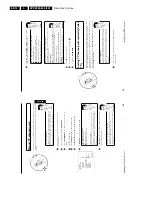
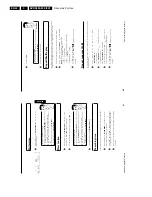
EasyLink
loading
data
from
TV;
please
wait
7
A
message
appears
on
the
screen
announcing
that
the
transfer
has
started.
'
EASYLINK
'
appears
on
the
display
during
transfer.
The
TV
set
transfers
all
stored
TV
channels,
in
the
same
order,
to
the
DVD
recorder.
This
may
take
several
minutes.
ENGLISH
Connecting
the
DVD
recorder
Summary of Contents for DVDR880/001
Page 48: ...Mechanical Instructions EN 50 DVDR880 890 0X1 4 4 5 Dismantling Instructions Figure 4 14 ...
Page 166: ...Circuit IC Descriptions and List of Abbreviations EN 168 DVDR880 890 0X1 9 ...
Page 167: ...Circuit IC Descriptions and List of Abbreviations EN 169 DVDR880 890 0X1 9 ...
Page 174: ...Circuit IC Descriptions and List of Abbreviations EN 176 DVDR880 890 0X1 9 IC7411 ...
Page 182: ...Circuit IC Descriptions and List of Abbreviations EN 184 DVDR880 890 0X1 9 ...
Page 183: ...Circuit IC Descriptions and List of Abbreviations EN 185 DVDR880 890 0X1 9 ...
Page 184: ...Circuit IC Descriptions and List of Abbreviations EN 186 DVDR880 890 0X1 9 ...
Page 203: ...Circuit IC Descriptions and List of Abbreviations EN 205 DVDR880 890 0X1 9 ...

