3.4 Adjusting For a Good Picture
46
3.4.2 More About Computer and Laptop
For the very best picture, and for the correct size, computer sources should be adjusted for Frequency
and Phase. These are automatic or manual.
The phase of computer pictures varies slightly from
one computer to another, and the frequency is some-
times incorrect. Adjusting for this is quick and easy.
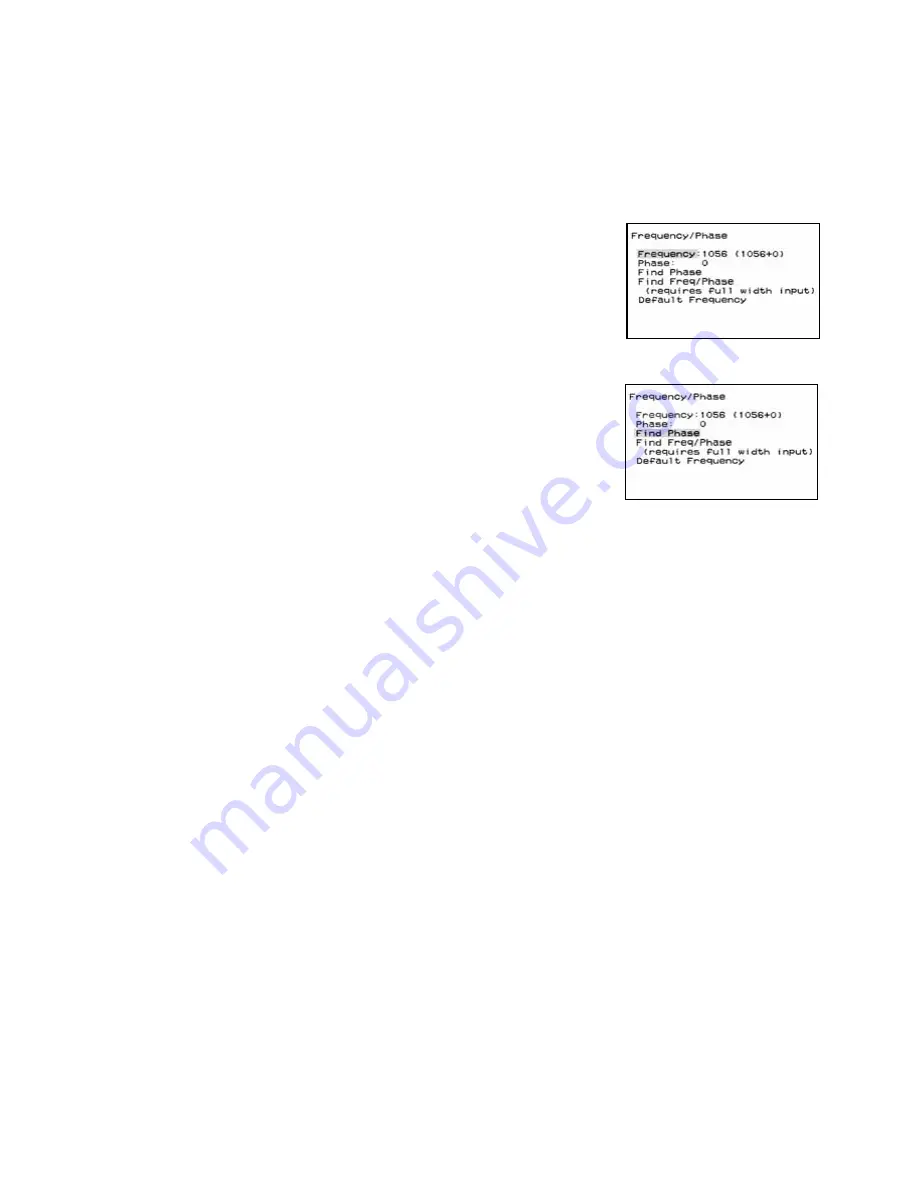
1. Press
MENU
on the remote.
2. Highlight Frequency/Phase and press
ENTER
.
3. Highlight Find Phase and press
ENTER
.
—or—highlight Find Freq/Phase and press
ENTER
.
It is usually enough to Find Phase, which is faster,
because the frequency is often correct.
There are three possible results:
• If everything works, the “Working …” label disap-
pears.
• If the Selected Source was not Computer or Lap-
top, the error message appears.
• If the picture does not have enough fine detail in
it, you see the “Unable …” message in the Fre-
quency/Phase menu. Display a page of black and
white text on the computer and try again.
!
For these adjustments, you must use a picture that
comes from the actual computer used for the program
material. It does not work to set these levels with one
computer and then connect a different computer as the
source of the program material.
!
Adjusting the Frequency also changes the width of the
picture. However, do not use this control for width
adjustment. Use Pan/Zoom.
!
The numbers for Frequency and Phase do not have any
meaning. They are there just to let you know which way
and how far you are changing things.
Adjusting Frequency and Phase manually
This requires a “checkerboard” pattern from the
source computer. The Windows™ shutdown screen is
ideal for this.
1. Make the desktop of your Windows computer a
plain white background—no pictures, no wallpa-
per.
2. Click Start > Shutdown, but do not shut down.
3. Now the pixels are alternately black and white in
the plain background.
4. On the Panther’s remote, press
MENU
, select Fre-
quency/Phase, and press
ENTER
again.
5. Select Frequency
in the Frequency
Phase menu.
6. Adjust with the
left and right
arrow keys until
you see no vertical
bands in the back-
ground.
7. Select Phase and
adjust with the
left-right keys
until there is no
noise in the pic-
ture. There should
be at least one
large range of
Phase numbers in which there is no noise. Adjust
to the middle of this range.
Summary of Contents for PN-6730-UXP
Page 1: ...Panther PN 6730 UXP PN 6740 UXP Guide User ...
Page 2: ......
Page 3: ...i PN 6730 UXP PN 6740 UXP Panther 67 Display Unit User s Guide 070 0097 01 5 February 2003 ...
Page 6: ...iv ...
Page 9: ...vii ...
Page 10: ...viii ...
Page 15: ...5 ...
Page 16: ...6 ...
Page 23: ...13 ...
Page 25: ...15 AC Master switch AC power in ...
Page 37: ...27 ...
Page 42: ...32 ...
Page 61: ...51 ...
Page 63: ...53 ...
Page 67: ...57 ...
Page 79: ...69 ...
Page 81: ...71 ...
Page 82: ...72 ...
Page 85: ...75 ...
Page 87: ...77 Volume buttons are beneath the panel Volume up Volume down ...
Page 91: ...81 ...
Page 93: ...83 ...
Page 95: ...85 ...
Page 97: ...87 Turns on or off the User curtain immediately without showing a menu ...
Page 99: ...89 ...
Page 100: ...90 ...
Page 103: ...93 ...
Page 113: ...103 ...
Page 121: ...111 ...
Page 128: ...118 ...
Page 135: ...125 ...
Page 138: ...128 ...
Page 143: ...133 Aspect Ratiofor details see page 56 Color Temperaturefor details see page 52 ...
Page 145: ...135 Savefor details see page 66 Recallfor details see page 68 Delete for details see page 70 ...
Page 146: ...136 Misc Controlfor details see page 84 ...
Page 147: ...137 Status Monitorfor details see page 80 ...
Page 149: ...139 ...
Page 153: ...143 ...
Page 157: ...147 ...
Page 159: ...149 ...
Page 163: ...153 ...
Page 164: ...154 ...
Page 174: ...164 ...
Page 175: ...165 ...


