Chapter 4
Settings — [TEST PATTERN] menu
150 - ENGLISH
[TEST PATTERN] menu
On the menu screen, select [TEST PATTERN] from the main menu.
Refer to “Navigating through the menu” (
x
page 76) for the operation of the menu screen.
[TEST PATTERN]
Display the test pattern built-in to the projector.
Settings of position, size, and other factors will not be reflected in test patterns. Make sure to display the input
signal before performing various adjustments.
1) Press
qw
to switch the [TEST PATTERN] item.
f
The items will switch each time you press the button.
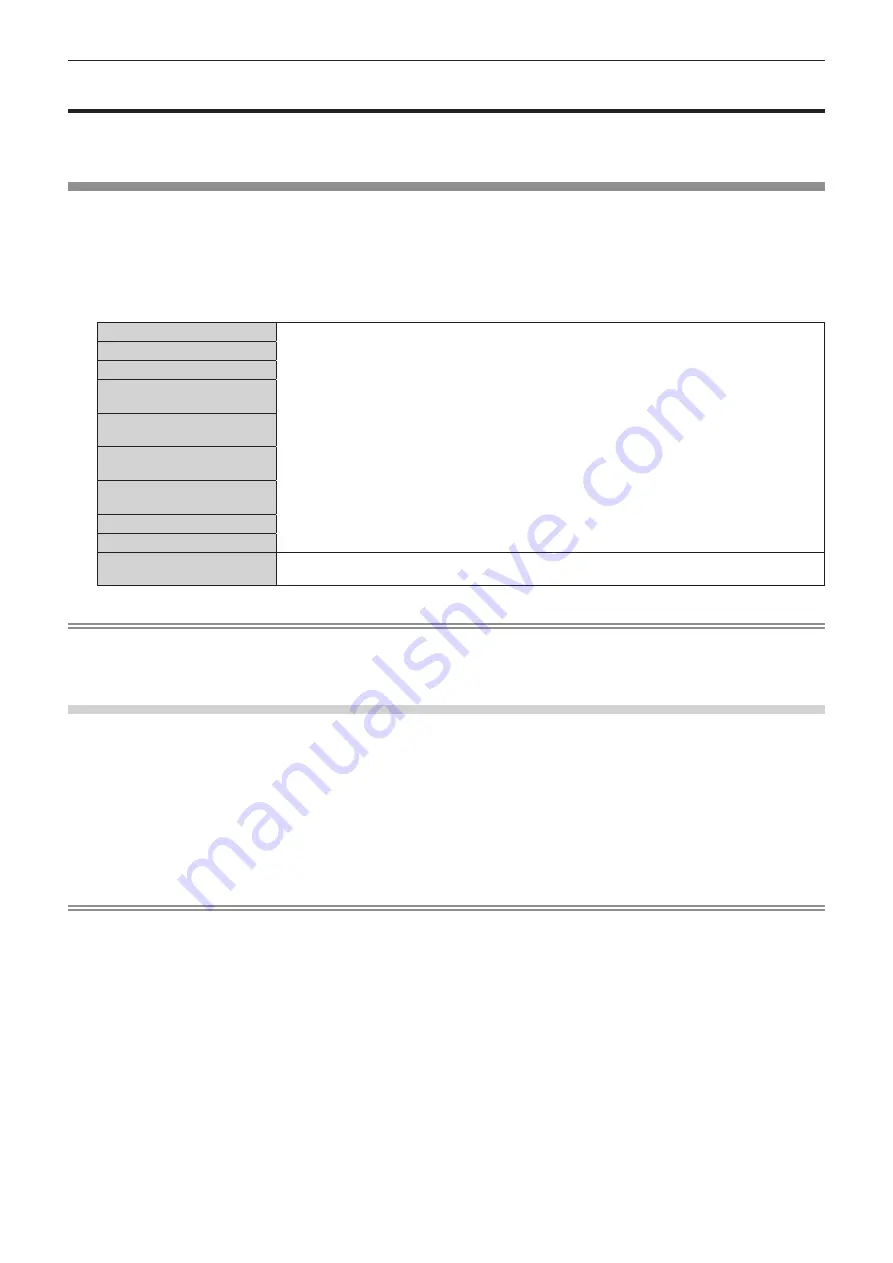
Menu All white
Displays a test pattern with the menu screen. Select a desired test pattern.
Menu All black
Menu Window
Menu Window
(inversion)
Menu Color bar
(vertical)
Menu Color bar
(horizontal)
Menu 16:9/4:3
aspect frame
Menu Cross hatch
Menu Focus
Menu Input screen
Displays the menu screen and input signal.
Internal test patterns are not displayed.
Note
f
Press the <ON SCREEN> button on the remote control while the test pattern is displayed to hide the menu screen.
f
When the [PROJECTOR SETUP] menu
→
[LENS]
→
[ACTIVE FOCUS OPTIMIZER]
→
[ACTIVE FOCUS] is set to [OFF], it is
recommended to perform the focus adjustment after 30 minutes or more have elapsed with the focus test pattern displayed.
Changing the color of the cross hatch test pattern
The color can be changed when the “Menu Cross hatch” cross hatch test pattern is displayed.
1) Press
qw
to select the “Menu Cross hatch” test pattern.
2) Press the <ENTER> button.
f
The
[TEST PATTERN COLOR]
screen is displayed.
3) Press
as
to select a color, and press the <ENTER> button.
f
The color of the cross hatch test pattern is changed to the selected color.
Note
f
The [TEST PATTERN COLOR] setting returns to [WHITE] when the projector is switched off.
f
Colors of the test patterns other than cross hatch test patterns cannot be changed.


