- 37 -
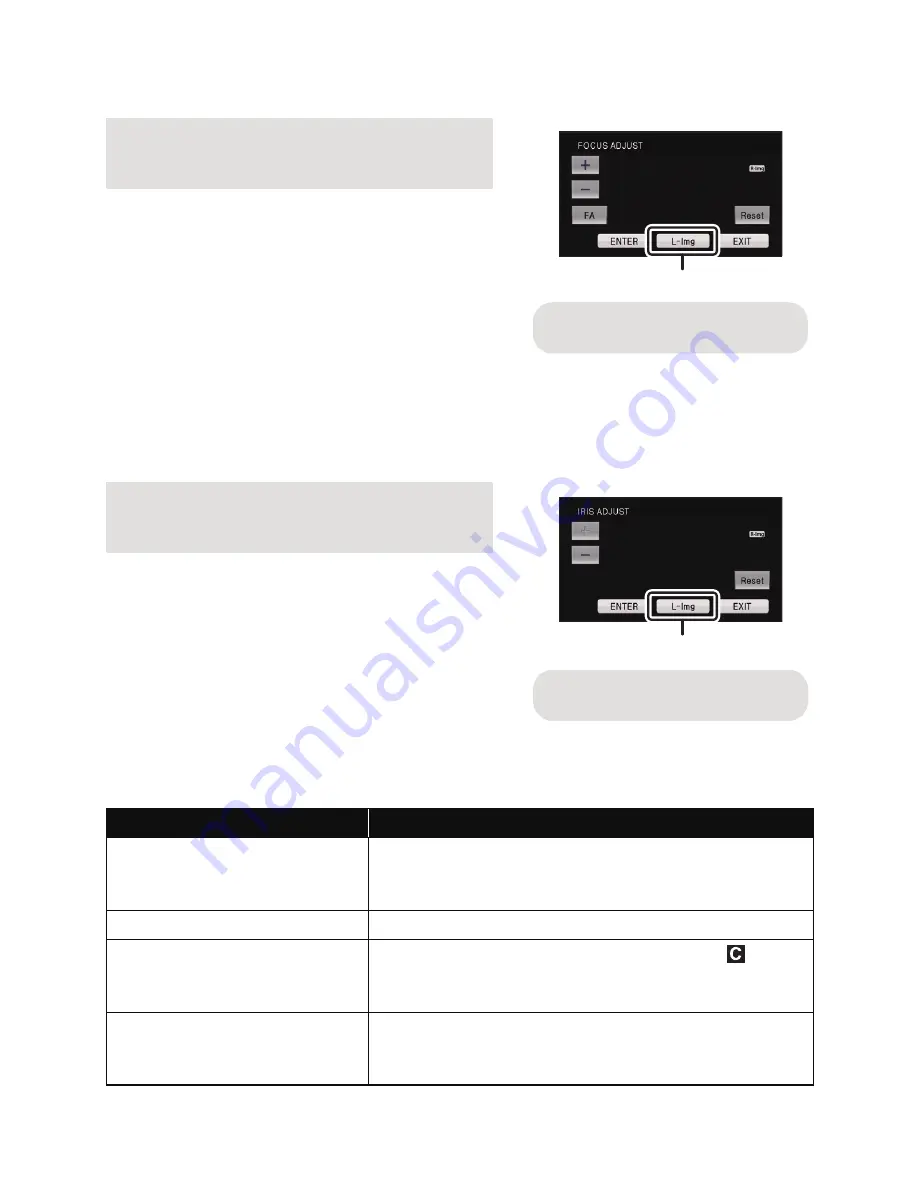
Focus adjustment
1
Touch
r
/
s
to adjust the focus.
≥
It will return to default setting when [Reset] is touched.
≥
Focus Assist will operate when [FA] is touched, and
the part that is focused will be displayed in red.
Touch [FA] again to cancell the operation.
≥
Image of the left and right lenses will switch every
time the lens switch icon is touched.
≥
Adjusting the image from the left lens is not possible.
2
Touch [ENTER].
Iris adjustment
1
Touch
r
/
s
to adjust the brightness.
≥
It will return to default setting when [Reset] is touched.
≥
Image of the left and right lenses will switch every
time the lens switch icon is touched.
≥
Adjusting the image from the left lens is not possible.
2
Touch [ENTER].
Utilising the USER button
It is convenient to use following functions of the
USER button when 3D recording or adjusting the convergence point.
≥
Please refer to page 60 for details about setting the USER buttons.
r
:
To focus on a close subject
s
:
To focus on a faraway subject
r
:
Brighten the image
s
:
Darken the image
USER button function
Effect
R-image (
l
65)
Image displayed on the screen is switched to the image
from the right lens when the 3D display is turned off in
the 3D Recording Mode.
3D Display (
l
65)
Switches the display method of the 3D image.
Convergence Reset (
l
66)
The display of the convergence point goes to
, and
the convergence point is automatically set to prevent 3D
video that tires or discomforts the viewer.
3D Macro (
l
66)
3D image can be recorded as close as approximately
45 cm to the subject when the zoom magnification is set
to 1
k
.
A
Lens switch icon
(When displaying image from the
right lens)
(When displaying image from the
right lens)
B
Lens switch icon


