Chapter 3. Logging Data
8
DigitalFlow™ XMT868i Programming Manual
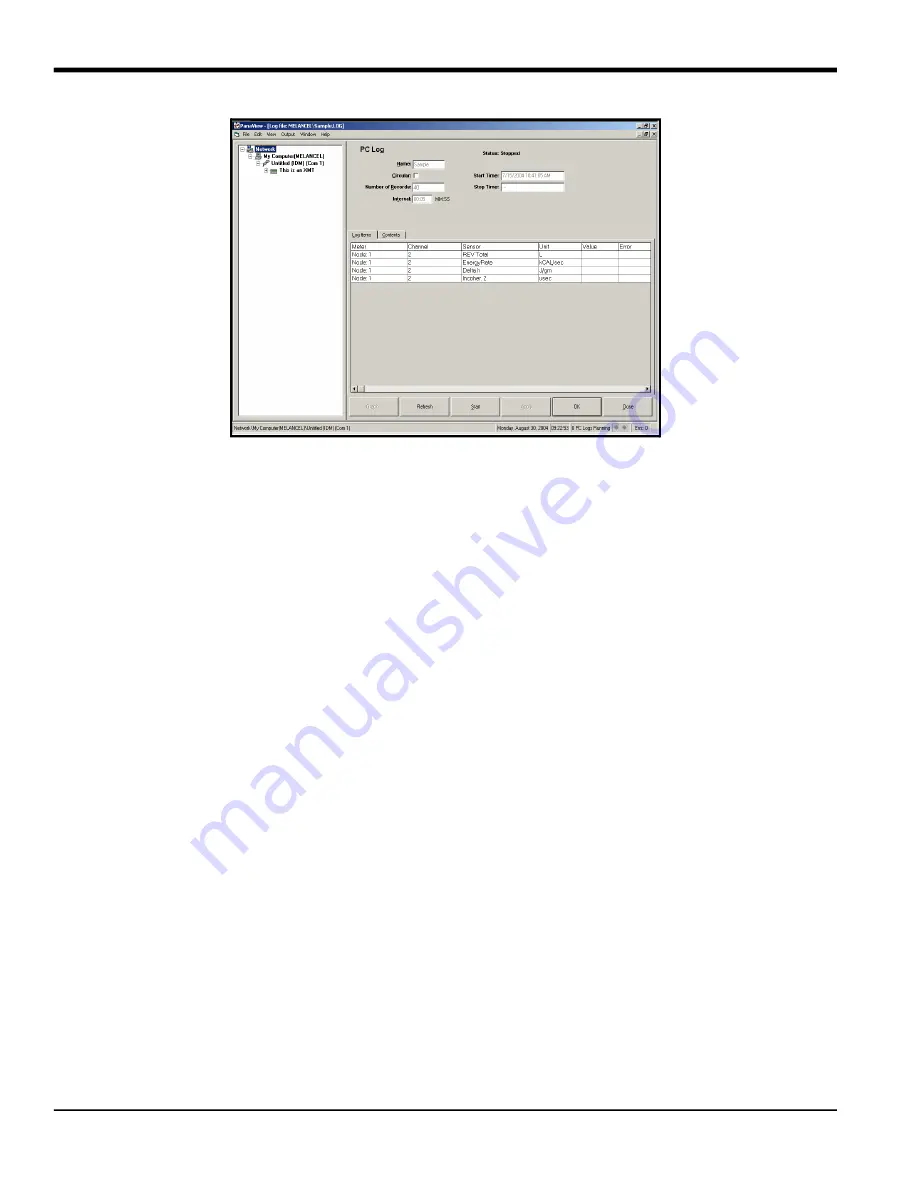
Figure 18: The PC Log Window
7.
Enter a sampling
interval
in the text box shown in Figure 18.
Note:
Start Time
and
Stop Time
cannot be specified for PC logs. These options are inactive in the
PC Log
window.
8.
Expand the network tree as far as necessary and double click on the process parameter(s) to be logged. As they
are selected, the parameters are listed in the lower right pane of the
PC Log
window (make sure that the
Log
Items
tab in this pane is selected).
Note:
To add all the channel parameters to a given log, right-click on the desired channel. A pop-up button, “Add
Group to Log,” appears. Click on the button, and PanaView adds the entire set of channel parameters to the
log.
9.
Click on the
[Apply]
option button to record the log setup information, and then click on the
[Start]
option button
to begin logging data immediately. (The
Start Time
automatically appears in the
PC Log
window.)
Summary of Contents for DigitalFlow XMT868i
Page 2: ......
Page 4: ...ii no content intended for this page...
Page 50: ...Chapter 1 Programming Site Data 42 DigitalFlow XMT868i Programming Manual...
Page 74: ...Chapter 4 Printing Data 2 DigitalFlow XMT868i Programming Manual...
Page 78: ...Chapter 5 Clearing Data 4 DigitalFlow XMT868i Programming Manual...
Page 79: ...DigitalFlow XMT868i Programming Manual 5 Appendix A Menu Maps Appendix A Menu Maps...
Page 80: ...Appendix A Menu Maps 6 DigitalFlow XMT868i Programming Manual...
Page 86: ...Appendix A Menu Maps DigitalFlow XMT868i Programming Manual...
Page 144: ...Appendix D PanaView Menu Maps for the XMT868i 70 DigitalFlow XMT868i Programming Manual...
Page 150: ...Appendix A PanaView Menu Maps DigitalFlow XMT868i Programming Manual 76...
Page 162: ...Warranty 6 AquaTrans AT868 User s Manual no content intended for this page...
Page 163: ......


