9
Note: The StarShoot Pro will not work with USB 1.1. Your computer must have
a high-speed USB 2.0 port available.
4. Select
No, not this time
when Windows asks to automatically search for
drivers online and click
Next
.
5. Select
Install from a list or specific location (Advanced)
and click
Next
.
6. Select
Search removable media (floppy, CD-ROM...)
. Turn off the other
options. Click
Next
.
Windows will start looking for the driver files on the CD-ROM.
7. Windows will note that the driver has not passed Windows Logo testing.
This is normal. Click the
Continue Anyway
button.
8. Click the
Finish
button when the wizard has completed. A message will
appear in your Windows task bar
Device Installed Successfully
.
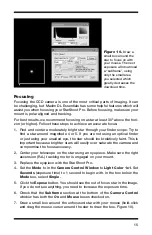
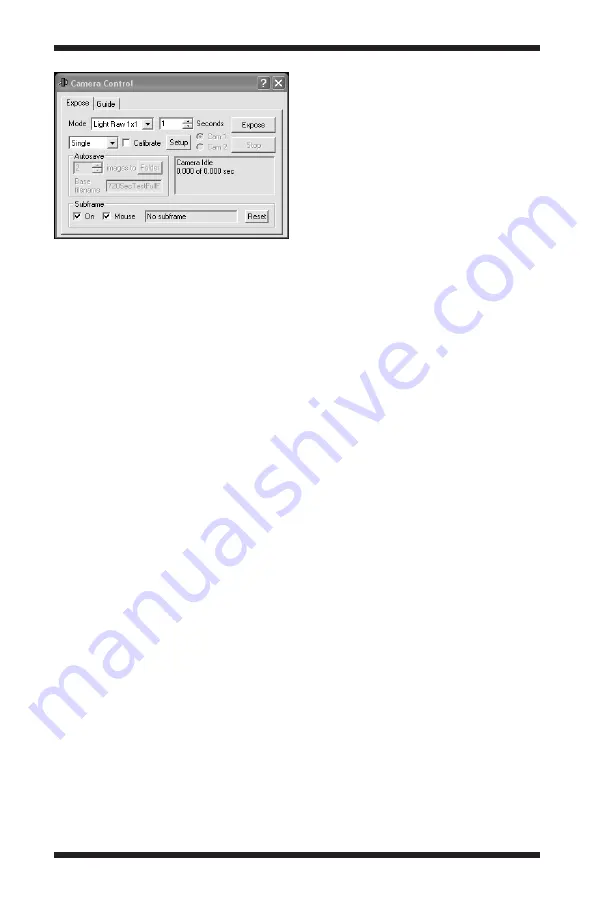
9. Start the Maxim DL Essentials Edition software. The camera will auto-
matically be recognized, and the
Camera Control Window
(Figure 6) will
appear.
To install the camera driver on Windows Vista computer
:
1. Insert the CD-ROM into the computer
2. Connect the Orion StarShoot Pro to a USB port on the computer with the
supplied USB cable.
3. Plug the supplied power cable into a 12VDC power source and connect the
cable to the StarShoot Pro. The cooling fan will automatically power on.
Windows will automatically detect the camera and display the
Found New
Hardware
window (Figure 5b)
.
4. Select
Locate and install driver software (recommended)
.
5. In the next window that appears, select
Don’t search online
.
6. The next window that appears will ask you to “Insert the disk that came
with your StarShoot Camera”. Click
Next.
Figure 6.
The
Camera Control Window
automatically appears when the StarShoot
Pro is connected to the computer and the
Maxim DL Essentials program is started.

