


2 Installation and connection
2-1 Installation
BU150R
25
2
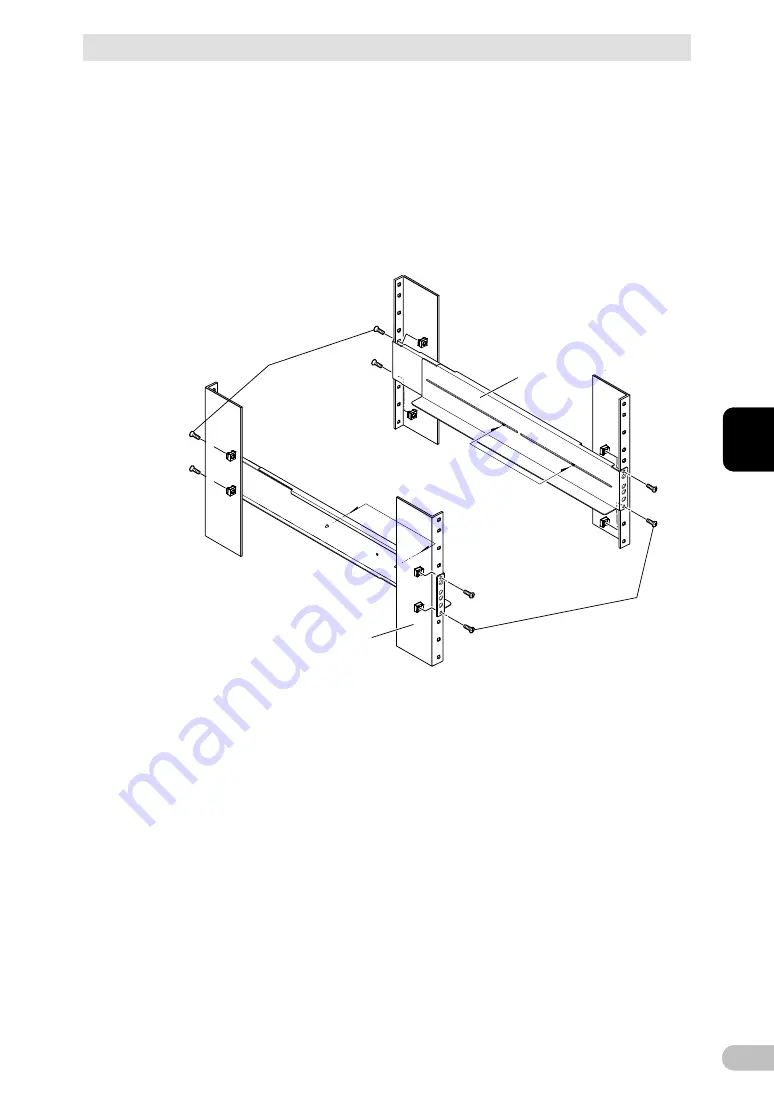
3.
For EIA standard-compliant installation, use the 8 included EIA rack fixing nuts (M5)
and 8 EIA/JIS rack fixing screws (M5) to securely fasten the front (the side
displaying "L" or "R") and the back of the support angles to the server rack. (
③
)
The screw holes are located at the top and bottom for both front and rear.
For JIS standards, use a total of 6 included screws to fix the rack; 1 JIS rack fixing
flat-head screw (M5) at a front position of the each of right and left support angles,
2 EIA/JIS rack fixing screws (M5) at 2 rear positions. (
③
) The screw hole position
for the front is at the second screw hole from the top, the rear is at the second
screw hole from the bottom.
②
②
Adjust the length to
suit the server rack and
tighten securely
③
③
Rack fixing screws
Support angle
Server rack
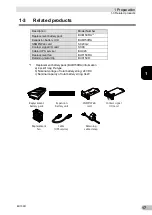
Summary of Contents for BU150R
Page 22: ...2 Installation and connection 2 1 Installation BU150R 22 Incorrect Positions...
Page 92: ...7 How to use option cards 7 3 SNMP Web card BU150R 92 7 3 SNMP Web card LAN 10 100...
Page 102: ...10 References 10 2 Dimensions BU150R 102 Stand for vertical layput 200 200 70 50 70 50...
Page 103: ...10 References 10 2 Dimensions BU150R 103 10 Rubber feet 23 25 405 50 40 358 40 3...
Page 104: ...10 References 10 2 Dimensions BU150R 104 Using Ear brackets 44 5 22 0 13 5 455 25 465...


