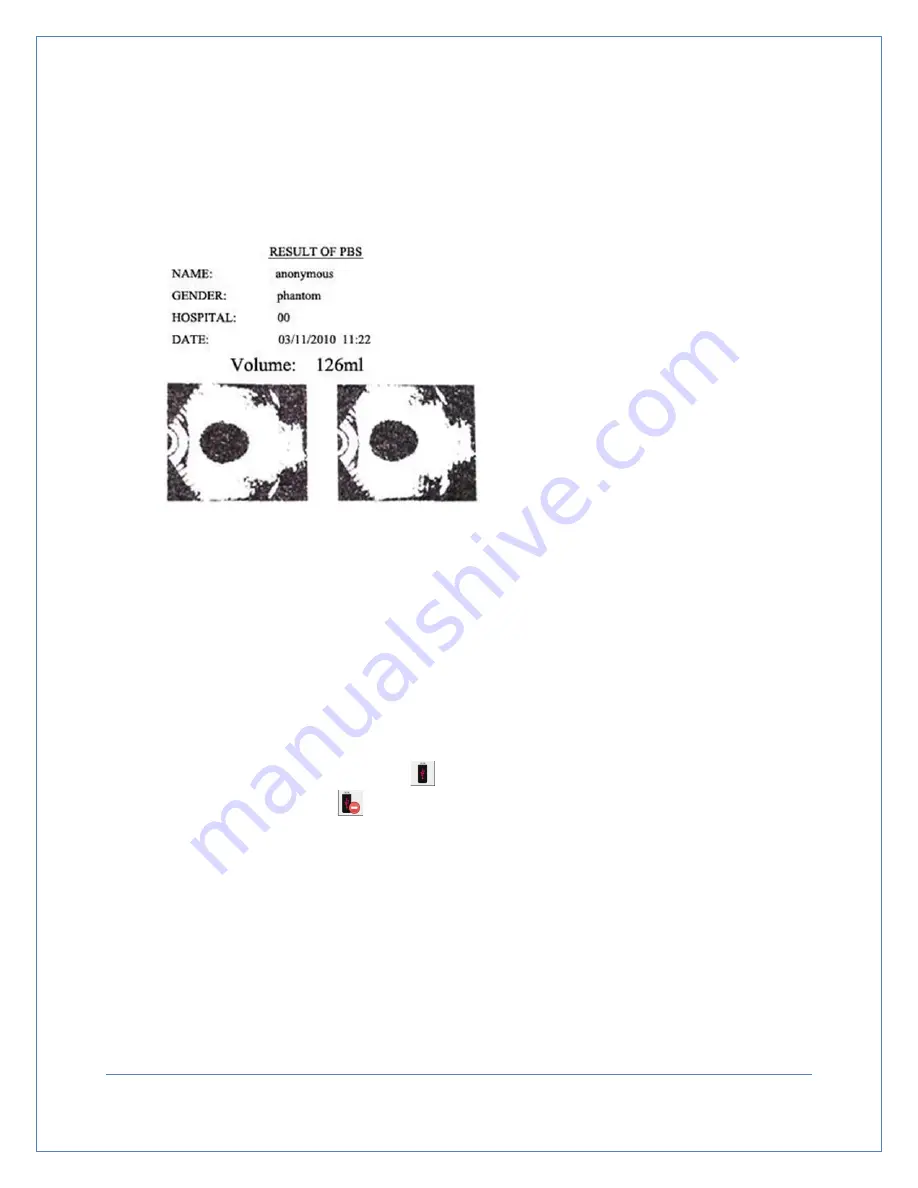
7.10 Printing Results
Scanned result can be printed immediately after performing a scan or recalled from the devices memory
(if they were saved). User may select how many images to print on the
Print Page
(s e e Figure 7-27).
7.11 Exporting Data to a PC
You may export the historical data saved in the system to your PC using a USB connection. The system
will also build a folder for each user. The same of the folder should correspond with the patient’s ID. Only
gray scale images and a copy of saved readings will be saved in each folder.
Instructions for establishing a USB connection:
1.
Turn on the device and connect it to a PC using a USB cable
2.
Check the status bar and confirm that
is displayed. If this symbol is displayed, it indicates that
the connection is Ok. If the
icon is displayed, it indicates that the connection is not Ok. After
connecting the device to a PC, the readings may be saved onto a CD or stored internally on the
computer.
After the data has been successfully exported to a PC, turn off the device before disconnecting the USB
cable.
Note: Measurements should not be taken while the device is connected to a PC. The copied file
only can be viewed using picViewer.exe (See Figure7-28). Click on the folder icon in the toolbar and
open the images to be viewed. Use left and right direction keys to toggle between images. Please
contact Life Systems Inc. if you have and problems exporting, saving or viewing historical records.
Figure 7-27
Two Images Printed
Page
34


