6.
Scan Mode:
a.
Press the
▲
/
▼
keys or touch Scan Mode with the stylist pen
b.
Press the OK key or touch Scan
c.
Press the
▲
/
▼
keys or touch Human OR Phantom before selecting Scan Mode
d.
Press the OK key or touch
Scan Mode
to save the setting
.
7.
Screen Calibration:
a.
Press the
▲
/
▼
keys or touch Screen Calibration
b.
Press the
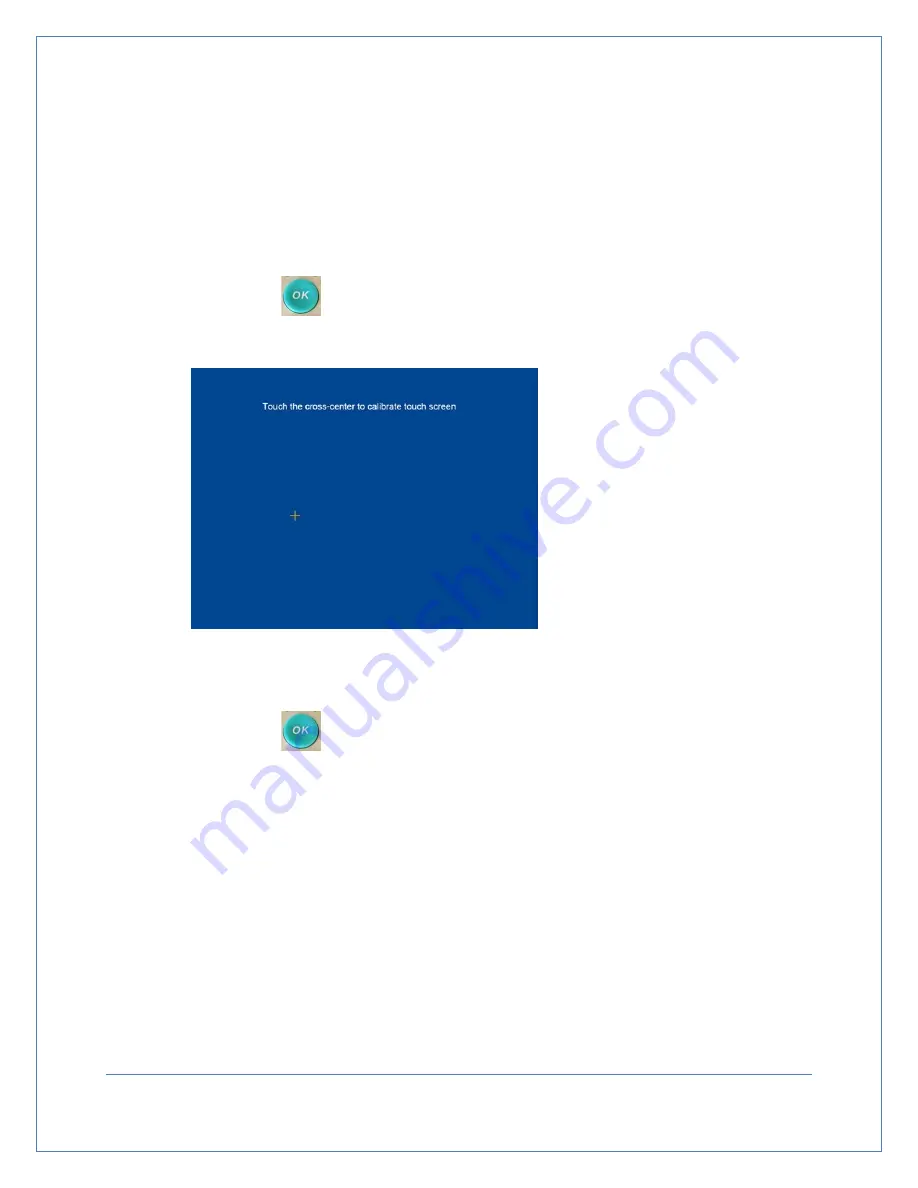
key or touch “Screen Calibration” (See figure 7-10).
c.
Touch cursor with stylist pen to complete the calibration of the touch screen.
8.
Scanning Adjust: start point for setting the probe location before scan.
a.
Press the
▲
/
▼
key or touch Scanning adjust
b.
Press the
key or touch “-/+”, then press the
▲
/
▼
key or touch “-/+” again
before selection
c.
Press the
▲
/
▼
key or touch number character, selecting number setting. The
number icon will appear once you touch the number, than touch the number icon for
number setting.
9.
Save and Exit: Exit from the setting before returning to Ready screen
a.
Press
▲
/
▼
key or touch Save and Exit
b.
Press the OK key or touch Save and Exit to save the setting
Note:
•
Facilities name may be up to 25 characters
•
All saved records may be deleted using the “Format” option.
•
When selecting Human mode, there is icon displayed on the top left of the Ready
Figure 7-10
Touch Calibration
Screen
Page
25


