2.
Press the OK
key to confirm the selected character
3.
Press the
key before pressing
to delete an unwanted character
4.
Press the print
key to save and return to Ready screen
5.
Press the scan
key to delete the saved information and return to the Ready screen
How to operate in the Saved/Edit Screen with touch screen keys:
1.
Use a stylist pen to select the desired character
2.
Press Print to save the record, ti will take about 4 seconds. Do not press any keys while the
record is being saved
3.
Memory icon displays the remaining number of readings that may be stored.
Note: Patient ID may be up to 12 characters. Gender does not need to be input, gender is set in the
Ready screen. Each patient ID is unique and specific to one individual. The same patient ID cannon be
used for multiple patients.
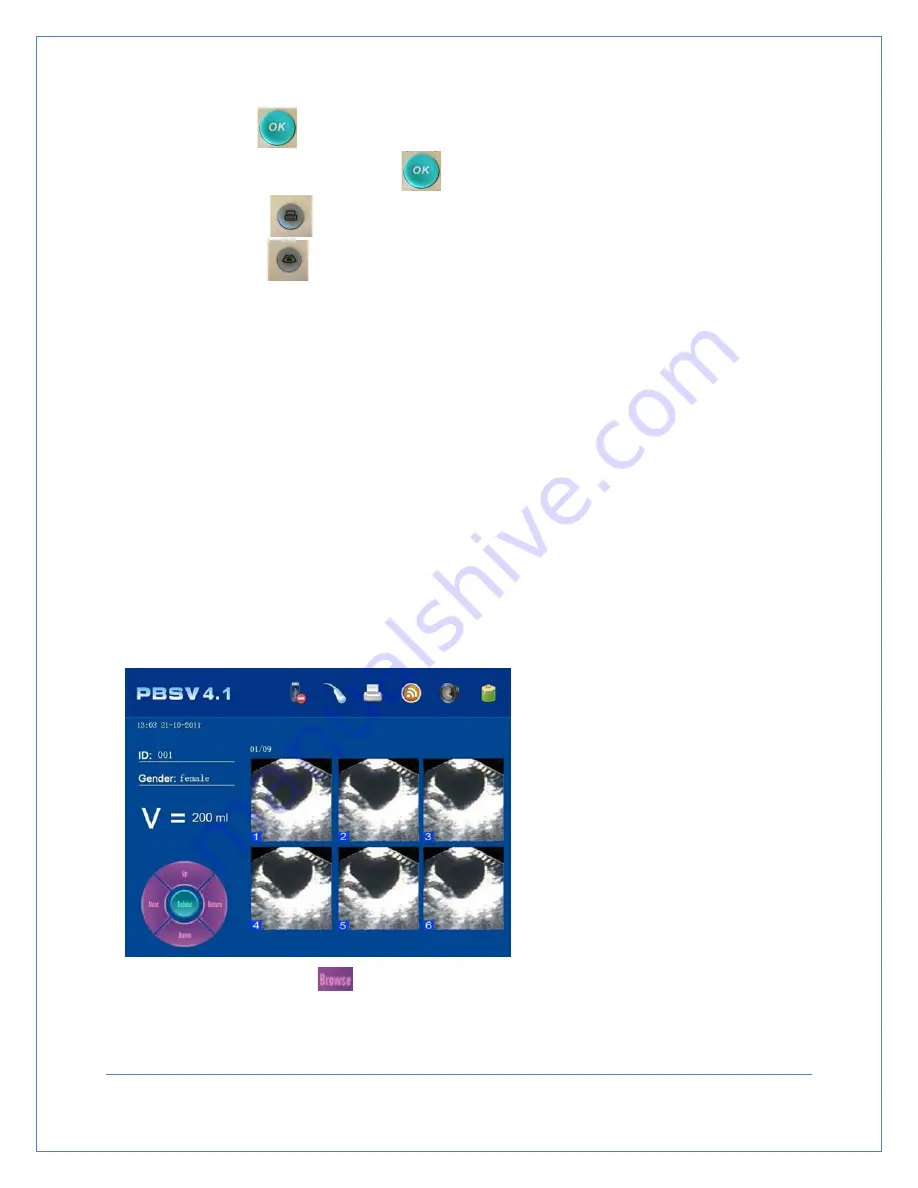
7.9 Browsing Historical Records
Users can browse through stored records in the Browse Historical Records screen (see Figure 7-18).
Each record includes the measurement result, the patient’s information and their scanned image in
gray scale. User can select current record to print or delete. After deleting the most current record, the
next one in order will be the current record.
1.
Press
key or touch
to enter the browse historical records screen.
Figure 7-18
Browse Historical
Records Screen
Page
31


