


143
Camer
a
2
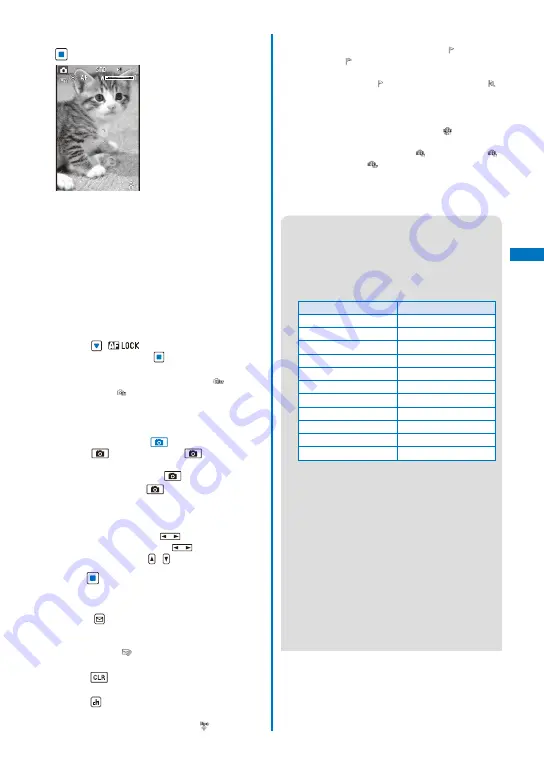
Point the camera at the object and press
(Shoot).
The white focus frame is used to adjust the focus.
When the image comes into focus, the confirmation
sound is heard, and the focus frame turns green. A
still image is recorded with the shutter sound and
the screen for confirming whether to save the image
appears.
While you record a still image, the photo light (low
light) flashes.
When failed to adjust the focus, the white focus
frame turns red.
To focus on an area other than the center of the
display
Press
(
) to focus, point the camera at
the object, and press
(Shoot).
To switch to the In-camera
From the Function menu, select [
] (Switch
camera)
→
[
] (In camera).
When using the In-camera, the white focus
frame does not appear, indicating that the
Auto Focus function is disabled.
To record images using
Press
. When you press
halfway down,
the Auto focus is activated. When the image
comes into focus, press
all the way down.
When you press
all the way down at the
beginning, the Auto focus is not activated but
an image is recorded.
To record in the Media style
Press the right key on
to operate the Auto
focus and the left key on
to turn on/off the
photo light, and use / to operate the zoom.
3
Press
(Save).
The still image is saved.
To attach to mail
Press
(Func) for over a second. The still
image is saved and the Edit mail display
appears. You can also attach an image to mail
by selecting [
] from the Function menu.
To cancel a recorded image
Press
and select [Yes].
To display a saved image
Press
(Play) in the Camera mode display.
To post on a blog
From the Function menu, select [
] (P.376).
To add location information
From the Function menu, select [
] (Location
info)
→
[
] (Rcv location info). To display the
obtained detailed information, from the Function
menu, select [
] (Location info)
→
[
]
(Location detail) (P.261).
To save as a mirror image when recording with the
In-camera
From the Function menu, select [
]. To switch
between Normal image and Mirror image, from
the Function menu, select [
] (Display)
→
[
]
(Mirror image)/[
] (Normal image).
Depending on the orientation while recording
a still image, the image may be reversed
vertically instead of being reversed horizontally.
●
When there is not enough memory or the number
of saved images exceeds the maximum number,
the message appears. Change the place to save
the image or delete unnecessary images.
●
When you switch to the Shoot by photo mode
from the Movie shoot mode, the following items
are reset.
Item
Default setting
Switch camera
Out camera
Select scene
AUTO
Zoom magnification
×
1.0
EV
±0.0EV
Auto timer
OFF
Photo light
OFF
Grid Line
OFF
White balance
AUTO
Photometry
Center
Picture effect
OFF
Change screen
to vertical
●
The image may not be saved when you receive a
call before the shutter sound ends.
●
Depending on the object of shooting and the
recording conditions, you may not be able to
adjust focus or an unexpected portion may be
brought into focus.
●
When you record an object under the following
conditions, the Auto Focus may not be able to
adjust the focus of the object.
- The object does not have color contrast.
- The object is moving.
- You are recording in a dark place.
- You are recording while moving the FOMA
terminal.
- There is a light within range of the camera
view.
Continued
Summary of Contents for FOMA SO906i
Page 1: ......
Page 236: ......
Page 248: ......
Page 495: ...493 Index Quick Manual Index 494 Quick Manual 504...
Page 516: ......
Page 546: ...Kuten Code List 08 5 Ver 1 A CY6 100 11 1 FOMA SO906i...
Page 548: ...2...
Page 549: ...3...
Page 550: ...4...


