9-26 Upgrading Your Server
NOTES:
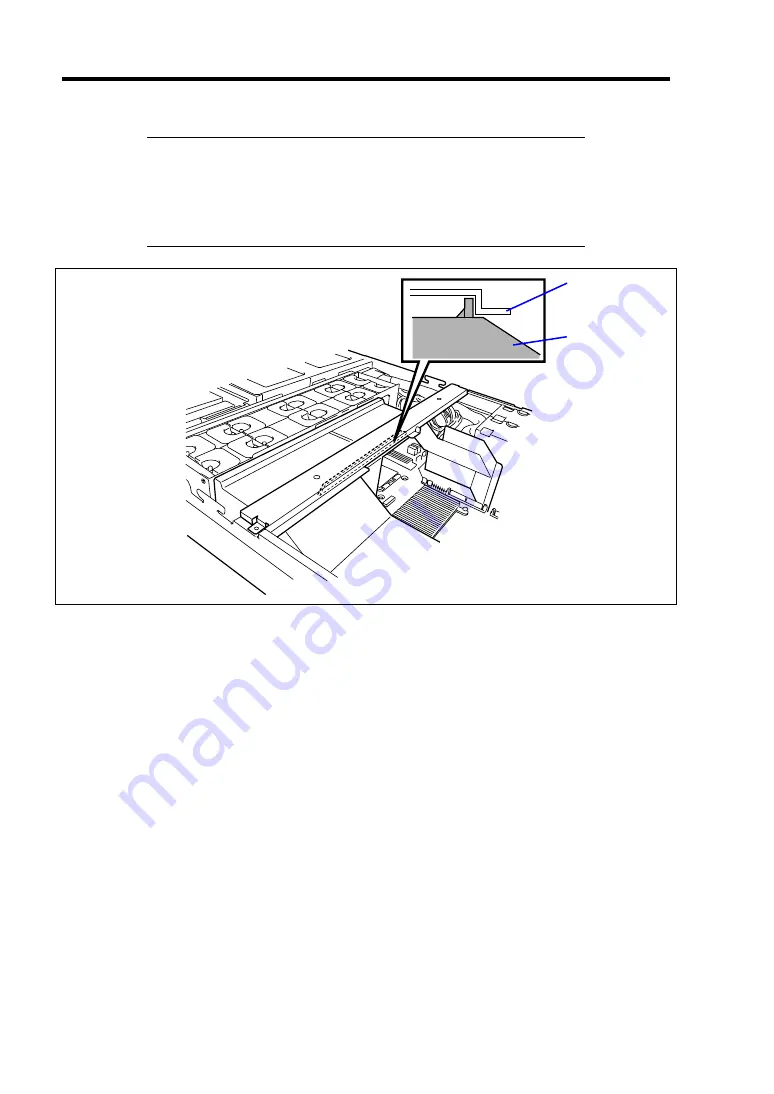
Make sure the support arm holds the processor duct firmly (see
figure below).
When the support arm comes up, you may lose the screws. Press
firmly the support arm before tightening the screws.
Support arm
Processor duct
16.
Install the components you removed in steps 1 to 3.
17.
Power on the server and verify that POST displays no error messages.
If POST displays an error message, take a note on the message and see the POST error
messages listed in Chapter 8.
18.
Run the BIOS SETUP utility and select [Advanced]
→
[Memory Configuration] to verify
that the installed DIMM shows the status "Normal". (See Chapter 4 or details.)
19.
Select "Yes" for [Reset Configuration Data] on the [Advanced] menu.
This setting is required to change the hardware configuration data. See Chapter 4 for
details.
20.
If the Windows operating system is in use, set the paging file size to the recommended
value (total memory size × 1.5) or a greater value. See Chapter 5 for details.
Summary of Contents for Express5800/120Ri-2
Page 16: ...x This page is intentionally left blank ...
Page 19: ...Notes on Using Your Server 1 3 Internal View ...
Page 34: ...1 18 Notes on Using Your Server This page is intentionally left blank ...
Page 68: ...2 34 General Description This page is intentionally left blank ...
Page 157: ...Installing the Operating System with Express Setup 5 29 This page is intentionally left blank ...
Page 193: ...7 12 Maintenance This page is intentionally left blank ...
Page 303: ...C 2 IRQ This page is intentionally left blank ...
Page 323: ...D 20 Installing Windows Server 2003 x64 Editions This page is intentionally left blank ...
Page 349: ...F 4 Product Configuration Record Table This page is intentionally left blank ...


