BIOS Updating Procedure
8-123
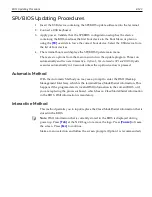
SPI/BIOS Updating Procedures
1. Insert the USB device containing the SPI/BIOS update software into the terminal.
2. Connect a USB keyboard.
3. Apply power. Validate that the SPI/BIOS configuration setup has the device
containing the BIOS media as the first boot device in the Boot Menu or plan on
using the
[F8]
override to force the correct boot device. Select the USB device from
the list of boot devices.
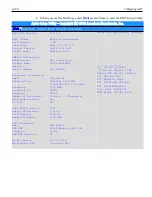
4. The terminal boots and displays the SPI/BIOS Update main menu.
There are six options from the main menu to run the update program. Three run
automatically and two are interactive.
Option 1, the Automatic SPI and BIOS Update
executes automatically in 10 seconds unless the up/down arrow is pressed.
Automatic Method
With the Automatic Method you may see a prompt to enter the DMI (Desktop
Management Interface), which is the terminal Class/Model/Serial information. This
happens if the program detects invalid DMI information in the current BIOS, or if
you are replacing the processor board, which has no Class/Model/Serial information
in the BIOS. DMI information is mandatory.
Interactive Method
This method permits you to input/replace the Class/Model/Serial information that is
stored in the BIOS.
Note:
DMI information that is currently stored in the BIOS is displayed during
power up. Press
[Tab]
at the NCR Logo to remove the logo. Press
[Pause]
to freeze
the screen. Press
[Esc]
to continue.
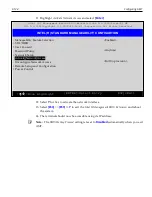
Make a menu selection and follow the screen prompts (Option 1 is recommended).
Summary of Contents for POS XR8
Page 1: ...User Guide NCR POS XR8 XR8c 7607 B005 0000 2436 Issue C ...
Page 9: ...vii Touch Screen Cleaning Procedures 141 ...
Page 27: ...Chapter 2 External Connectors Motherboard Release 1 x Release 2 x Display Port Connections ...
Page 28: ...2 18 External Connectors Release 3 x XR8c ...
Page 42: ...2 32 ...
Page 59: ...Hardware Installation 3 49 24V Powered USB and RS232 Cables ...
Page 61: ...Hardware Installation 3 51 24V Powered USB and RS232 Cables ...
Page 70: ...3 60 Hardware Installation NCR 5932 5715 Big Ticket USB Keyboard ...
Page 72: ...3 62 Hardware Installation NCR 5932 6674 POS Compact Alphanumeric USB Keyboard ...
Page 77: ...Hardware Installation 3 67 3 Disconnect the SATA Power connector from the Drive ...
Page 78: ...3 68 Hardware Installation 4 Unscrew the Drive from the Hard Drive chassis Retain the screws ...
Page 79: ...Hardware Installation 3 69 5 Slide the drive out of the chassis bracket ...
Page 80: ...3 70 Hardware Installation 6 Slide in the new drive and secure with the retained screws ...
Page 81: ...Hardware Installation 3 71 7 Connect the SATA Power connector to the Drive ...
Page 82: ...3 72 Hardware Installation 8 Replace the Sled Cover and reconnect power to the terminal ...
Page 92: ...5 82 ...
Page 130: ...7 120 ...
Page 147: ...Configuring a Second HDD for RAID 10 137 7 Select Next ...
Page 152: ...11 142 ...

