3D TRASAR
5500 - Installation & Operation Manual
521-OM0108.88
Copyright
2009 Nalco Company
2-15
Technical Help
(630) 305-CHEM
2.3
STEP 3 - Install Bio-reporter Feeder
The 3D TRASAR bio-control feature requires the use of a
bio-reporter feed system. The bio-reporter product comes in
either pellet or liquid form.
•
If using bio-reporter pellets refer to 2.3.1
•
If using bio-reporter liquid refer to 2.3.2
Note
: Not all 3D TRASAR installations use the 3D TRASAR
bio-control feature.
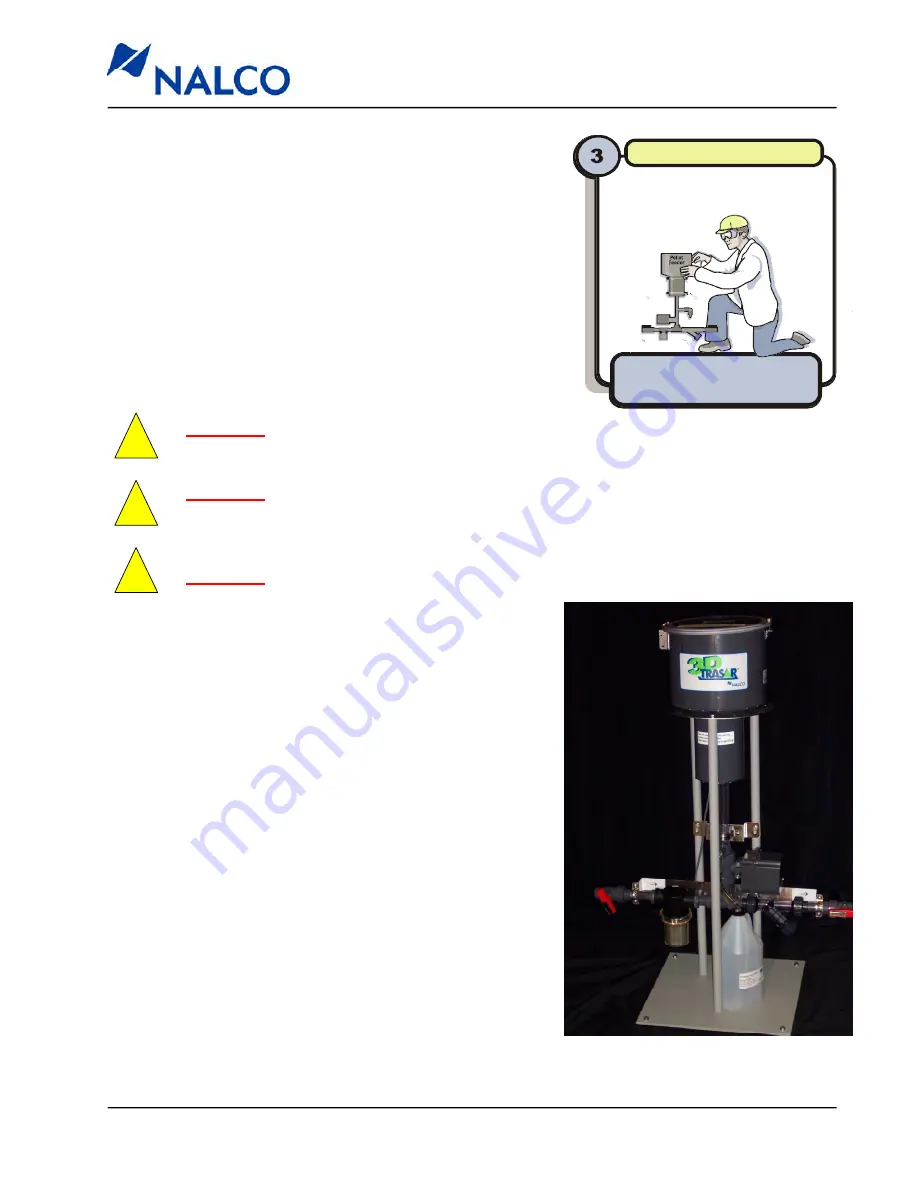
2.3.1 Install Bio-reporter Pellet Feeder
Install bio-reporter feeder
Install Bio-Reporter Feeder in well-lit, dry
location convenient to points of use.
!
!
WARNING
: Never install the pellet feeder in an explosion rated atmosphere. The
pellet feeder does not have an explosion proof rating!
WARNING
: Always shut-off power before opening the pellet feeder lid and placing your
hands inside the hopper. NEVER insert your fingers in the pellet drop holes at the
bottom of the hopper!
1. Attach the pellet hopper and plumbing assembly to the
stand as shown on the next page.
2. Locate the pellet feeder to the right of the 3D TRASAR
controller (as you face the controller) within 10 ft.
3. It is recommended that the Pellet Feeder be installed in a
sheltered area to minimize the chance of water or debris
entering the hopper when the lid is open.
4. The Pellet Feeder is electrically connected to the
3D TRASAR controller with a 25 ft. pre-configured cable.
If necessary this cable can be spliced in the field to
lengthen it to a maximum of 100 ft.
5. The Pellet Feeder should be anchored by either (1) the
installed plumbing or (2) by removing the base feet and
bolting to the floor.
!
WARNING
: Never attempt to lift the pellet feeder with a mechanical device, i.e. forklift!
Note
: The Overflow Container (
P/N
060-TR5350.88
) shown in the photo
must be ordered separately.


