


37
C
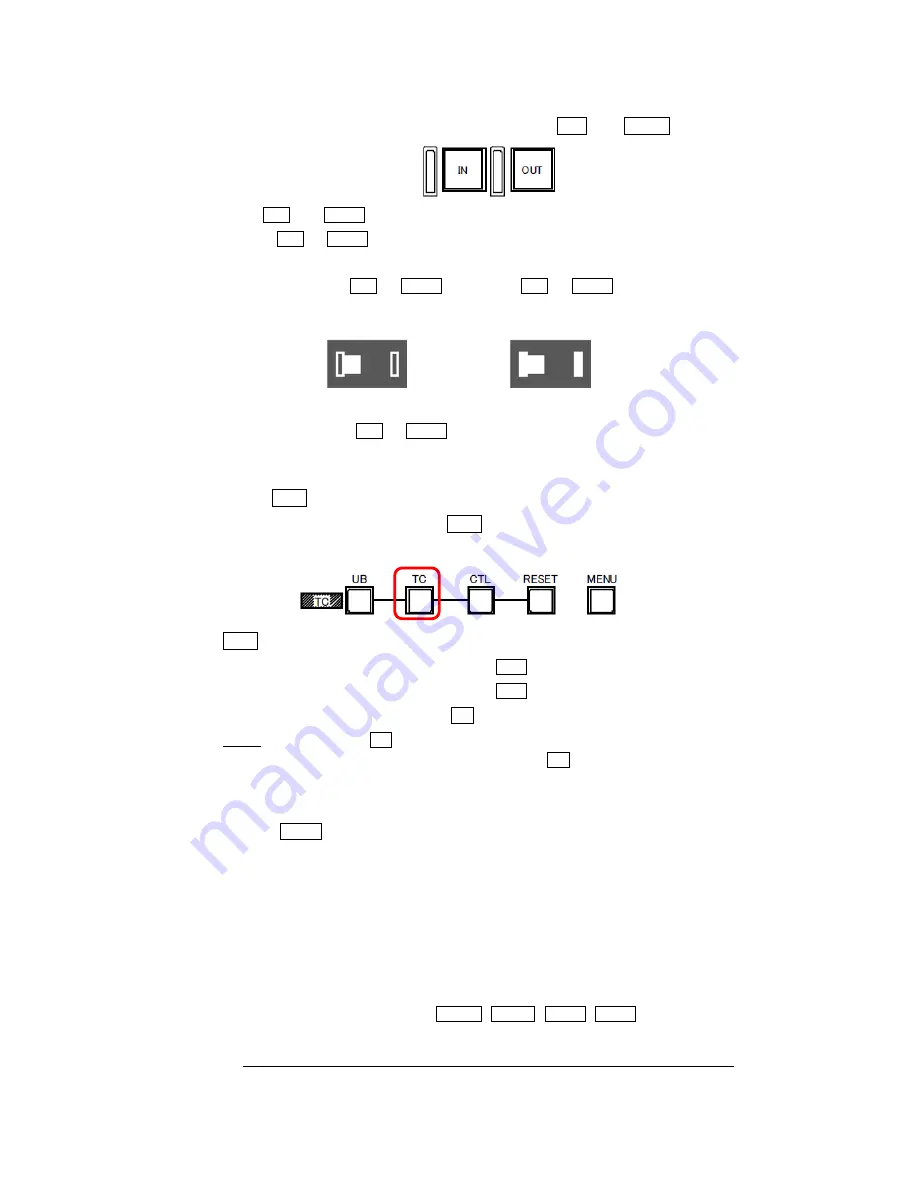
How to assign IN point and OUT point
IN point and OUT point can be assigned by pressing IN and OUT of Slow Controller.
1
IN and OUT can be assigned one point for each.
2
If IN or OUT is pressed after assigning IN and OUT , the last press point in Time Code
base becomes valid and all the past Time Code will be deleted.
3
When there is IN or OUT information, IN or OUT on Slow Controller turns on as
well as the side bar on PM1 and PM2 monitor as follows.
No IN or OUT information
IN or OUT information
4
Double-clicking IN or OUT will remove the stored Time Code.
9.9
Auto Play Mode
Please press TC button to turn ON/OFF the Auto Play mode.
The mode is changed with every press of TC button,
e.g. Auto Play ON > Auto Play OFF > Auto Play ON...
A
TC button status in Auto Play mode
1
Auto Play mode OFF
: Indicator of TC button is OFF
2
Auto Play mode ON
: Indicator of TC button is ON
and A mark appears on the PM display
NOTE : Default setting of A mark display is OFF for all the outputs (VF, MONITOR, PM1, and PM2)
when the firmware is updated. In order to show or hide A mark, please set it up manually at the
HEAD MENU: MENU(1/2)>VF DISPLAY>CHARACTER SET>[AUTO PLAY].
B
General Operation in Auto Play mode
1
Press REC button to start recording.
2
At that time, a recording Block will move to the next and the recorded Block is automatically locked.
The LOCK mark appears in the Memory Block Status and the camera automatically starts playing
back the data in the Block.
3
Playback range will be from the starting point specified with the PLAY POSITION (selected in the
HEAD MENU) to the last frame in the Block.
4
After playing back all the range, the LOCK mark disappear and the camera starts playing back the
data in the next Block, not played yet.
5
During the Auto Play, buttons like STOP , PLAY , FWD , REW , numerical keypad, and Jog
wheel operations are valid.
When playing back until the last frame, playback of the Block is regarded as completed.
Summary of Contents for Hi-Moiton II
Page 5: ...5 3 Setup and Connections 3 1 OB Style ...
Page 6: ...6 3 2 Standalone Style ...
Page 14: ...14 How to unload the magnifier 1 2 3 3 4 5 6 Magnification Optics Mount Ring Cover ...
Page 26: ...26 ...
Page 65: ...65 14 2 CCU INTERCOM ...
Page 66: ...66 ...
Page 68: ...68 14 3 OCP ...
Page 69: ...69 ...
Page 70: ...70 ...


