


31
9.5
Playback
A
Select the Block you want to play back by the numeric key. Once the desired Block is
selected, the Block that has not been played back will display as a still image with a setting of
PLAY POSITION (Refer to the following settings.), and the Block that has been played back
will display with a still image that has been stopped at previous playback. There are 5 ways
to play back as B, C, D, E, F and the Block Status displays during playback.
The block status on the LCD indication section of the slow controller switches to P and “
>
”
mark blinks.
Ongoing playback continues when the Block is just selected. Then press the PLAY button or
the Jog wheel to actually start playing back the selected Block.
How to change PLAY POSITION settings
1 Press AE button.
2 Press
buttons to call the desired PLAY POSITION as you see on the display on the
Slow Controller.
・
041-POS/STRT
Displays the head of the image clip
・
042-POS/CENT
Displays the middle(50%) of the image clip
・
043-POS/END
Displays the end of the image clip
・
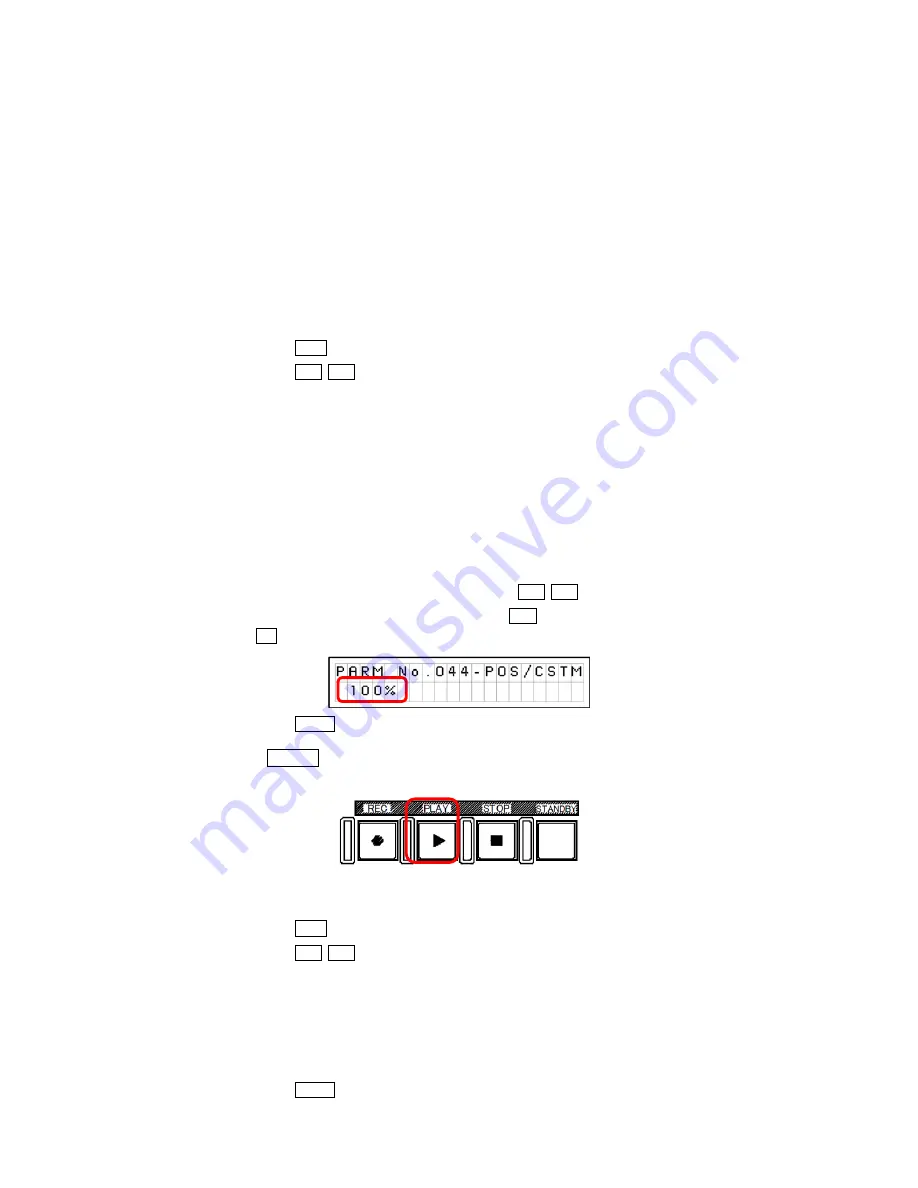
044-POS/CSTM
Displays the desired PLAY POSITION of the image clip
・
045-POS/TRIG
Displays the Triggered point
・
046-POS/CUE
The frame of the CUE point registered last
3
When POS/CSTM is selected, value setting is displayed at left below of the LCD indication
section.
You can change the value setting by pressing
of the cross-shaped button.
A numerical value decreases by pressing
, a numerical value increases by pressing
.
4 Press ENT button to complete the settings.
B
When PLAY button is pressed, the image clip starts playback according to the setting of
PLAY REF SPEED (Refer to the following settings)
How to change PLAY REF SPEED Settings (Select 60 at 1080/59.94i and 720/59.94p, 50 at
1080/50i. Select 30 or 25 for more slow motion effect)
1 Press AE button.
2 Press
buttons to call the desired PLAY REF SPEED as you see on the display on
the Slow Controller.
・
033-PREF/25
25FPS
・
034-PREF/30
30FPS
・
035-PREF/50
50FPS
・
036-PREF/60
60FPS
3 Press ENT button to complete the settings.
Summary of Contents for Hi-Moiton II
Page 5: ...5 3 Setup and Connections 3 1 OB Style ...
Page 6: ...6 3 2 Standalone Style ...
Page 14: ...14 How to unload the magnifier 1 2 3 3 4 5 6 Magnification Optics Mount Ring Cover ...
Page 26: ...26 ...
Page 65: ...65 14 2 CCU INTERCOM ...
Page 66: ...66 ...
Page 68: ...68 14 3 OCP ...
Page 69: ...69 ...
Page 70: ...70 ...


