Chapter 10: Blue-White Regional Picking Processes
5031496 G
135
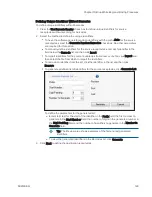
3. Optionally, in the Limit Colonies field, enter the maximum number of colonies to pick from
each receptacle.
Note: If a limit was previously set for the maximum number of colonies in the Source
window, the Limit Colonies option is not available in the Feature Selection window.
See
.
The Total Feature Count field displays the total number of pickable objects in the
receptacle.
4. Select the Feature Counts tab to view the number of found features in a source receptacle.
The barcode or identifier for the source receptacle displays, along with the number of found
colonies and the number of colonies to pick as determined by the selection criteria.
To save the data in .csv format, right-click and then click Export.
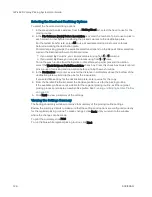
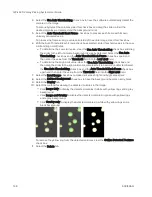
5. Select the Display Options tab to change the display options of the source receptacle
image.
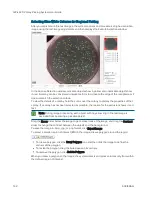
Select the Display Detected Features check box to display all detected features with a
yellow circle.
Select the Shade Features check box to give the detected colonies some shading for
clearer visualization.
Select the Display Proximity Indicators check box to display connecting red lines
between a detected colony and its closest neighbor.
Select the Shade Exclusion Zone check box to display a red-shaded exclusion zone where
the system cannot pick.
6. Click Next.
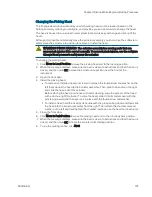
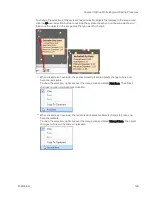
7. In the Continue or Save New Routine dialog or the Save Changes to Routine dialog, select
whether or not to save the routine before continuing with the picking process.
If you create a new routine, the Continue or Save New Routine dialog displays.
To save the settings for the routine before continuing, click Save Routine, enter a
Name and a short Description for the routine, and then click Save.
To continue without saving the settings for the routine, click Routine Without Saving
and then click OK.
If you edit a routine, the Save Changes to Routine dialog displays.
To save the settings for the routine before continuing, click Save.
To save the settings as a new routine without changing the existing routine, click Save
As, enter a Name and a short Description for the routine, and then click Save.
To continue without saving the settings for the routine, click No.
8. Make sure that the instrument door is closed.
9. Click OK to start the picking process.
Summary of Contents for QPix 420
Page 1: ...5031496 G August 2022 QPix 420 Colony Picking System User Guide...
Page 6: ...QPix 420 Colony Picking System User Guide 6 5031496 G...
Page 20: ...QPix 420 Colony Picking System User Guide 20 5031496 G...
Page 30: ...QPix 420 Colony Picking System User Guide 30 5031496 G...
Page 38: ...QPix 420 Colony Picking System User Guide 38 5031496 G...
Page 62: ...QPix 420 Colony Picking System User Guide 62 5031496 G...
Page 138: ...QPix 420 Colony Picking System User Guide 138 5031496 G...
Page 156: ...QPix 420 Colony Picking System User Guide 156 5031496 G...
Page 186: ...QPix 420 Colony Picking System User Guide 186 5031496 G...
Page 194: ...QPix 420 Colony Picking System User Guide 194 5031496 G...
Page 210: ...QPix 420 Colony Picking System User Guide 210 5031496 G...
Page 214: ...QPix 420 Colony Picking System User Guide 214 5031496 G...
Page 218: ...QPix 420 Colony Picking System User Guide 218 5031496 G...
Page 222: ...QPix 420 Colony Picking System User Guide 222 5031496 G...
Page 224: ...QPix 420 Colony Picking System User Guide 224 5031496 G...


