4-18 ScanWizard Pro for Windows Users Guide
English
Using the Selective Color Tool (LCH Mode Only)
The Selective Color tool is used to perform color
correction to a specific color range without altering
the other colors in an image. This is done either to
increase the visual impact of a color or to completely
change the relationship of the targeted color(s) to the
other colors in the image.
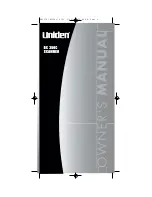
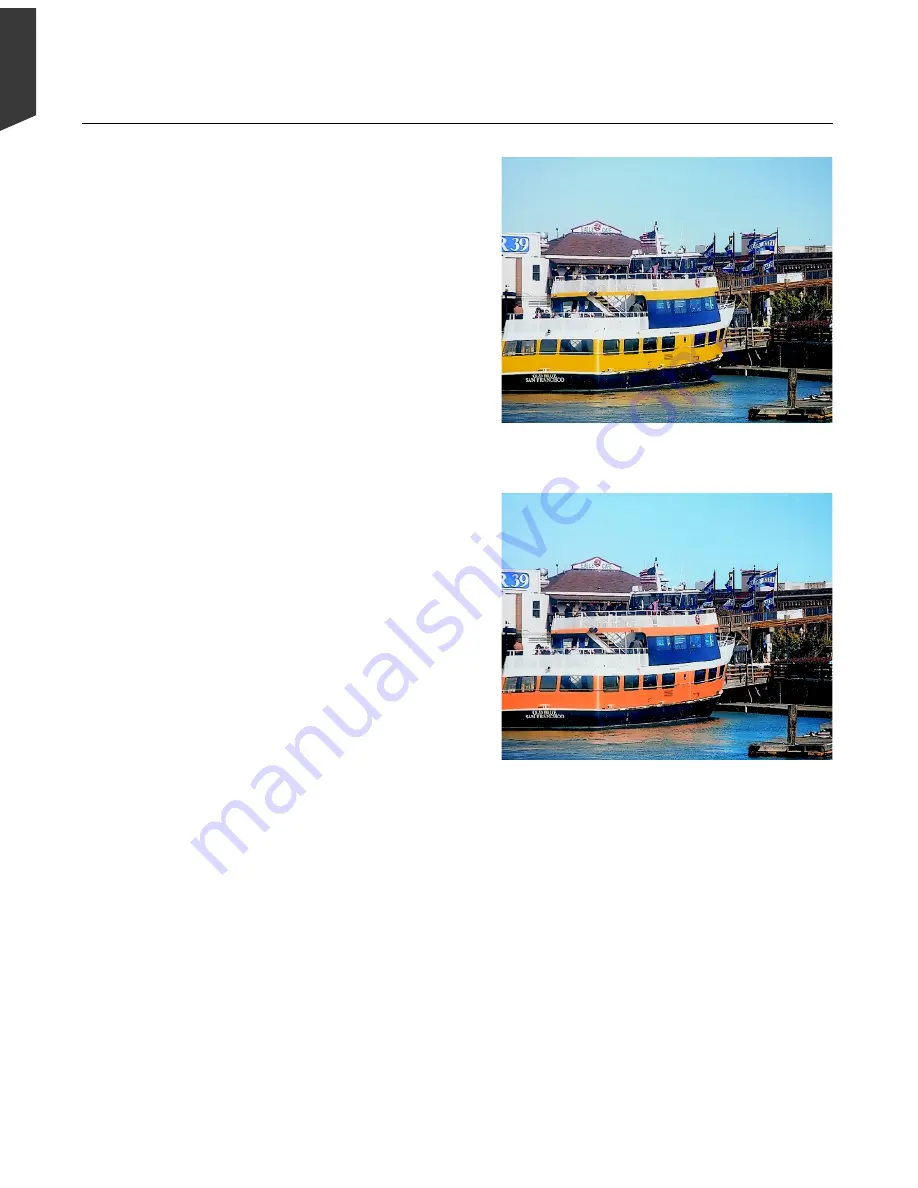
In the example here, we want to increase the
saturation of the sky and change the boat color but
leave everything else untouched.
1. Place the image to be corrected on your scanner.
2. Click the Overview button to see the overview
image in your Preview window.
3. Select the area to be prescanned with the Scan
Frame tool, then click the Prescan button to
obtain a prescan image, and switch to the Prescan
view from the View menu.
4. Click the Selective Color tool in the Settings
window. The Selective Color dialog box will
appear.
5. Select the From color or the color to be corrected.
In the example, move the pointer over the preview
image (notice that the pointer turns into Neutral
Eyedropper pointer). Point the Eyedropper over
the blue sky and click. (Steps 5 to 9 are repeated
for the change in the ship’s color. Click the New
button to define a second color.)
6. Check the Show Affected Areas option to see the
targeted color(s).
7. Adjust the color range to be affected (the Delta
LCH values). To do this, drag the arc of the color
wheel and the sliders of the lightness bar until
only the sky’s blue color is affected.
8. Enter the To color or the color that will take the
place of the original. Enable the To color mode by
clicking on the To color label prior to entering the
color. In the Color Wheel, move the To color
marker to the desired chroma position.
Image corrected with Selective Color tool
Original image
9. Uncheck the Show Affected Areas option to
see the corrected result, displayed on the
right thumbnail.
10. Check the Preview box so that the image in
the Preview window is updated with the
latest image correction. The update is done
in the background and so may take a few
seconds to show.
11. Click OK to confirm the correction.
Summary of Contents for ScanMaker 5
Page 1: ...Microtek ScanWizard Pro User s Guide for Windows...
Page 49: ...Special Features 5 3 English 2 1 3 4 5 Kid Beach City View...
Page 51: ...Special Features 5 5 English 6 8 4 2 5 3 7...
Page 55: ...Special Features 5 9 English 1 5 3 4 2 5 7 6...
Page 57: ...Special Features 5 11 English 7 2 4 3 5 6...
Page 61: ...Special Features 5 15 English 4 5 2 8 3 7 6...
Page 68: ...Appendix 7 English...