


Getting Started 2-1
English
This ScanWizard Pro operates in two operating modes, Scan and Batch modes:
1. The Scan mode (or scan-to-application) “acquires” ScanWizard Pro from an
image-editing software program such as the Adobe Photoshop. The output
images are scanned and directly delivered (individually or in batches) to your
image editing software for further processing.
2. The Batch mode (or scan-to-file) launches the ScanWizard Pro from desktop
program icon or Windows Start menu. The output images are scanned and saved
to files individually or in batches.
Using the Scan Mode
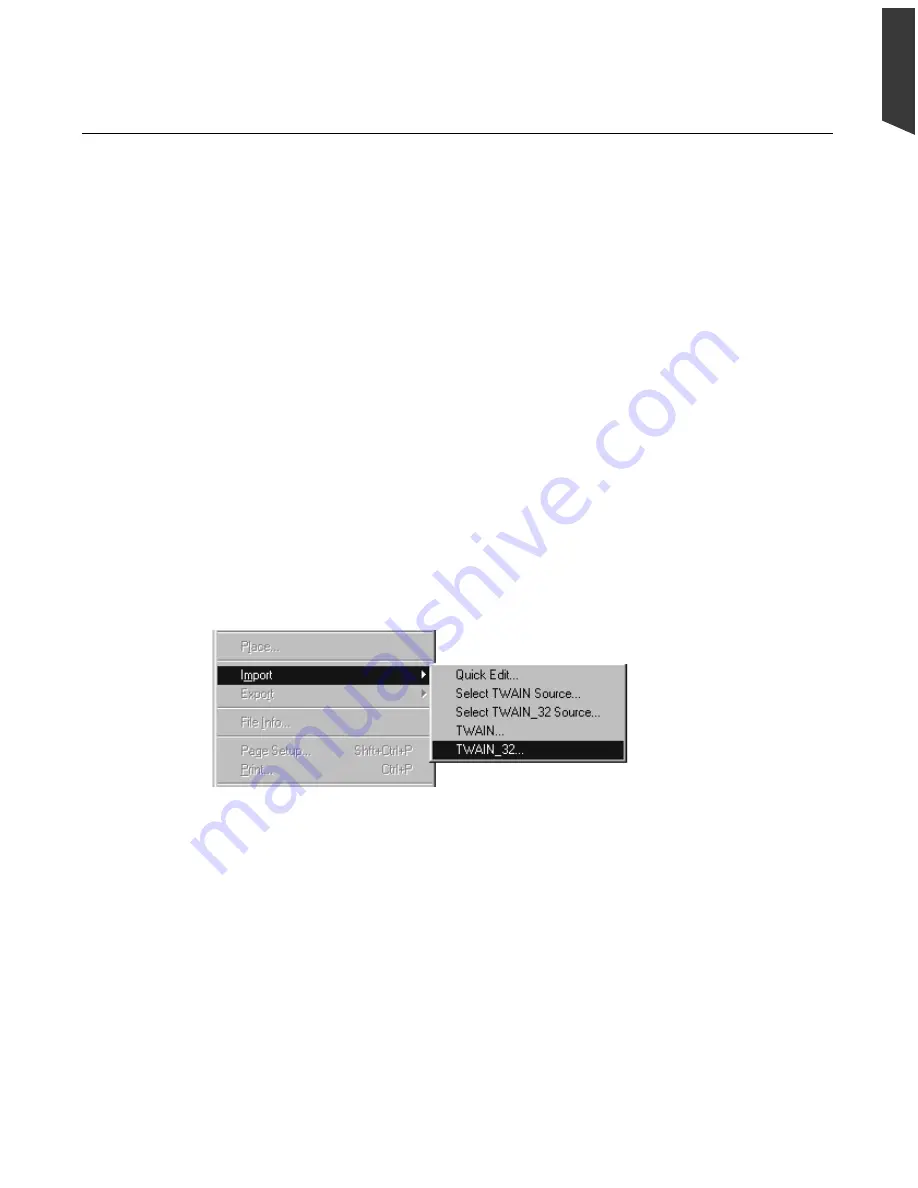
To operate ScanWizard Pro in the Scan mode, launch the image-editing software (e.g.
Photoshop) of your choice. When the software program launches, go to the File
menu, and choose the Import or Acquire command, depending on the software you
are using (see sample menu from Photoshop below). This will automatically launch
ScanWizard Pro, and the four major windows that form the interface of ScanWizard
Pro will appear on your screen.
Using the Batch Mode
The Batch mode of operating ScanWizard Pro allows you to setup scan jobs
individually or in “batches” and then start the scanning and save-to-file processes
when you are ready to do so with a simple click of the Batch button.
To operate ScanWizard Pro in stand-alone Batch mode, click on the ScanWizard Pro
program icon on your desktop or go to the Start menu and simply follow the steps as
illustrated below.
2 Getting Started
Summary of Contents for ScanMaker 5
Page 1: ...Microtek ScanWizard Pro User s Guide for Windows...
Page 49: ...Special Features 5 3 English 2 1 3 4 5 Kid Beach City View...
Page 51: ...Special Features 5 5 English 6 8 4 2 5 3 7...
Page 55: ...Special Features 5 9 English 1 5 3 4 2 5 7 6...
Page 57: ...Special Features 5 11 English 7 2 4 3 5 6...
Page 61: ...Special Features 5 15 English 4 5 2 8 3 7 6...
Page 68: ...Appendix 7 English...


