ArtixScan DI 5230/5240/5250/5260 & ArtixScan TS 540T User's Manual 33
Utilizing Scanned Documents
Depending on your needs, you may save your scanned documents into the
following purposes.
Scanning for Archiving
The archiving function allows the scanner to scan documents for recording
purposes. For instance, an image “record” can be kept of multiple-page
documents or of other important documents, such as birth certificates and tax
records.
1. Load the documents to be scanned into the ADF's Document Feed Tray.
2. Launch ScanWizard DI
in stand-alone mode by clicking the program icon on
the desktop.
3. Follow the procedure (steps 3 through 6) for “Scanning a Stack of
Documents” to specify your scanning requirements.
4. Click the
Custom Scan
button and select
Save to File
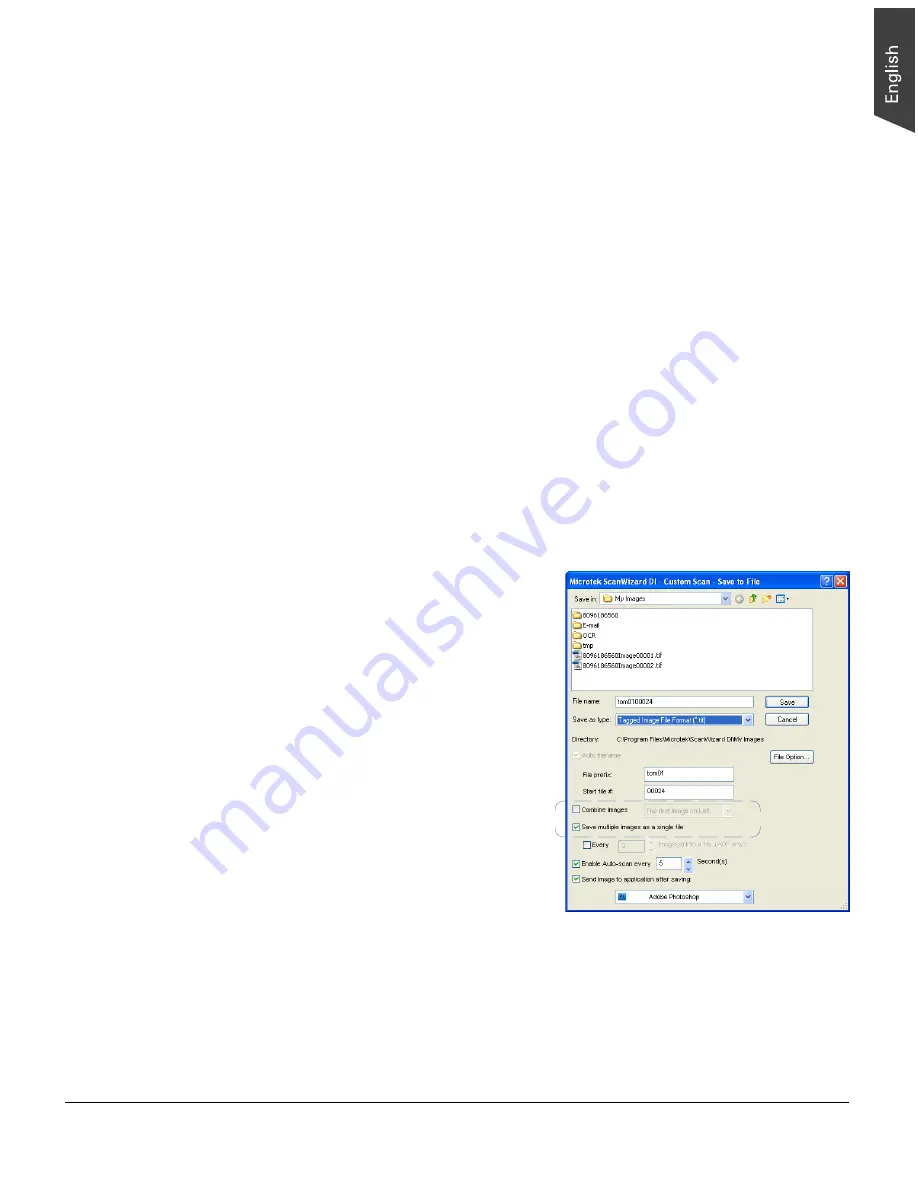
to open the “Custom
Scan-Save to File” dialog box.
In the “Custom Scan-Scan to File” dialog box, specify the following settings:
a) Key in your preferred file name in
the “File prefix” edit box, or use
the default “Image” as a root file
name.
b) Select your required export file
format. Save the file as TIF, PDF,
or DCX, which enables the “Save
multiple images as a single file”
option in the next step.
c) Check the “Save multiple images
as a single file” option to store all
the scanned images as a single
file if desired.
If you scan the documents
through the ADF and enable
“Save multiple images as a single
file”, you are allowed to specify
how many images you would like
to be saved in a single file after scan.
Check the “Every %image(s) into a file “ option, and then enter your
desired number in the edit box directly or click the up/down arrow to
increase/decrease the number. The range is from 2 to 100 images.