14 ArtixScan DI 5230/5240/5250/5260 & ArtixScan TS 540T User's Manual
Step 2: Installing the Software
Important:
Always close any open programs and turn off Anti-virus utilities
before installing software.
PC:
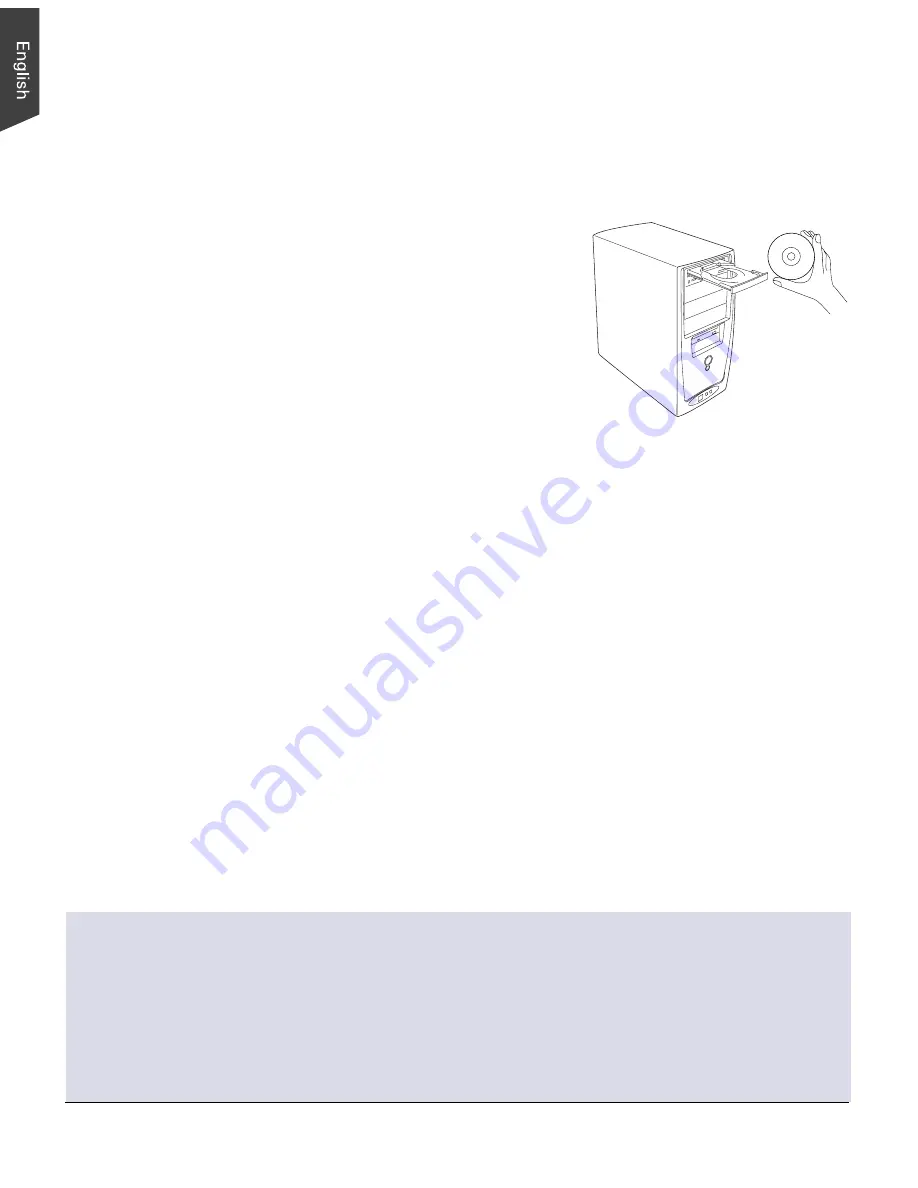
1. Turn on your computer.
2. Place the
Microtek Software CD/DVD
into
a drive.
3. Follow the on-screen instructions to
install the driver and software.
NOTE
: If the Microtek Software Installer
screen does not come up
automatically, double-click the following
in succession: “My Computer”; the CD-
ROM (or DVD-ROM) icon; then
cdsetup.exe to start the installer program.
4. Click
EXIT
on the Microtek Software Installer screen when all the software has
been installed.
5. Restart your computer.
MAC:
1. Turn on your computer.
2. Place the
Microtek Software CD/DVD*
into a drive, and double-click the
ScanPotter
installer icon to install ScanPotter.
3. Install the remaining software components, then restart your computer at the
end of all software installation.
NOTE
: After rebooting your Macintosh, the Microtek software will attempt to
locate your scanner on the system. Since this is your first install and you
have not yet connected the scanner, simply ignore the message that appears
and proceed to the next step.
Drivers & Software Upgrades
After you finish the installation of software, if you found that the installed drivers and software
cannot run your product or your computer system properly later, please go to the Microtek
Download Service
site at ww7.microtek.com.tw/service.php to download and install any updates
you may require.
For additional information about Microtek products, please visit our website at www.microtek.com.
* Microtek Software CD/DVD (ScanPotter) for the scanner is under development;
therefore, it may not come with your scanner package. Microtek will provide it to
you as soon as possible when it is ready.


