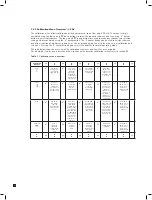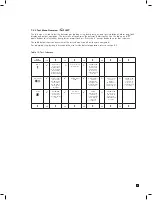
36
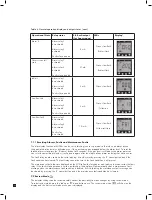
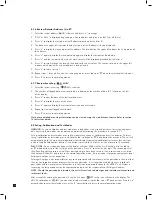
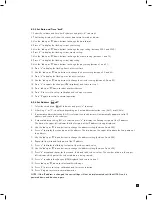
8.2.7 Set pass code ‘
PWd’
1. Select the set pass code ‘
PWd’ submenu and press ‘
✓
’ to accept.
2. Press ‘
▲
’ up or ‘
▼
’ down to set the first pass code value.
(Note holding down the button will increase the increment speed).
3. Press ‘
✓
’ to enter the first value and move to setting the second value.
4. Press ‘
▲
’ up or ‘
▼
’ down to set the second value.
5. Press ‘
✓
’ to enter and repeat for the third and forth values in the passcode.
6. To confirm the pass code re enter it again using the same procedure.
7. The new pass code will be saved after the last entry if the two entered passcodes are the same.
NOTE: Pass codes can be set between 0001 and 9999. Setting the pass code to 0000 will switch off the
pass code. If a pass code is forgotten contact your local Zellweger Analytics service department. In the event
that a pass code is forgotten by the user, Zellweger Analytics is not liable for any costs associated with the
recovery process nor for any inconvenience incurred while the user is unable to access protected settings.
Please ensure secure records are kept for all pass codes implemented on MIDAS
®
units.
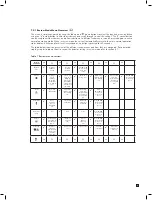
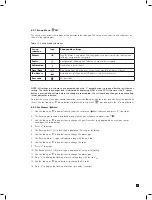
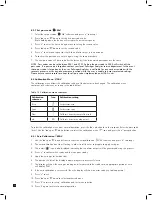
8.3 Calibration Menu ‘ CAL’
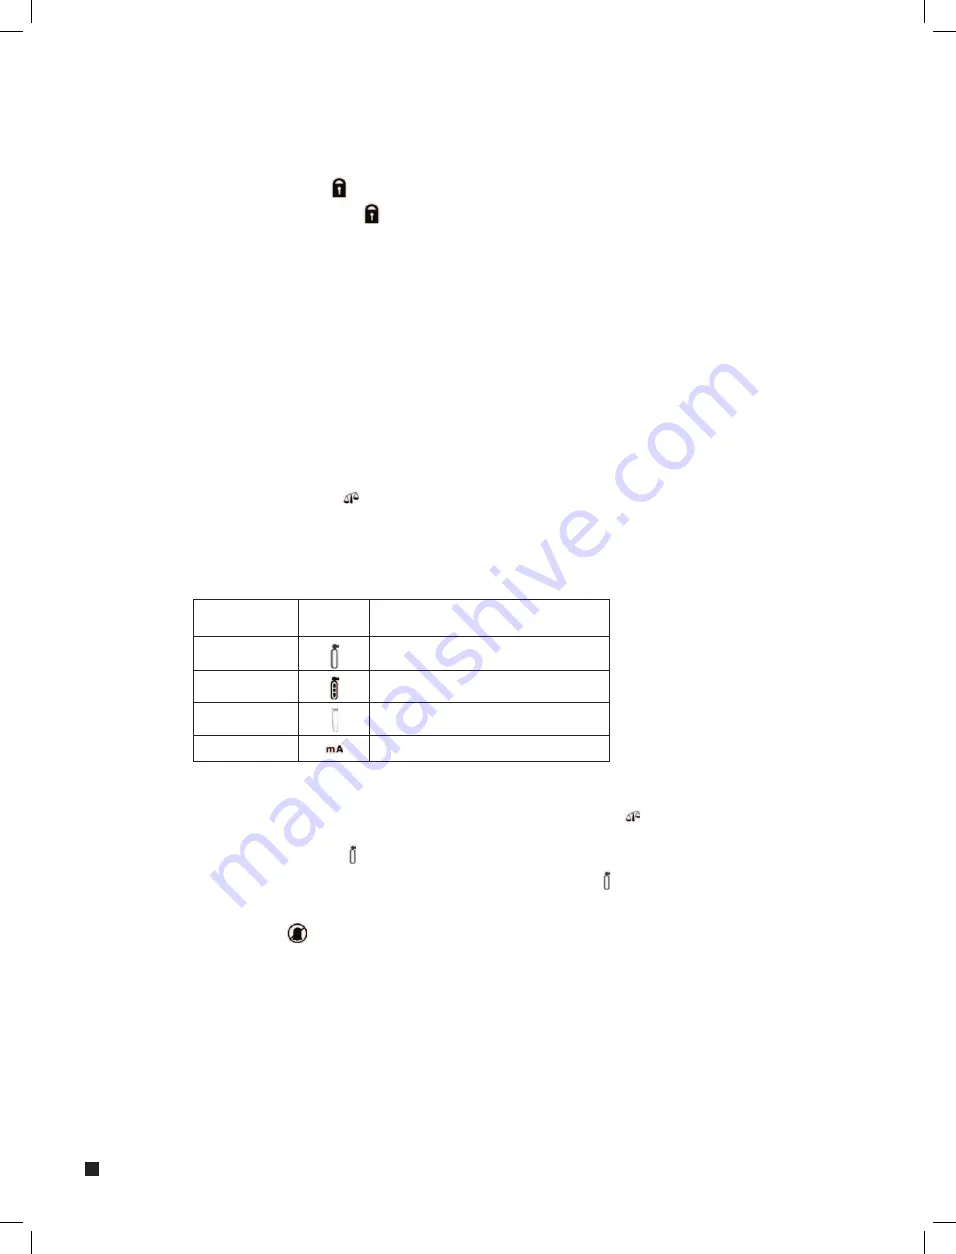
The calibration menu allows the calibration settings of the detector to be changed. The calibration menu
comprises of 4 submenus as shown in the table below.
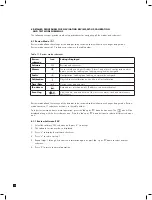
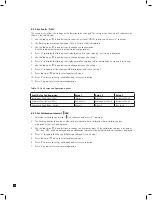
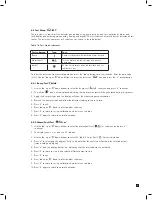
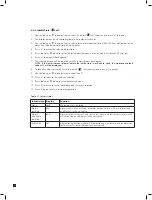
Table 15. Calibration mode submenus.
To select the calibration menu from normal operation, press the ‘
▲
’ up button for a few seconds. Enter the pass code
(if set). Use the ‘
▲
’ up or ‘
▼
’ down buttons to select the calibration menu ‘ ’ icon and press the ‘
✓
’ accept button.
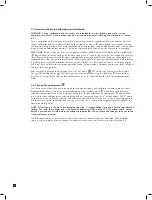
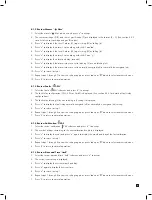
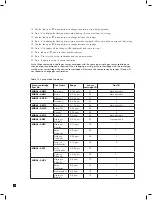
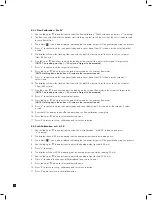
8.3.1 Zero Calibration ‘ 0CAL’
1. Use the ‘
▲
’ up or ‘
▼
’ down buttons to select the zero calibration ‘ 0CAL’ submenu and press ‘
✓
’ to accept.
2. The zero calibration icon starts flashing in order to tell the user to prepare to apply zero gas.
3. The inhibit ‘
’ icon is also displayed indicating that no alarm outputs will be generated during this process.
4. Press ‘
✓
’ to confirm when ready and the icon goes steady.
5. Apply the zero gas (or ambient air).
6. The dots on the left of the display indicate progress to a successful zero.
7. The display will show the zero gas reading and if measured to be stable for an appropriate period of time
will display ‘PASS’.
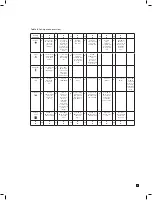
8. If the zero calibration is unsuccessful then the display will show an error code (see table oppersite)
9. Press ‘
✓
’ to exit.
10. Press ‘
▲
’ up or ‘
▼
’ down to select another submenu.
11. Press ‘X’ to return to set-up, calibration and test menu selection.
12. Press ‘X’ again to return to normal operation.
Calibration
submenu
Icon
Calibration setting
Zero
Set detector zero
Span
Set detector span
Flow
Calibrate detector sample flow rate
mA
Calibrate detector analog output

