25
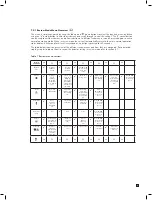
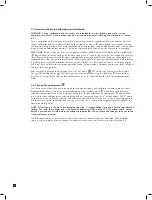
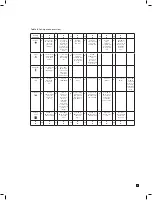
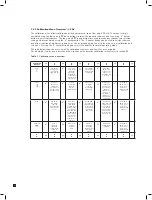
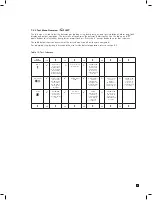
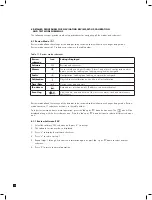
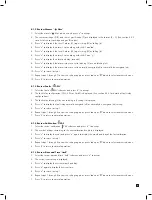
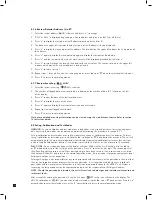
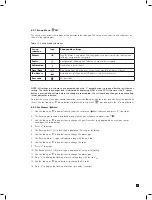
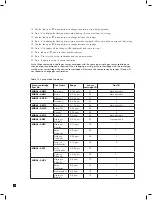
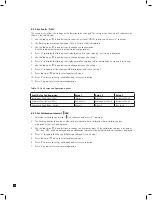
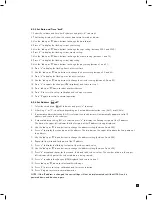
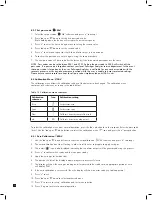
Table 8. Set-up menu overview.
Set up
Submenu
OK
▲
▼
OK
▲
▼
OK
▲
▼
OK
▲
▼
OK
▲
▼
OK
▲
▼
Alarms
✓
Change gas
ID code (only
for multi
gas sensor
cartridge)
✓
Set level 1
(L1) rising (U)
or falling (d)
alarm type.
Set alarm set
point. Repeat
for level (L2)
alarm
✓
Set alarm
time delay
(X-X secs)
✓
Set alarm
relays latching
(L) or non
latching (nL)
✓
Set alarm
relays
normally
energized (nE)
or normally
de-energized
(nd)
✓
Press
▲
or
▼
to select
next menu or
X for set-up,
calibration
and test
menu
Faults
✓
Set fault relay
configuration
(1FLt, 2FLt,
CmbF)
✓
Set fault relay
latching (L) or
non latching
(nL)
✓
Set fault relay
normally
energized (nE)
or normally
de-energized
(nd)
✓
Press
▲
or
▼
to select
next
menu or X
for set-up,
calibration and
test menu
Calibration
✓
Set calibration
interval
(0-365 days)
✓
Press
▲
or
▼
to select
next menu or
X for set-up,
calibration
and test menu
Date/Time
timE
✓
Set date
format (dd:
mm or mm:
dd)
✓
Set year
(2003-2030)
✓
Set month
(1-12)
✓
Set day (1-31)
✓
Set hours
(00-23)
✓
Set minutes
(0-59)
Press
▲
or
▼
to
select next
menu or X
for set-up,
calibration
and test
menu
Set Address
✓
Set auto
address detect
(AU Y) or
manual set
(AU n)
✓
If AU Y,
address is
detected,
then returns
to set-up,
calibration
and test
menu. If AU
n, set the first
part of the IP
address
(0-255)
✓
Repeat setting
address for
2nd, 3rd and
4th segments
of IP address.
✓
Set the 4 sub
net addresses
(0-255) using
same method
✓
Press
▲
or
▼
to select
next menu or
X for set-up,
calibration
and test menu
Set Pass
Code
✓
Press
▲
or
▼
to set pass
code 1st digit
✓
Press
▲
or
▼
to set pass
code 2nd
digit
✓
Press
▲
or
▼
to set pass
code 3rd
digit
✓
Press
▲
or
▼
to set pass
code 4th digit
✓
Repeat to
confirm pass
code
✓
Pass code
saved if both
entries are
the same
▲
▼
OK
▲
▼
OK
▲
▼
OK
▲
▼
OK
▲
▼
OK
▲
▼
OK
▲
▼

