LRP GRAVIT GPS VISION
2.4GHZ F.H.S.S.
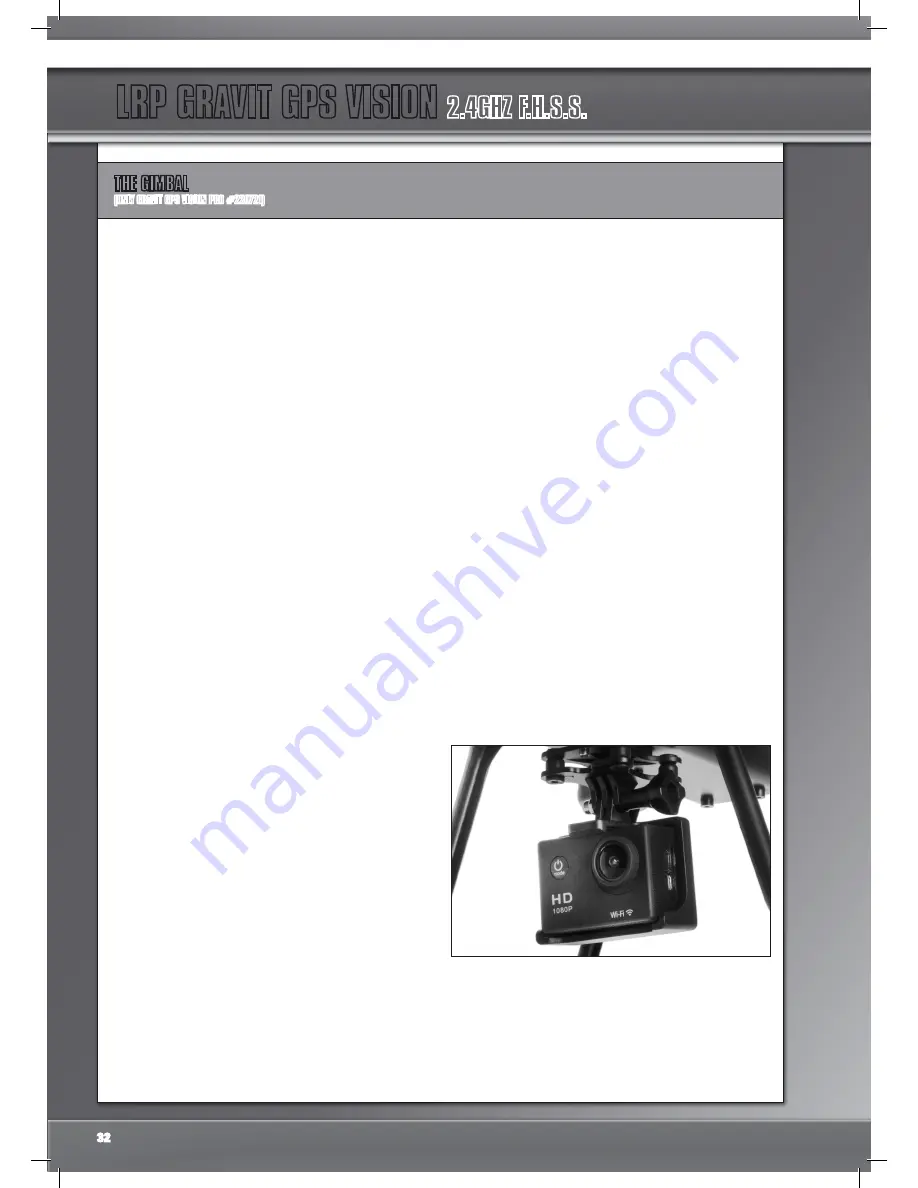
THE GIMBAL
(ONLY GRAVIT GPS VISION PRO #220721)
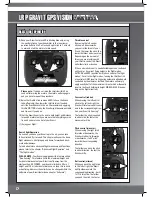
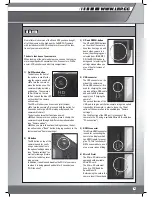
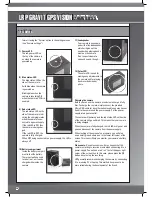
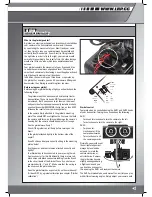
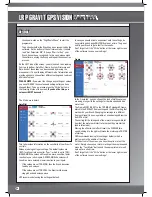
AUX2 to a tilt level you want to have.
PLEASE NOTE:
The functions of AUX1 and AUX2 depend on
how the red/black gimbal wires are attached to the gimbal. If
the AUX1 and 2 are attached like shown in the pictures above,
AUX1 will control camera-roll and AUX2 will controll camera-
tilt.
If you exchange the two connectors, the functions of AUX1
and AUX2 will simply be interchanged.
You can also leave the AUX1 and 2 wires completely away.
The gimbal will be fully operable, but you won‘t have the
option to manually adjust it using the AUX1 and 2 knobs of
your transmitter.
Leaving away the control wires might also be an option if you
are experiencing problems with the gimbal operation when
AUX1 and 2 are connected.
Gimbal restrictions
When using a gimbal, you should note the following things:
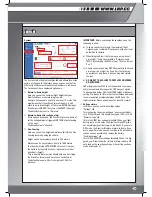
- Do NOT fly in MANUAL-mode (see chapter “Flight modes”
for details). Doing this will almost certainly damage your
gimbal and Gravit
- Do NOT fly very sharp or abrupt maneuvers, as this may
lead to the gimbal knocking against the gimbal mount,
resulting in malfunction or damage. If you ever want to fly
sporty with your Gravit, we HIGHLY recommend detaching
the gimbal completely and using either no camera at all or
using the provided fixed camera mount instead.
- Make sure the gimbal is secured during transportation.
It should not move freely around, as this may result in a
damage of the gimbal. Use some sort of padding or protec-
tion to keep it from swinging loosely into all directions.
- Do not adjust the EndPoint (Speed/maximum angle of tilt)
of your Gravit to values higher than 100% when flying with
the gimbal mounted (see chapter “Software” for details).
-
NEVER
power up your gimbal (Gravit)
WITHOUT
the
camera being attached to the gimbal. This would almost
certainly result in a damaged gimbal.
Gimbal Tweaking
The performance of your gimbal depends on many factors and
you will notice that the video footage is not always exactly the
same quality-wise.
For example, things like environmental influences like tempe-
rature and wind have a strong impact on the performance of
your gimbal (and thus on the quality of your video footage).
In order to get the best out of your gimbal, you can experiment
with the following settings:
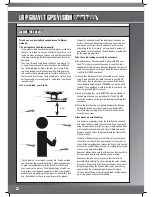
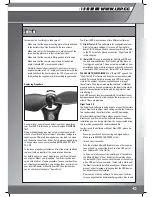
1) The 4 black silicone dampers that connect the two gimbal
plates are very important to the gimbal’s overall perfor-
mance. If they are too soft, the gimbal will shake too
much, if they are too hard, the gimbal’s mount will be too
stiff. The tricky thing is that the softness/hardness of the
silicone dampers is strongly dependant on the tempera-
ture. High environmental temperatures will result in softer
dampening, cold temperatures will result in harder/stiffer
dampening. In order to compensate for this characteristic,
you can do several things:
Exchange the silicone dampers for the softer dampers of
the fixed camera mount. Those are included in your packa-
ge content. This will make the dampening softer.
2) You can use zip ties running through the silicone dampers
(just like the transport securing) to make the dampening
stiffer. Just take care that you don’t zip them too tight,
otherwise the dampening will be almost completely use-
less
3) You can also try to insert a flat foam pad or padded dou-
bled sided adhesive sticker between the UPPER mounting
plate and the bottom side of the Gravit. Make sure too use
longer screws if this should become necessary in order to
have the mounting plate fixed tightly to the bottom side
of the Gravit. The pad will additionally help to eliminate
vibrations being transferred from the Gravit to the gimbal.
The standard camera mount
ALL versions of the Gravit come with a standard, fixed camera
mount. On version #220720, this fixed mount is already
attached ex works. The versions #220721 and #220722 are
equipped with the gimbal ex works, but they also have the
standard mount included in their boxes.
The handling of the standard camera mount is quite easy and
32

