


LRP GRAVIT GPS VISION
2.4GHZ F.H.S.S.
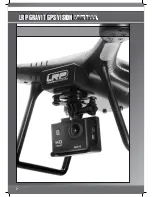
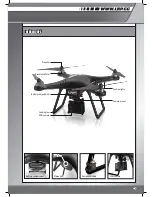
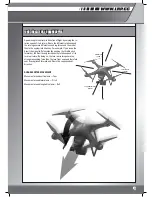
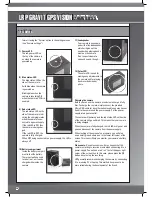
ONLY FOR GRAVIT GPS VISION – Check you camera mount
Make sure that the camera is properly seated in the camera
cage and that the camera cage is securely connected to the
mount.
The camera cage should be tightened down so that it does not
move by itself when slightly touched. Make sure to adjust the
camera to the desired angle. Usually, the camera should point
slightly downwards in order to get good video footage later on.
ONLY FOR GRAVIT GPS VISION PRO – Gimbal-calibration
Before you use the gimbal of your Gravit the first time, you
should check it to make sure it works in an optimal way.
For a detailed description of your gimbal, please check chapter
„The gimbal“.
IN CASE you should notice that the gimbal is NOT working as
expected, please calibrate the gimbal.
The calibration process works as follows:
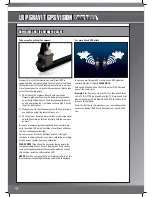
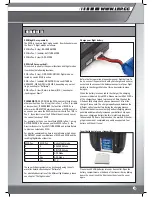
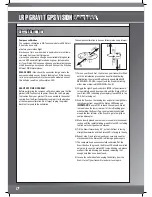
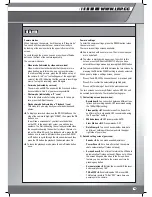
1) Make sure that the power-connector of your gimbal is
attached to power-socket of your Gravit like shown in the
photo.
2) Make sure that the two black connectors are plugged onto
the sockets of the gimbal as shown in the photo.
3) Before powering up you Gravit (and with it your gimbal),
make sure that the camera is correctly attached and
secured to the gimbal.
PLEASE NOTE:
DO NOT power up your gimbal without a
camera attached to it. Otherwise you may seriously dama-
ge or even destroy the gimbal.
Also make sure, that your Gravit is standing on an even
surface and is not moved while performing the gimbal
calibration.
4) Connect the flight battery to your Gravit and let it initialize.
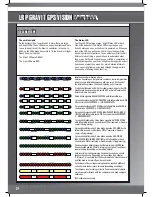
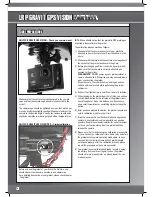
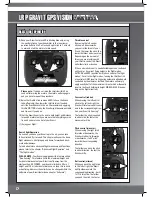
5) When looking on the gimbal from the left side, you will see
a small, black button on the left side of the gimbal circuit
board (see photo). Press this button once. If necessary,
use a small screwdriver or something similar to reach the
button.
6) After you have pressed the button, the gimbal reboots and
enters calibration mode for a short time.
7) Grab the camera with your hand carefully and aligned the
camera in horizontal and vertical orientation as good as
possible. Keep this position/orientation for a short moment
until you can feel resistance from the gimbal and then
release the camera.
8) Please note that for performing the calibration process (No.
7)), you have only a rather short time frame to do so before
the gimbal enters normal operation mode again. In case
you should miss the time frame and the gimbal should
not aligned properly after the calibration process, please
repeat the procedure until you are successful.
9) Your gimbal is now calibrated and ready to work. Unplug
the battery from your Gravit again. In case the gimbal
should not work properly later on, please repeat the cali-
bration process.
FLIGHT PREPARATIONS
14


