Preparations
Before you can take-off with your Gravit GPS, you should
make sure that some requirements are met and some preli-
minary procedures have been worked through correctly and
successfully:
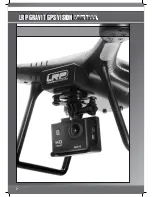
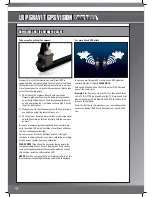
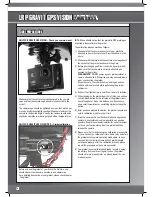
The camera mount (or the gimbal mount respectively) has
been secured by black zip ties for transportation. Those zip ties
do NOT necessarily have to be removed. But if you choose to
let them on the mount and your video footage seems unusually
instable or shaky, you should consider REMOVING the zip ties,
as they MAY influence the result of your camera negatively
- In case you plan to use your camera, please make sure the
lens protection foil has been removed from the lens
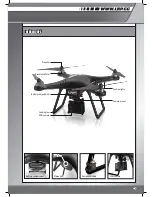
- Make sure that the connector that goes to your compass is
firmly connected to the compass and has not come loose
during transportation
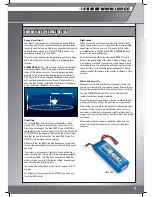
- Your flight battery should be fully charged and the batteries
of your transmitter should be full
- The battery of your camera should be charged
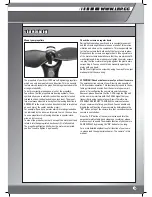
- Your propellers should be properly mounted and without
defectives
- Your gimbal should be calibrated and working (ONLY
#220721)
- DO NOT POWER UP your Gravit (and thus your gimbal) if
the camera is not attched to the gimbal, as this will dama-
ge the gimbal.
- Your compass should be calibrated and working correctly
- You should have checked your Gravit for any damages or
defectives
- It should not be too windy (flying in strong winds will most
likely result with the loss of your Gravit!)
- It should not be too cold or too hot (flying in extreme tem-
peratures is not recommended)
- It must not rain (your Gravit is not suited for flying in rain,
beware of damages!)
- You should be in a large outside area with no constructions,
houses or people around
- You should be in a place where you are legally allowed to
fly
- You should keep your flight insurance documents with you
(needed in many countries, please check)
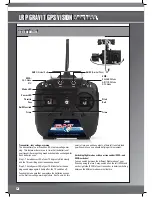
- You should know the special functions of your transmitter
(especially the function of SWA and SWB)
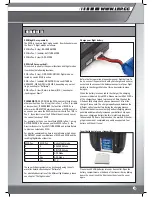
- You should be familiar with the status-LED and its blink-
codes
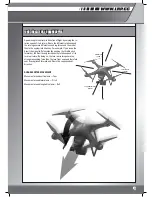
- Both of your transmitter switches should be in Pos. 0 (top).
Experienced pilots can handle this differently on their own
risk)
- Your throttle control stick (left stick) should be completely
down
- The WiFi of your camera MUST BE disabled!
- You should be comfortable to fly quadrocopters (and in case
you are NOT, you should have someone at your side who is
and who can assist you)
- You should have a decent, even, unobstructed take-off area
from which to take off from.
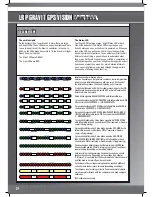
Before taking off with your Gravit, have a close look at the
status-LED on the rear side of your Gravit. The following
blinking codes should PREVENT you from starting and require
further actions to be taken before you can take off:
- Fast red flashes
This means that the battery is depleted,
check battery voltage
- Intermittent 2 red flashes
Your Gravit has not yet ac-
quired full satellite lock
- Long, yellow flashes
The compass of your Gravit is not
working properly (see chapter “Compass calibration”)
- Long, red flashes
The IMU (Inertial Measurement Unit)
does not work properly (see chapter “Software“ and MA-
NUAL IMU- and TX-calibration)
Before you take off your Gravit, make sure you have read
through the chapter “Take off-preparations”.
To take off, please do the following:
1) Put your Gravit on the ground and connect the flight battery
2) Tuck the battery wires away inside of the battery compart-
ment and close the battery compartment
3) Turn on your transmitter
4) Wait until the Gravit has gone through the initialization
process
5) Make sure that the status-LED of your Gravit does NOT
show an undesired LED-blining code (see chapter “The
status LED”).
6) With your two transmitter-switches SWA and SWB being
in the top position Pos. 0 (which we recommend for taking
off), please wait for the red blinks to disappear, indicating
that your Gravit GPS has acquired full GPS-lock.
7) If you want to make use of your camera (start a recording,
for example), please make sure to make all the settings
now, BEFORE you arm and start your motors (for details on
your camera’s functions, please read chapter “The came-
ra”)
TAKE OFF - PREPARATIONS AND TAKE OFF
17


