63
PCF (Position Correction Factor)
Another method used to make your display match a chart or map is called
“PCF” or Position Correction Factor. This unit gives you the capability to
move or offset the position shown on the display to match one on the
chart. The unit will add this offset to all position and navigation displays at
all times.
Remember, the position error on any radio navigation system is very dy-
namic and the PCF offset should never be used in an attempt to cancel
the error.
In general terms, PCF should only be used if your map indicates what the
possible error is. PCF should always be reset to zero when you’re
finished with the chart.
For example, suppose you are stopped at a location that is accurately
marked on a chart. Your unit shows a longitude position that is .244 min-
utes east of the one on the chart and .047 minutes north latitude. Using
the PCF feature, you can make the AirMap 300 match the chart you’re
using. If you move, the unit will continuously add the change to all posi-
tion, navigation, and mapping displays. This makes it more closely match
the datum used by the chart. For this reason, you should be careful when
entering the PCF offset. It’s saved in memory and doesn’t change when
the unit is turned off. However, resetting the unit does erase the PCF
offset.
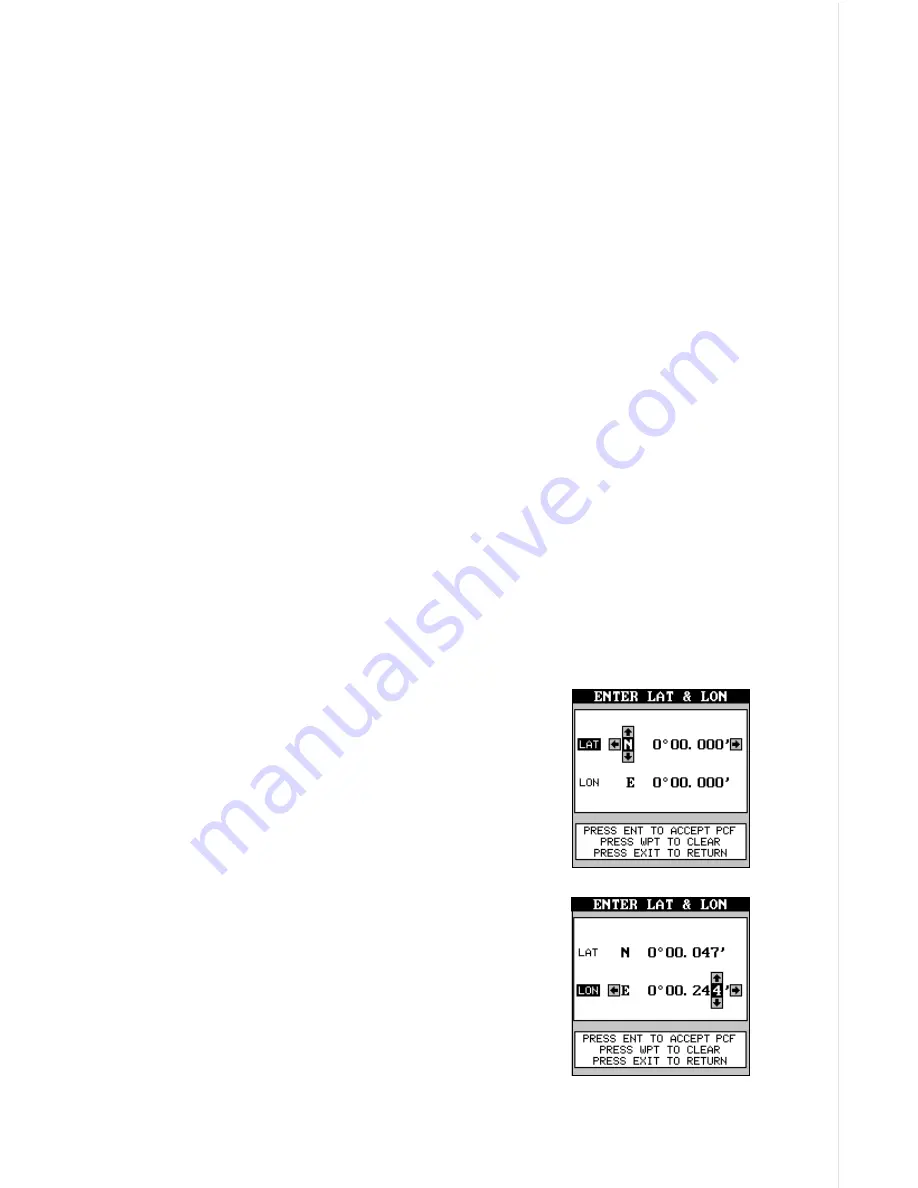
To set the PCF offset, highlight the “Set Position
Correction Factor” label on the GPS CORREC-
TIONS menu and press the right arrow key. The
screen shown at right appears.
Now enter the correction for your location. Remem-
ber, this is the difference between the location
shown on the present position display and the po-
sition shown on the chart. In this example, we en-
tered 0 degrees, 0.047 minutes north latitude and
0 degrees, 0.244 minutes east longitude. That is
the difference between the present position shown
by the AirMap 300 and the one on our chart.
After you’ve entered the latitude/longitude correc-
tion, press the ENT key to accept it. The AirMap
300 returns to the navigation or mapping screens
with the correction factor applied.
Summary of Contents for AirMap 300
Page 1: ...INSTALLATION AND OPERATION INSTRUCTIONS AirMap 300 TM...
Page 85: ...81 WINDOW BOXES These boxes are used on Map 3 and Nav 1 only 1 2 3 4 5 6 7 8 9 10 11 12...
Page 86: ...82 13 14 15 16...
Page 87: ...83 WINDOW GROUPS This is a listing of window groups A through O A B C D E F G H I J K L...
Page 88: ...84 M N O...
Page 94: ...90...


