36
To remove only certain icons, highlight the “Delete Icons From Map” label.
Press the right arrow key. The unit returns to the mapping screen with the
cursor centered on your present position. Use the arrow keys to move the
cursor to the icon on the map that you wish to erase. Press the ENT key
when you’re ready to erase the icon. A message appears, asking you if
you want to delete that icon. Press the left arrow key to erase it. If you
wish to delete another icon, move the cursor over it and press the ENT
key. When you’re finished, press the EXIT key to erase the cursor.
WINDOWS
The windows feature gives you over 45 differ-
ent displays that you can arrange in 15 differ-
ent groups. This lets you customize the unit to
your own situations.
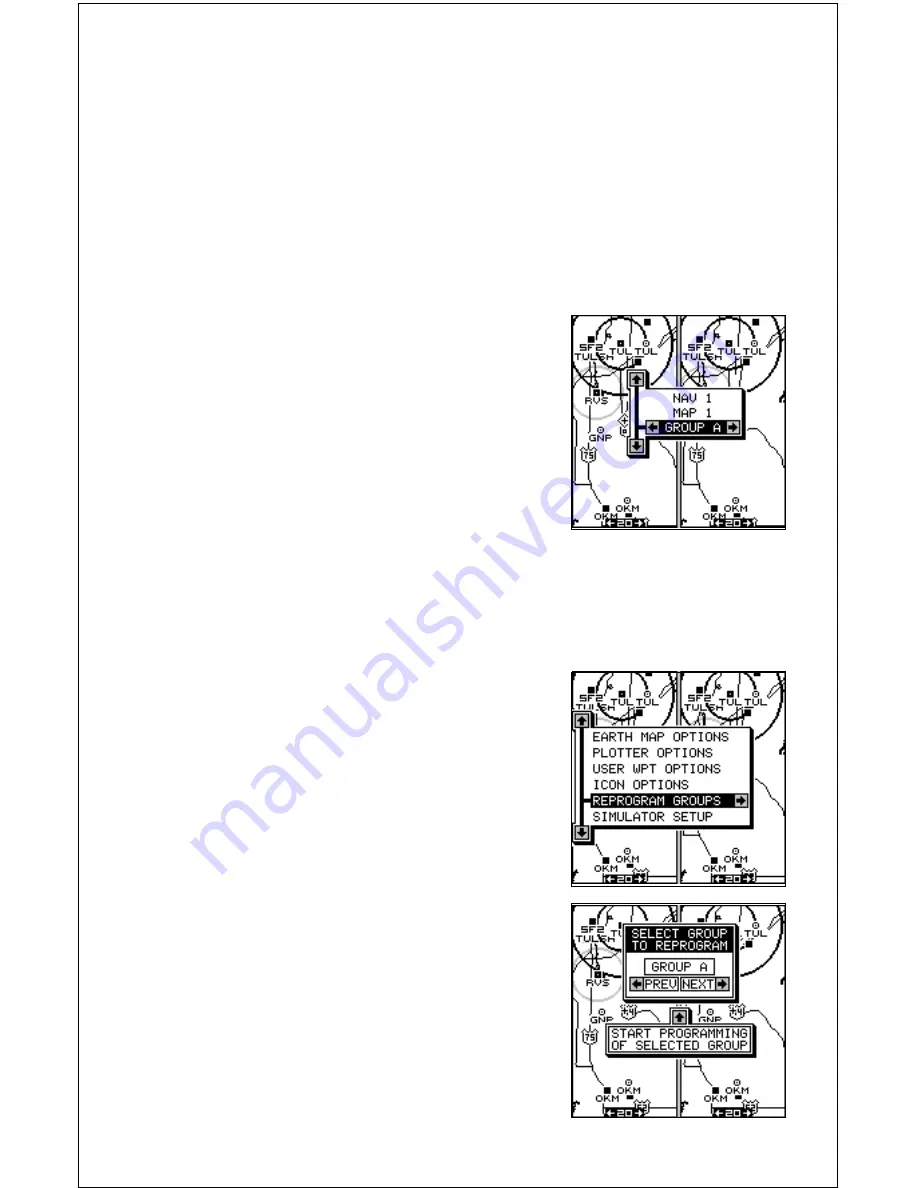
To use the windows feature, press the PAGES
key, then press the up or down arrow keys to
highlight the “GROUP A” label as shown at
right. The windows have 15 different pre-pro-
grammed groups: A through N. Group “A” is
visible in the background when you switch to the windows groups. To view
each group, simply press the right or left arrow key while the mode menu
is showing. Each group shows in the background as you press the arrow
keys. When you see the group you want to use, press the EXIT key to
erase the mode menu.
REPROGRAM WINDOWS GROUPS
All of the 15 windows groups can be custom-
ized. The changes you make to the groups will
remain in memory, even if all power is removed
from the unit. You can, however, return the
groups to the factory settings from the “Preset
Groups” menu.
To customize a group, first switch to a windows
group. It doesn’t have to be the group you want
to customize. Next, press the MENU key, then
highlight the “Reprogram Groups” menu and
press the right arrow key. A screen similar to
the one shown at right appears.
The group selection menu is at the top of the
screen. Using the left or right arrow keys,
choose the group you want to change. When
Summary of Contents for AirMap 300
Page 1: ...INSTALLATION AND OPERATION INSTRUCTIONS AirMap 300 TM...
Page 85: ...81 WINDOW BOXES These boxes are used on Map 3 and Nav 1 only 1 2 3 4 5 6 7 8 9 10 11 12...
Page 86: ...82 13 14 15 16...
Page 87: ...83 WINDOW GROUPS This is a listing of window groups A through O A B C D E F G H I J K L...
Page 88: ...84 M N O...
Page 94: ...90...


