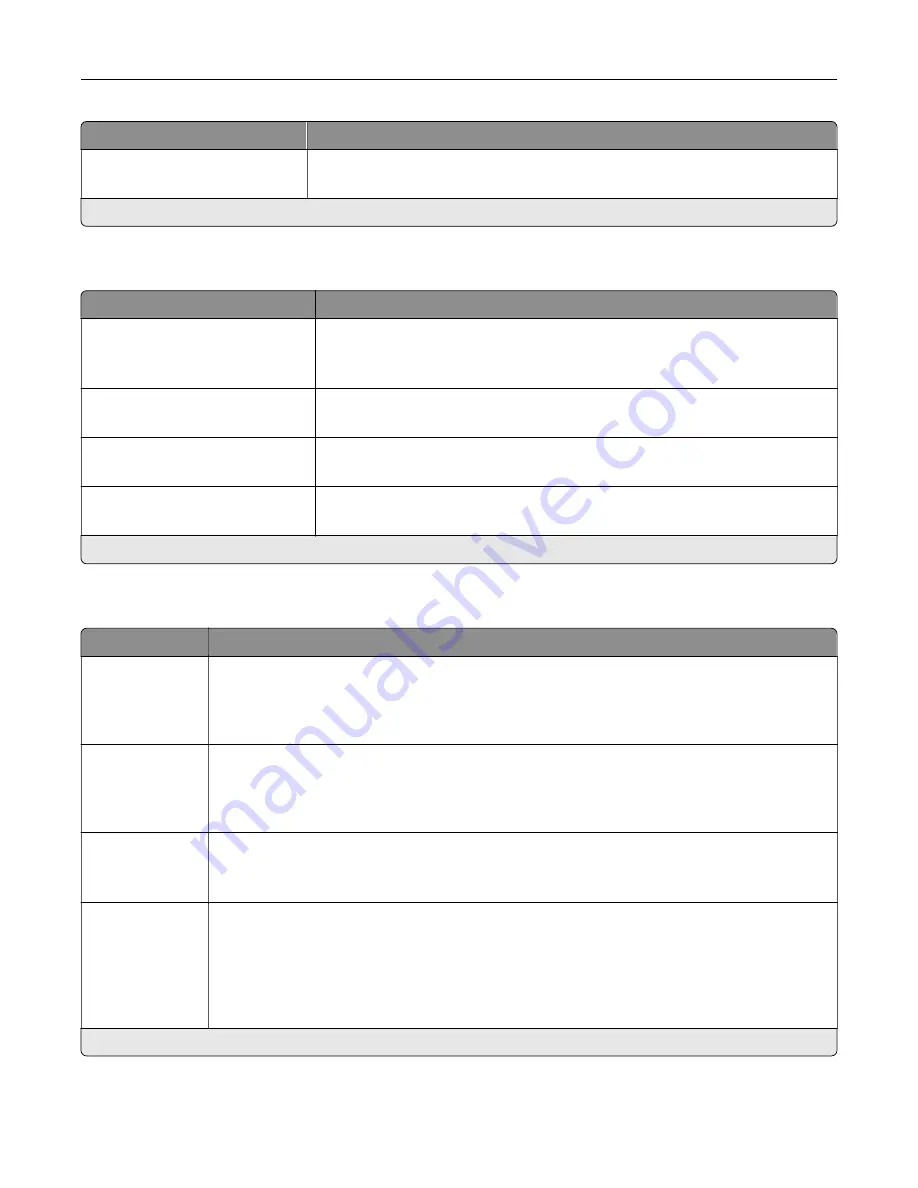
Menu item
Description
Retries for HTTP/FTP Requests
1–299 (3*)
Set the number of retries to connect to the HTTP/FTP server.
Note:
An asterisk (*) next to a value indicates the factory default setting.
ThinPrint
Menu item
Description
Enable ThinPrint
Off*
On
Print using ThinPrint.
Port Number
4000–4999 (4000*)
Set the port number for the ThinPrint server.
Bandwidth (bits/sec)
100–1000000 (0*)
Set the speed to transmit data in a ThinPrint environment.
Packet Size (kbytes)
0–64000 (0*)
Set the packet size for data transmission.
Note:
An asterisk (*) next to a value indicates the factory default setting.
USB
Menu item
Description
PCL SmartSwitch
Off
On*
Set the printer to switch to PCL emulation when a print job received through a USB port requires
it, regardless of the default printer language.
Note:
When this setting is disabled, the printer does not examine incoming data and uses the
default printer language specified in the Setup menu.
PS SmartSwitch
Off
On*
Set the printer to switch to PostScript emulation when a print job received through a USB port
requires it, regardless of the default printer language.
Note:
When this setting is disabled, the printer does not examine incoming data and uses the
default printer language specified in the Setup menu.
Job Buffering
Off*
On
Temporarily store jobs on the hard disk before printing.
Note:
This menu item appears only when a hard disk is installed.
Mac Binary PS
Auto*
On
Off
Set the printer to process Macintosh binary PostScript print jobs.
Notes:
•
Auto processes print jobs from computers using either Windows or Macintosh operating
systems.
•
Off filters PostScript print jobs using the standard protocol.
Note:
An asterisk (*) next to a value indicates the factory default setting.
Understanding the printer menus
139
Summary of Contents for XC6152
Page 65: ...5 Touch Scan Here If necessary change the scan settings 6 Scan the document Scanning 65 ...
Page 161: ... Scanner glass pad 3 Open door E Maintaining the printer 161 ...
Page 162: ...4 Wipe the following areas ADF glass in door E Maintaining the printer 162 ...
Page 179: ...3 Remove the pick roller 4 Unpack the new pick roller Maintaining the printer 179 ...
Page 198: ...2 Open door G 3 Pull out the staple cartridge holder Maintaining the printer 198 ...
Page 216: ...2 Open door G 3 Pull out the staple cartridge holder Clearing jams 216 ...
Page 274: ...4 Remove the paper bail 5 Remove the standard bin insert Upgrading and migrating 274 ...


