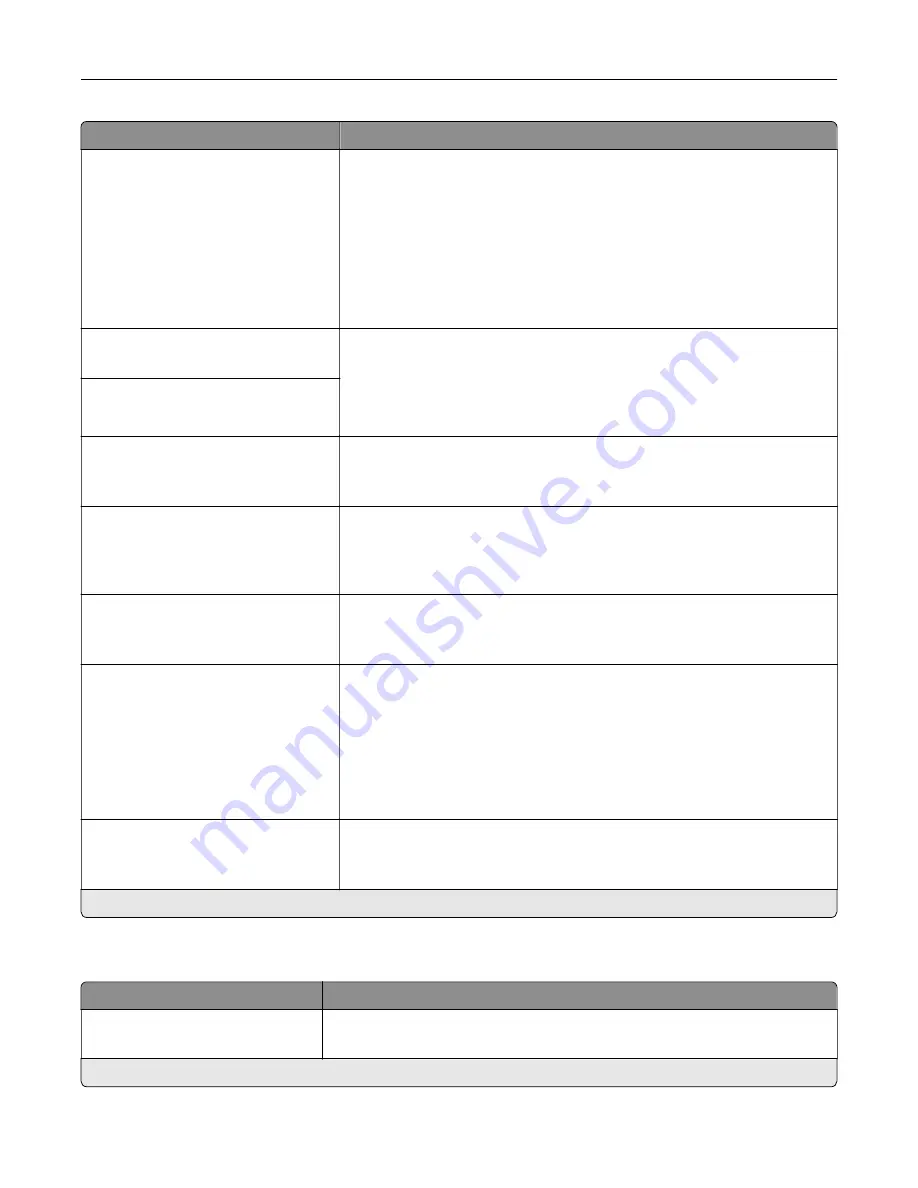
Menu item
Description
Lines per Page
1–255
Specify the number of lines of text for each page printed through the PCL®
data stream.
Notes:
•
This menu item activates vertical escapement that causes the
selected number of requested lines to print between the default
margins of the page.
•
60 is the U.S. factory default setting. 64 is the international factory
default setting.
PCL5 Minimum Line Width
1–30 (2*)
Set the initial minimum stroke width.
Notes:
•
Jobs printed in 1200 dpi use the value directly.
•
Jobs printed in 4800 CQ use half the value.
PCLXL Minimum Line Width
1–30 (2*)
A4 Width
198 mm*
203 mm
Set the width of the logical page on A4
‑
size paper.
Note:
Logical page is the space on the physical page where data is
printed.
Auto CR after LF
Off*
On
Set the printer to perform a carriage return after a line feed control
command.
Note:
Carriage return is a mechanism that commands the printer to move
the position of the cursor to the first position on the same line.
Auto LF after CR
Off*
On
Set the printer to perform a line feed after a carriage return control
command.
Tray Renumber
Assign MP Feeder
Assign Tray [x]
Assign Manual Paper
Assign Manual Envelope
View Factory Defaults
Restore Defaults
•
Configure the printer to work with a different print driver or custom
application that uses a different set of source assignments to request a
given paper source.
•
Show the factory default value assigned for each paper source.
•
Restore the tray renumber values to their factory defaults.
Print Timeout
Off
On* (90 seconds)
Set the printer to end a print job after it has been idle for the specified
amount of time.
Note:
An asterisk (*) next to a value indicates the factory default setting.
HTML
Menu item
Description
Font Name
Times*
Set the font to use when printing HTML documents.
Note:
An asterisk (*) next to a value indicates the factory default setting.
Understanding the printer menus
84
Summary of Contents for XC4140
Page 60: ...5 Touch Scan Here If necessary change the scan settings 6 Scan the document Scanning 60 ...
Page 155: ...2 Remove the waste toner bottle 3 Remove the imaging kit Maintaining the printer 155 ...
Page 157: ...8 Insert the black toner cartridge 9 Insert the imaging kit Maintaining the printer 157 ...
Page 159: ...2 Remove the waste toner bottle 3 Remove the imaging kit Maintaining the printer 159 ...
Page 161: ...8 Insert the toner cartridges 9 Insert the new imaging kit Maintaining the printer 161 ...
Page 190: ...4 Close the duplex cover and door A Clearing jams 190 ...
Page 236: ...4 Insert the memory card until it clicks into place Upgrading and migrating 236 ...
Page 239: ...5 ISP extended cable 4 Install the ISP into its housing Upgrading and migrating 239 ...
Page 240: ...5 Attach the housing to the controller board access cover Upgrading and migrating 240 ...
Page 246: ...5 Open door B 6 Open door C Upgrading and migrating 246 ...


