What are you looking for?
Find it here
The latest supplemental information, updates, and customer
support:
•
Documentation
•
Driver downloads
•
Live chat support
•
E
‑
mail support
•
Voice support
Go to
Note:
Select your country or region, and then
select your product to view the appropriate
support site.
Support contact information for your country or
region can be found on the website or on the
printed warranty that came with the printer.
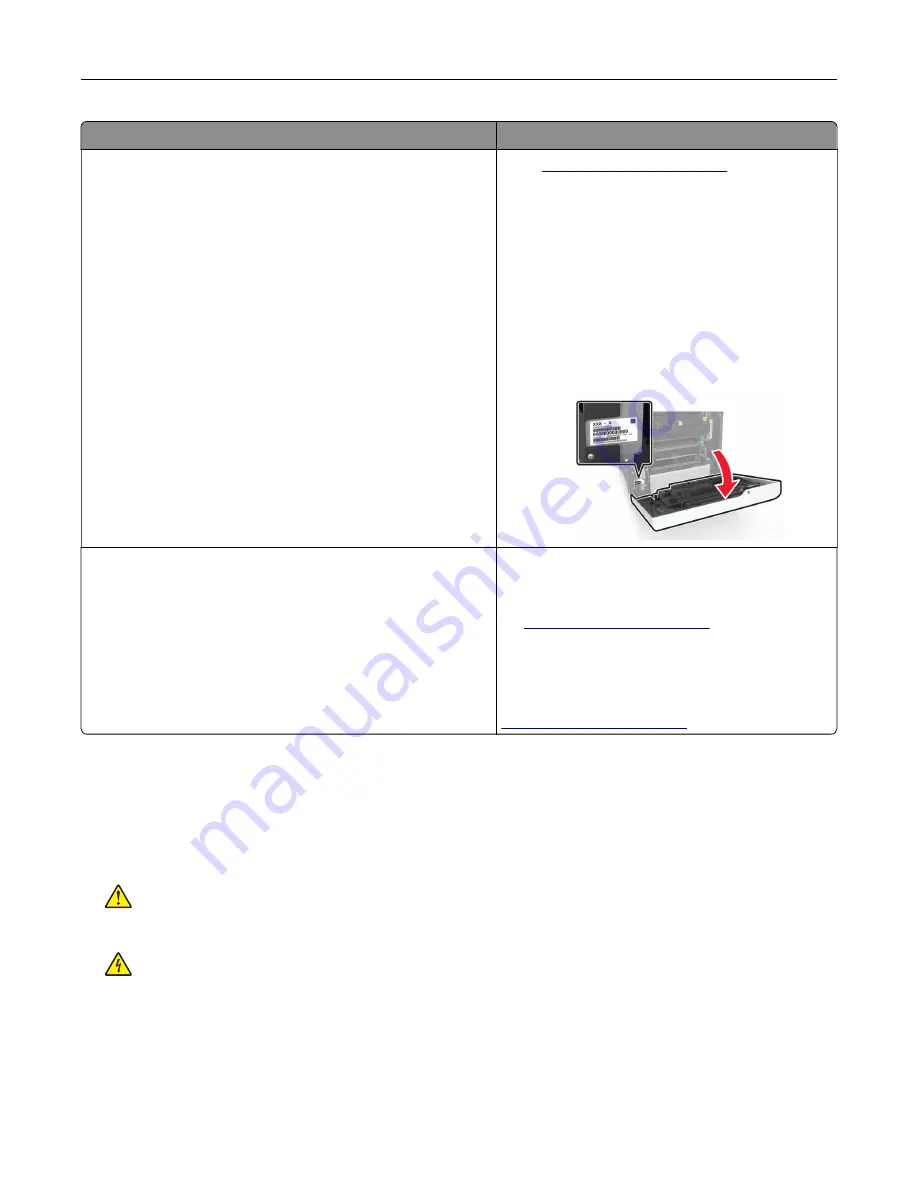
Have the following information ready when you
contact customer support:
•
Place and date of purchase
•
Machine type and serial number
•
Safety information
•
Regulatory information
•
Warranty information
•
Environmental information
Warranty information varies by country or region:
•
In the U.S.
—See the Statement of Limited
Warranty included with the printer, or go to
•
In other countries and regions
—See the
printed warranty that came with the printer.
Product Information Guide
—See the
documentation that came with the printer or go to
Selecting a location for the printer
When selecting a location for the printer, leave enough room to open trays, covers, and doors and to install
hardware options.
•
Set up the printer near an electrical outlet.
CAUTION—POTENTIAL INJURY:
To avoid the risk of fire or electrical shock, connect the power cord
to an appropriately rated and properly grounded electrical outlet that is near the product and easily
accessible.
CAUTION—SHOCK HAZARD:
To avoid the risk of electrical shock, do not place or use this product
near water or wet locations.
•
Make sure that airflow in the room meets the latest revision of the ASHRAE 62 standard or the CEN Technical
Committee 156 standard.
•
Provide a flat, sturdy, and stable surface.
Learning about the printer
11
Summary of Contents for XC4140
Page 60: ...5 Touch Scan Here If necessary change the scan settings 6 Scan the document Scanning 60 ...
Page 155: ...2 Remove the waste toner bottle 3 Remove the imaging kit Maintaining the printer 155 ...
Page 157: ...8 Insert the black toner cartridge 9 Insert the imaging kit Maintaining the printer 157 ...
Page 159: ...2 Remove the waste toner bottle 3 Remove the imaging kit Maintaining the printer 159 ...
Page 161: ...8 Insert the toner cartridges 9 Insert the new imaging kit Maintaining the printer 161 ...
Page 190: ...4 Close the duplex cover and door A Clearing jams 190 ...
Page 236: ...4 Insert the memory card until it clicks into place Upgrading and migrating 236 ...
Page 239: ...5 ISP extended cable 4 Install the ISP into its housing Upgrading and migrating 239 ...
Page 240: ...5 Attach the housing to the controller board access cover Upgrading and migrating 240 ...
Page 246: ...5 Open door B 6 Open door C Upgrading and migrating 246 ...


