Actions
Yes
No
Step 3
Enter Diagnostics Menu.
Turn the printer on, press and hold
3
and
6
, and release the buttons with
the installed memory and processor speed displays.
Perform the Base Sensor Test. See
“BASE SENSOR TEST” on page 203
a
Select Base Sensor Test, and press
Select
.
b
Select S2 Sensor, and press
Select
.
c
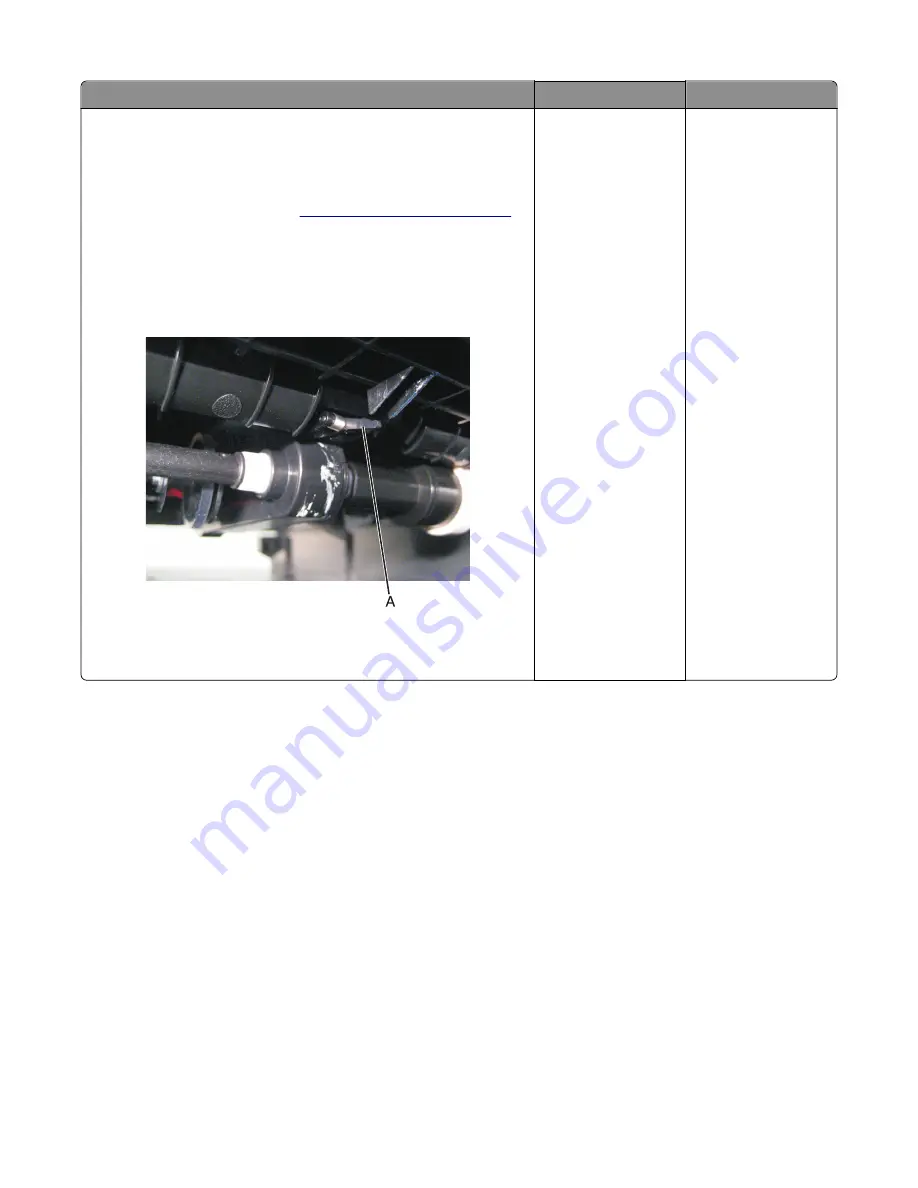
Pull tray 1 out, and rotate the S2 sensor flag (A). (The S2 sensor is
located in the front of the center paper pick motor drive assembly
housing.) It should rotate freely and return to its original position.
Watch the display while pushing up on the flag.
Does the display indicate
Media Clean
and
Media Present
?
The problem is solved. Go to step 4.
7527
Diagnostic information
52
Summary of Contents for XC2132
Page 18: ...7527 18 ...
Page 22: ...7527 22 ...
Page 34: ...7527 34 ...
Page 54: ...2 Open the top door 7527 Diagnostic information 54 ...
Page 184: ...7527 184 ...
Page 226: ...7527 226 ...
Page 314: ...5 Disconnect the belt C 6 Disconnect the fan and remove 7527 Repair information 314 ...
Page 345: ...Component locations Controller board CX310 models 7527 Component locations 345 ...
Page 346: ...CX410 models 7527 Component locations 346 ...
Page 352: ...7527 352 ...
Page 359: ...7527 359 ...
Page 361: ...Assembly 1 Covers 7527 Parts catalog 361 ...
Page 363: ...Assembly 2 Scanner 7527 Parts catalog 363 ...
Page 365: ...Assembly 3 Paperpath 7527 Parts catalog 365 ...
Page 368: ...7527 Parts catalog 368 ...
Page 369: ...Assembly 4 Operator panels 7527 Parts catalog 369 ...
Page 372: ...7527 Parts catalog 372 ...
Page 373: ...Assembly 5 Electronics 7527 Parts catalog 373 ...
Page 376: ...7527 Parts catalog 376 ...
Page 377: ...Assembly 6 Cables and sensors 7527 Parts catalog 377 ...
Page 379: ...Assembly 7 Media drawers and trays 7527 Parts catalog 379 ...
Page 382: ...7527 382 ...
Page 390: ...7527 390 ...
Page 404: ...7527 404 ...
Page 422: ...7527 Part number index 422 ...
Page 428: ...7527 Part name index 428 ...


