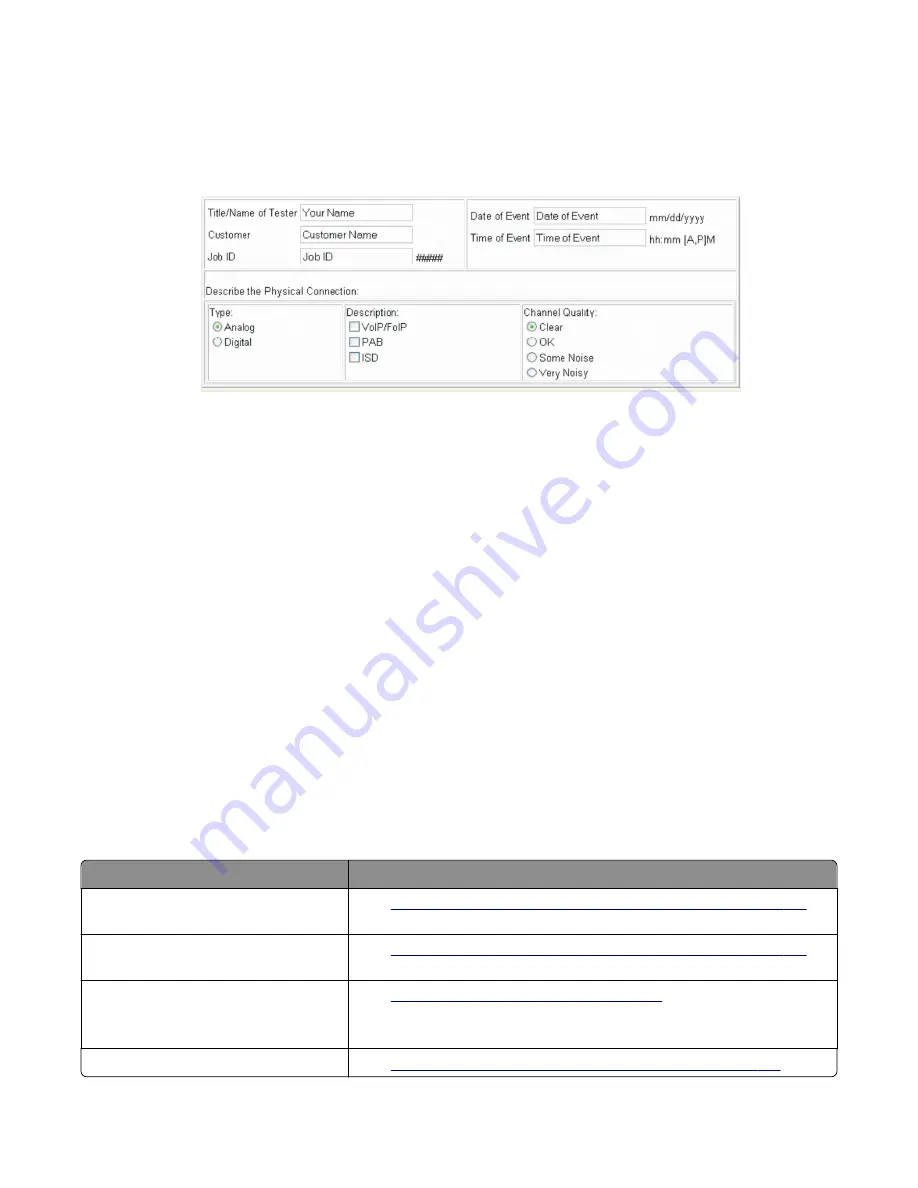
4
In the Web browser address bar, type
http://MFP/<IP address>/se
.
5
Click
Report a Fax Problem
. The fax check list displays.
6
Fill in the requested information. This is where you will type in the information you retrieved in step 3. Second-level
support can assist you if you have questions about the information requested on the page.
Note:
The fields requesting the code levels, model number, type of problem are auto
‑
filled. If the information is
not in the fields, it can be retrieved from the SE menu. The SE menu can be accessed by pressing
**411
or
typing
http://MFP/<IP address>/se
in a Web browser.
7
After all the requested information is entered into the Fax Checklist Web page, press the
Submit
button on the
bottom of the page. A dialogue asking you to save the file appears.
Note:
The file generated by the MFP is not automatically transmitted to second
‑
level support. It is placed on the
computer desktop.
8
Enter a name for the file, and indicated where you want to save the file.
9
Press
OK
. The file appears on the desktop.
10
E
‑
mail the file to second
‑
level support.
Input option hardware errors
•
sheet trays input option symptoms” on page 161
•
“Tray (x) sensor service check” on page 162
•
“550 and 650 input option service checks” on page 163
550
‑
sheet and 650
‑
sheet trays input option symptoms
Symptom
Action
Printer fails to recognize the option is
installed.
Go to
“Option and media size not recognized service check” on page 163
Tray X does not recognize the media size
loaded.
Go to
“Option and media size not recognized service check” on page 163
Tray missing message appears even if
media tray is installed.
Media tray does not fit in the drawer.
Go to
“Tray (x) sensor service check” on page 162
.
Double feed
Go to
“Double feed and printout skewed service check” on page 166
.
7527
Diagnostic information
161
Summary of Contents for XC2132
Page 18: ...7527 18 ...
Page 22: ...7527 22 ...
Page 34: ...7527 34 ...
Page 54: ...2 Open the top door 7527 Diagnostic information 54 ...
Page 184: ...7527 184 ...
Page 226: ...7527 226 ...
Page 314: ...5 Disconnect the belt C 6 Disconnect the fan and remove 7527 Repair information 314 ...
Page 345: ...Component locations Controller board CX310 models 7527 Component locations 345 ...
Page 346: ...CX410 models 7527 Component locations 346 ...
Page 352: ...7527 352 ...
Page 359: ...7527 359 ...
Page 361: ...Assembly 1 Covers 7527 Parts catalog 361 ...
Page 363: ...Assembly 2 Scanner 7527 Parts catalog 363 ...
Page 365: ...Assembly 3 Paperpath 7527 Parts catalog 365 ...
Page 368: ...7527 Parts catalog 368 ...
Page 369: ...Assembly 4 Operator panels 7527 Parts catalog 369 ...
Page 372: ...7527 Parts catalog 372 ...
Page 373: ...Assembly 5 Electronics 7527 Parts catalog 373 ...
Page 376: ...7527 Parts catalog 376 ...
Page 377: ...Assembly 6 Cables and sensors 7527 Parts catalog 377 ...
Page 379: ...Assembly 7 Media drawers and trays 7527 Parts catalog 379 ...
Page 382: ...7527 382 ...
Page 390: ...7527 390 ...
Page 404: ...7527 404 ...
Page 422: ...7527 Part number index 422 ...
Page 428: ...7527 Part name index 428 ...


