


Menu item
Description
E
‑
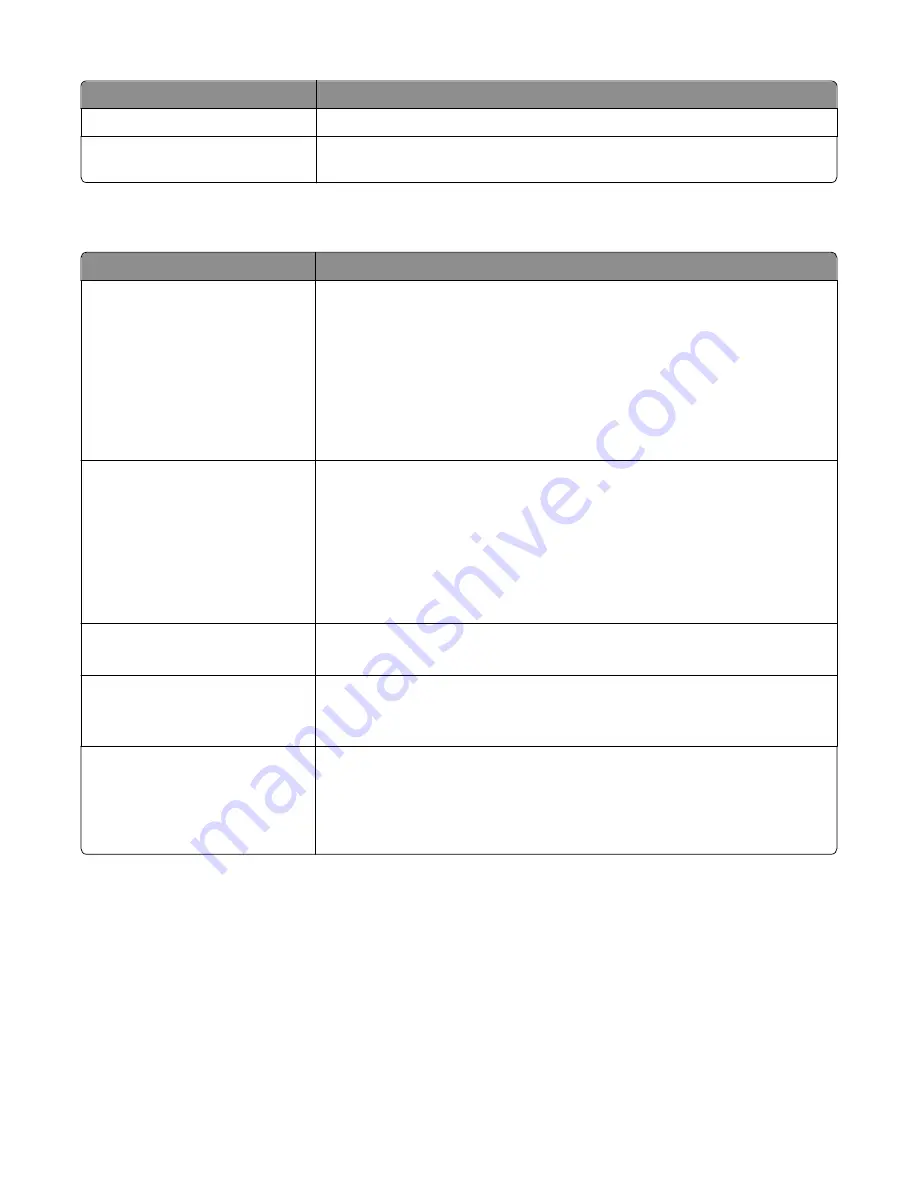
mail Address to Send Logs
Specifies the e
‑
mail address to which the device sends job accounting logs
Log File Prefix
Note:
The current host name defined in the TCP/IP menu is used as the default log
file prefix.
Finishing menu
Menu item
Description
Sides (Duplex)
1 sided
2 sided
Specifies whether duplex (2
‑
sided) printing is set as the default setting for all print
jobs
Notes:
•
1 sided is the factory default setting.
•
You can set 2
‑
sided printing from the software program. For Windows users,
click
File
>
, and then click
Properties
,
Preferences
,
Options
, or
Setup
. For
Macintosh users, choose
File
>
, and then adjust the settings from the
print dialog and pop
‑
up menus.
Duplex Binding
Long Edge
Short Edge
Defines the way duplexed pages are bound and how the printing on the back of the
page is oriented in relation to the printing on the front of the page
Notes:
•
Long Edge is the factory default setting. Long edge assumes binding along the
long edge of the page (left edge for portrait and top edge for landscape).
•
Short edge assumes binding along the short edge of the page (top edge for
portrait and left edge for landscape).
Copies
1–999
Specifies the default number of copies for each print job
Note:
1 is the factory default setting.
Blank Pages
Do Not Print
Print
Specifies whether blank pages are inserted in a print job
Note:
Do Not Print is the factory default setting.
Collate
On (1,2,1,2,1,2)
Off (1,1,1,2,2,2)
Stacks the pages of a print job in sequence when printing multiple copies
Notes:
•
On is the factory default setting.
•
On stacks the print job in sequence.
Understanding printer menus
222
Summary of Contents for X950 Series
Page 28: ...Touch To Reset Reset values on the screen Understanding the home screen 28 ...
Page 242: ...4 Locate the printhead wipers Maintaining the printer 242 ...
Page 259: ...7 Lower the cover 8 Slide out the printhead wipers 3x 3x 3x Maintaining the printer 259 ...
Page 260: ...9 Slide the printhead wipers back into place 10 Close the cover Maintaining the printer 260 ...
Page 266: ...3 Hold the tabs on both sides of the staple cartridge Maintaining the printer 266 ...
Page 267: ...4 Rotate the booklet staple cartridge at an angle Maintaining the printer 267 ...


