Aperio ImageScope DX User’s Guide, Revision A © Leica Biosystems Imaging, Inc. 2019
29
Chapter 4: View and Annotate eSlides
Save a Snapshot of the eSlide
The Snapshot tool enables you to take a picture of the current view of the eSlide, and save it as a TIFF file for use in reports
and presentations. The saved image includes annotations.
WARNING: THE SNAPSHOT IMAGE (TIFF FILE) IS FOR RESEARCH USE ONLY. NOT FOR
USE IN DIAGNOSTIC PROCEDURES.
To take a snapshot:
1.
Open the eSlide to the view and zoom level you want to capture in the snapshot.
2.
Go to the Image toolbar, and click the
Snapshot
tool.
3.
In the Save Snapshot window, specify the file location and name, and then click
Save
to save the image.
You can open the saved TIFF file in Aperio ImageScope DX; however, note that the pan and zoom
features are not available when viewing TIFF files.
Track Pan and Zoom Navigation With the Track Map
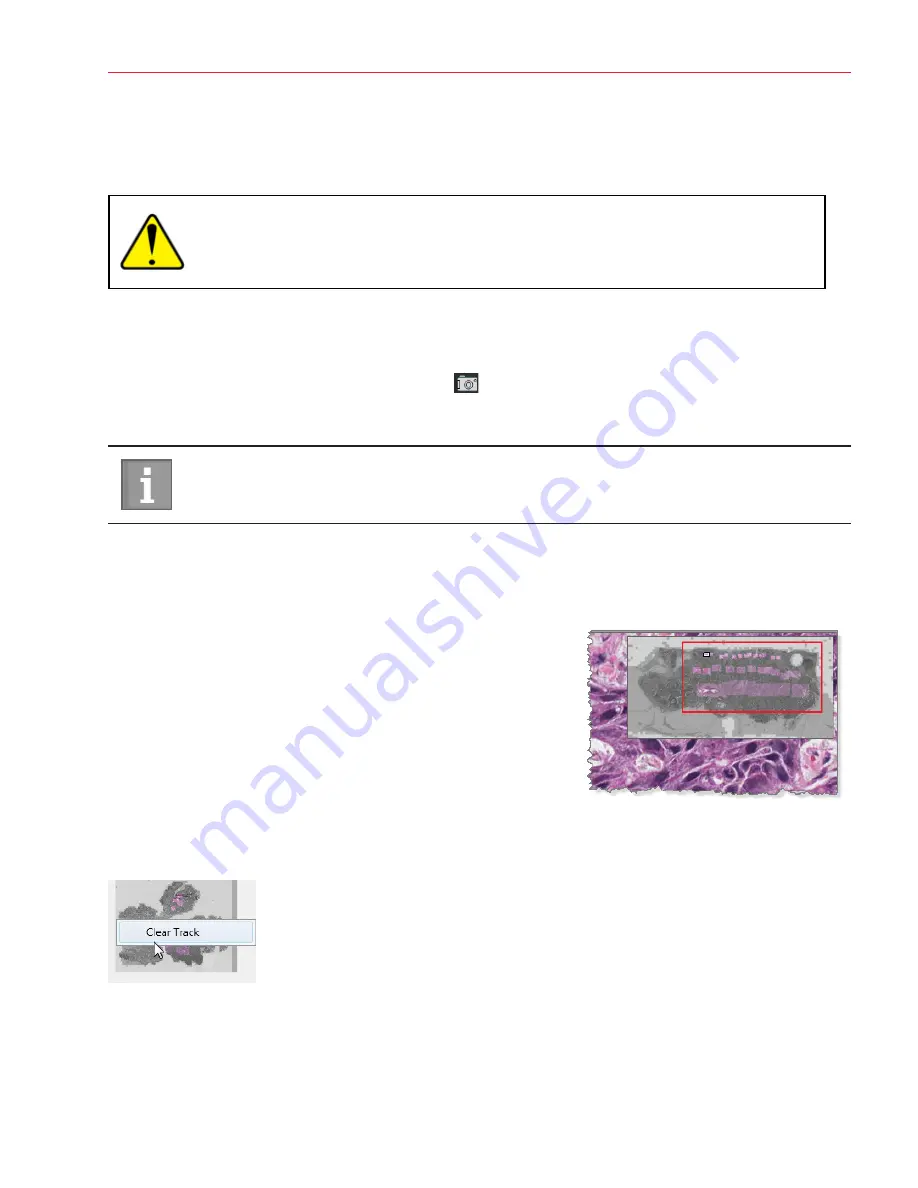
The track map appears in the Thumbnail, and shows the areas of the eSlide you have viewed.
The opacity of the track map and the size of the tracks indicate the zoom level
used.
The example shows three lines of tracks, each made at a different zoom level
(20x, 10x, and 4x, from top to bottom).
You can turn on Tracking by default. You can also determine how the track
map evaluates the eSlide. See
"Track Pan and Zoom Navigation With the
and
"Tracking Options" on page 37.
Clear the Track Map
To clear the track map, right click in the thumbnail and select
Clear Map
.


