5-43
Operation on the Machine > Using Document Boxes
Creating a New Custom Box
Follow the steps below to create a new Custom Box.
1
Display the screen.
1
Select [
Custom Box
] on the Home screen.
2
[
Menu
] > [
Add
]
2
Create the Custom Box.
1
Enter the box name > [
Next
]
Up to 32 characters can be entered.
2
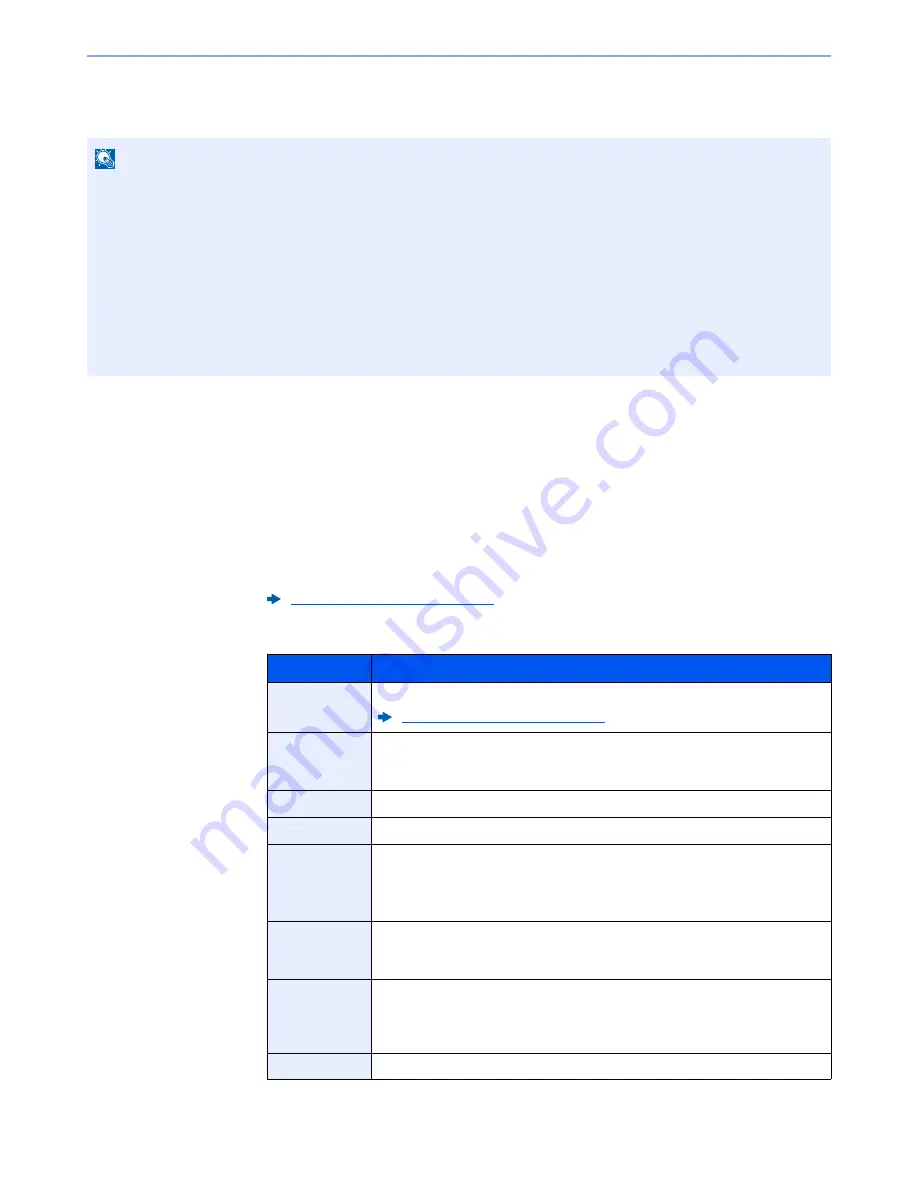
Check the settings and change or add information as needed.
NOTE
• To use Custom Box, an optional SSD must be installed in the machine.
• If the user authentication screen appears, enter your login user name and login password and select [
Login
]. For
this, you need to login with administrator privileges. The factory default login user name and login password are set
as shown below.
Login User Name:
3000
Login Password:
3000
• If user login administration is enabled, log in with administrator privileges to perform the following operations. They
cannot be performed with user privileges.
- Creating a box
- Deleting a box of which owner is another user.
Character Entry Method (page 11-8)
Item
Description
Box Name
Enter a box name consisting of up to 32 characters.
Character Entry Method (page 11-8)
Box No.
Enter the box number by selecting [
+
], [
-
] or number keys. The box number can
be from 0001 to 1000. A Custom Box should have a unique number. If you enter
0000, the smallest number available will be automatically assigned.
Owner
*1
Set the owner of the box. Select the owner from the user list that appears.
Permission
*2
Select whether to share the box.
Box Password
User access to the box can be restricted by specifying a password to protect the
box. Entering a password is not mandatory. Enter the same password of up to
16 characters in both [
Password
] and [
Confirm Password
].
This can be set if [
Shared
] is selected in Permission.
Usage
Restriction
The usage for a box can be restricted. To enable a capacity restriction enter a
value for the storage capacity of the Custom Box in megabytes by selecting [
-
],
[
+
] or number keys. You can enter a limit between 1 and 30,000 (MB).
Auto File
Deletion
Automatically deletes stored documents after a set period of time. Select [
On
] to
enable automatic deletion and then use [
+
] and [
-
] or the numeric keys to enter
the number of days for which documents are stored. You can enter any number
between 1 and 31 (day(s)). To disable automatic file deletion, select [
Off
].
Free Space
Displays the free space on the box.


