


10-13
Troubleshooting > Troubleshooting
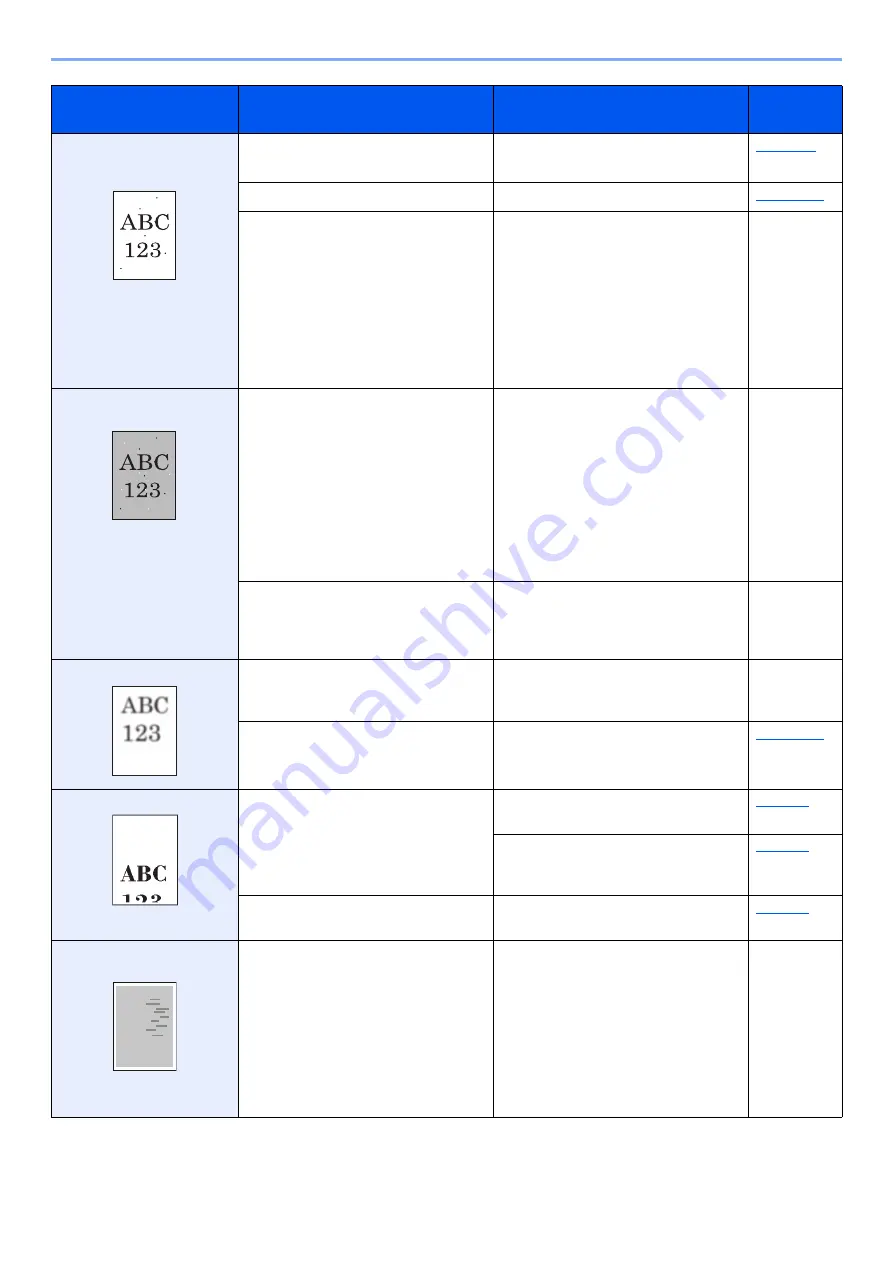
Black or colored points
appear in white background
parts of the image.
Is the original holder or the glass platen
dirty?
Clean the original holder or the glass
platen.
―
Run [
Drum Refresh
]
―
Select the [
System Menu/Counter
] key
> [
Adjustment/Maintenance
] >
[
Service Setting
] > [
MC
] and increase
the adjustment value. Increase the
adjustment value 1 level at a time from
the current value. If there is no
improvement after the value is
increased by 1 level, increase by 1 level
again. If there is still no improvement,
return the setting to the original value.
―
White or color dots appear
on the printed images.
―
Select the [
System Menu/Counter
] key
> [
Adjustment/Maintenance
] >
[
Service Setting
] > [
MC
] and decrease
the adjustment value. Decrease the
adjustment value 1 level at a time from
the current value. If there is no
improvement after the value is
decreased by 1 level, decrease by 1
level again. If there is still no
improvement, return the setting to the
original value.
―
―
Select the [
System Menu/Counter
] key
> [
Adjustment/Maintenance
] >
[
Service Setting
] > [
DEV-CLN
], and
then select [
OK
].
―
Printed images are fuzzy.
Is the machine being used in conditions
of very humid, or humidity or
temperature rapidly changes?
Use in an environment that has suitable
humidity.
―
―
Run [
Drum Refresh
]
Printed images are skewed.
Are the originals placed correctly?
When placing originals on the platen, align
them with the original size indicator plates.
When placing originals in the document
processor, align the original width guides
securely before placing the originals.
Is the paper loaded correctly?
Check the position of the paper width
guides.
Irregular horizontal lines
appear in the image.
―
Select the [
System Menu/Counter
] key
> [
Adjustment/Maintenance
] >
[
Service Setting
] > [
MC
] and increase
the adjustment value. Increase the
adjustment value 1 level at a time from
the current value. If there is no
improvement after the value is
increased by 1 level, increase by 1 level
again. If there is still no improvement,
return the setting to the original value.
―
Symptom
Checkpoints
Corrective Actions
Reference
Page
Summary of Contents for 1102R73AS0
Page 1: ...PRINT COPY SCAN FAX ECOSYS M5526cdn ECOSYS M5526cdw OPERATION GUIDE...
Page 385: ...10 44 Troubleshooting Clearing Paper Jams 8 Remove any jammed paper 9 Push Rear Cover 1...
Page 387: ...10 46 Troubleshooting Clearing Paper Jams 4 Push the cover...
Page 423: ......
Page 426: ...First edition 2016 4 2R7KDEN000...


