6
EN
Kross and Le Grand bicycles should be used according to their intended use defined by the manufacturer. It is forbidden to use any attachments or wagons while riding the bicycle.
It is acceptable to use baby seats with bicycles equipped with a carrier, under the condition that the combined weight of the seat and the baby does not exceed the maximum load capacity
of the carrier and the acceptable total weight defined in this user manual.
Each break, dent, bend, scratch or change of colour of parts exposed to loads may indicate that useful lifetime of this part might have been exceeded. In this case, we suggest an immediate
visit at an authorised service in order to perform an inspection or replacement of the part, otherwise in may be suddenly destroyed, causing bodily harm to the cyclist.
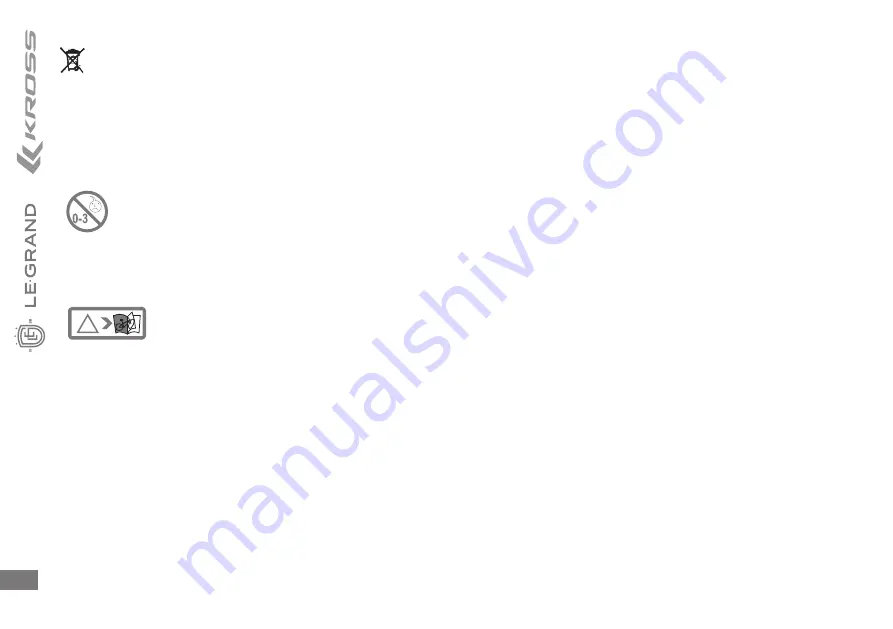
Kross and Le Grand bicycles are not designed for children below the age of 3.
Bicycles on wheels smaller than 20 inches in diameter are not approved for transport on public roads, particular care must be taken while using them in order to avoid falls or crashing
incidents resulting in bodily harm to the user and other individuals.
WARNING
Follow all safety-related remarks and suggestions included in the bicycle user manual. The condition of safety is proper use, installation and lack of modifications
introduced to elements. Always behave thoughtfully and carefully. This product has not been designed for extreme rides down the slopes, jumps or any aggressive
riding. Not following these suggestions may lead to element damage or bodily harm. Read the user manual before using the product. The marking above applies
to all components used in the purchased bicycle.
BICYCLE INSTALLATION
In case of a bicycle with a MIS type handlebars support (installed using a cone):
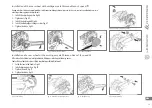
1. Take the bicycle and elements attached to it from the box (seat, basket, pedals, handlebars, wheels and mudshields). Detach the handlebars from the frame by removing the securing
clipping bands.
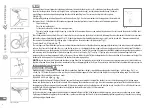
2. Remove the lower part of the handlebars support in the stem of the fork so the line limiting maximum protrusion is not visible. Tighten the support with a dynamometric key using
moments listed in this manual, setting the handlebars perpendicularly to the bicycle axis. Fig. 1.
3. Before the beginning of wheel installation, unclip the clutches of the front brake. In order to do this, pull the clutches towards each other and pull out the knee joint (“pipe”) from the
fixture. Fig. 2.
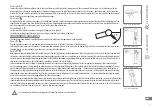
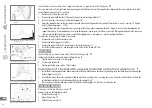
4. Place the wheel in the hooks of the fork, set the wheel equally in the vertical axis of the fork, tighten the nuts with moments defined in this instruction remembering that the groove
of the front wheel should run according to the direction of rotation indicated on the tyre. Fig. 3.
5. Bind the brake clutches in a reverse way compared to p. 3. Fig. 4.
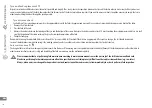
6. Pull out the seat with its bracket out of the box. Place the seat support in the underseat pipe so that the marking of the maximum protrusion remains invisible or is located exactly
at the edge of the pipe. Install the support using joining elements or (depending on the bicycle model) using quick connectors. The quick connector mechanism is correctly locked if
an attempt of twisting the lever around its axis in locked position fails. If action of force on this lever causes it to move, i.e. it has not been properly locked, it must be opened, a nut
i
NOTE
Because of particularly harmful properties to the environment, used batteries should be transferred to a point of electronic waste collection or to the nearest rubbish bin for
communal wastes marked with this sign. Used bicycle parts should be segregated and stored in containers for recycling.
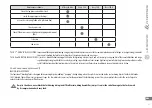
All bicycle parts should be installed with suggested moments placed on the elements, or, in case when they are lacking the markings, according to the list of moments listed in this user manual.


