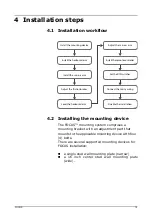
4 Installation steps
FOCUS
17
2.
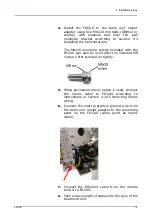
Connect the RJ45 coupler to the remote
controller cable.
NOTICE!
For details on how to connect the
mains wiring, see chapter 4.10 Connecting
mains wiring.
3.
Continue the installation according to chapter
4.4 Installing the scissors arm.
4.3 Installing the horizontal arm
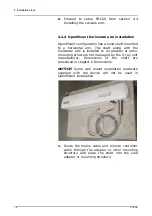
Lift the horizontal arm to its place and attach the
nuts as shown in the image below. Note that there
are two nuts on each side of the wall mounting
bracket. Leave the nuts slack to allow for leveling.
Adjust the wall mounting arm bracket by means of
a level (there is ±2° adjustment allowance).
Summary of Contents for FOCUS 215720
Page 2: ......
Page 4: ......
Page 6: ...ii...
Page 12: ...2 Unit description 6 FOCUS Exposure time control...
Page 55: ...6 Dimensions FOCUS 49 6 Dimensions Wide wall mount plate measures in mm...
Page 56: ...6 Dimensions 50 FOCUS Narrow wall mount plate measures in mm...
Page 57: ...6 Dimensions FOCUS 51 Remote control frame measures in mm...
Page 58: ...6 Dimensions 52 FOCUS Wall mount installation dimensions...
Page 59: ...6 Dimensions FOCUS 53...
Page 60: ...6 Dimensions 54 FOCUS...
Page 61: ...6 Dimensions FOCUS 55...
Page 62: ...6 Dimensions 56 FOCUS OpenMount installation dimensions...

