


Mirus for H2 Classic GrainGage
105
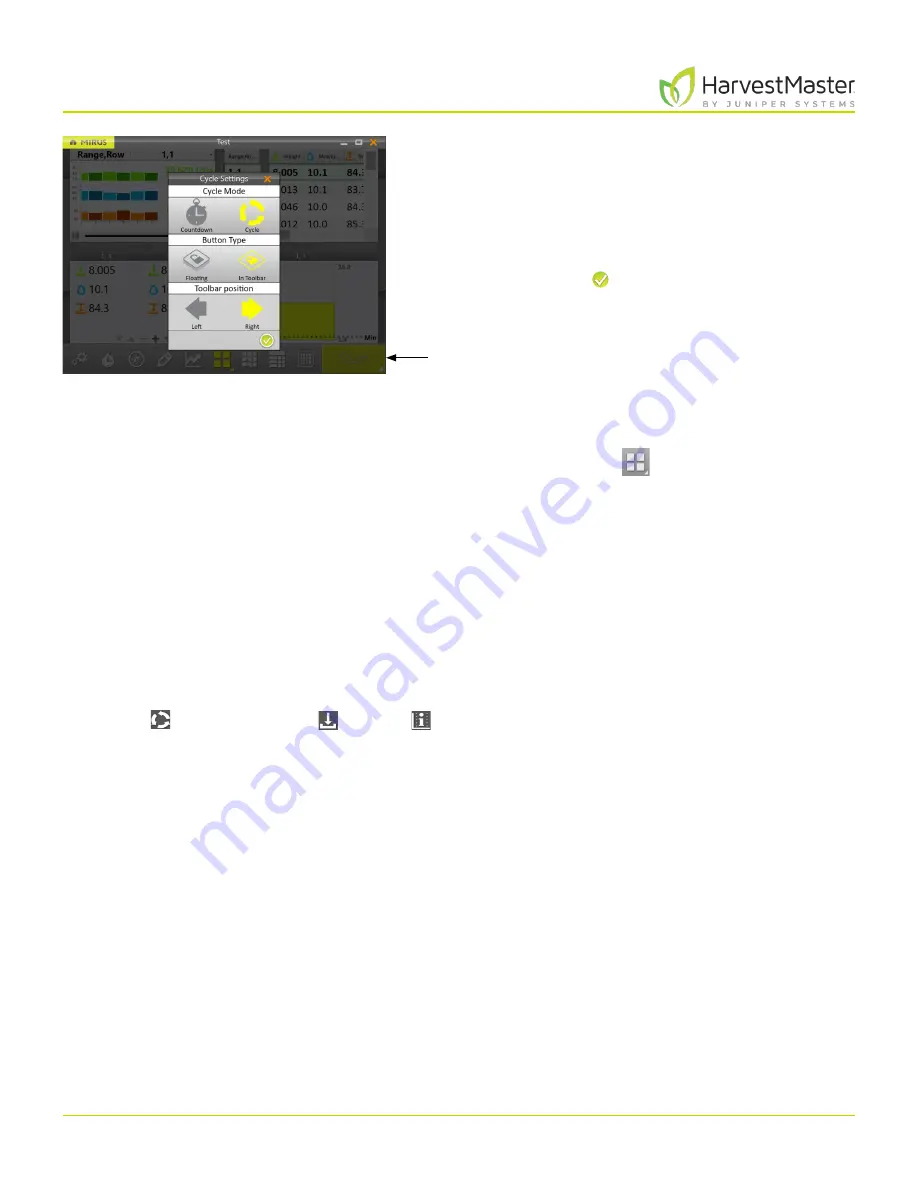
Harvest Mode
To change the Toolbar position of the button,
1. Select
In Toolbar
.
2. Select
Left
or
Right
.
The default position is left. If you select right, Mirus moves
the
Start/Cycle/Go
button to the other side of the screen.
3. Tap the check icon .
6.3.2 Quad View
Mirus provides the option of viewing four screens at once when
Quad View
is selected. Each screen
can be configured to display the data differently. The screen options are as follows:
•
Cycle Data
: Displays the plot, weight, moisture, and test weight for each cycle.
•
Diagnostics
: Displays the Diagnostics dialog box for monitoring during harvest.
•
Graph
: Shows the plot progression of weight, moisture, and test weight in a graph.
•
Info
: Displays the weight, moisture, and test weight of the most recent plot.
•
List
: Displays accumulating data as a list.
•
Spatial
: Also referred to as a heat map, shows attribute data plot by plot.
•
Real Time Weight
: Displays the real time weight of the weigh bucket.
Each of the above options are available on the main toolbar in Harvest Mode except for the options to view
Cycle Data
,
Real Time Weight
, and
Info
.
Start/Cycle/Go
Summary of Contents for HarvestMaster mirus H2
Page 1: ......
Page 7: ...CHAP TER ONE Mirus Ins tallation...
Page 11: ...Mirus and GrainGage S etup CHAP TER T WO...
Page 32: ...H2 Clas sic GrainGage Diagnos tic s and Aler t s CHAP TER THREE...
Page 42: ...GrainGage Calibration CHAP TER FOUR...
Page 71: ...Field Maps CHAP TER FIVE...
Page 98: ...Har ves t Mode CHAP TER SIX...
Page 120: ...Standard Grain Information APPENDIX A...
Page 123: ...Troubleshooting APPENDIX B...
Page 129: ...Limited Warrant y APPENDIX C...


