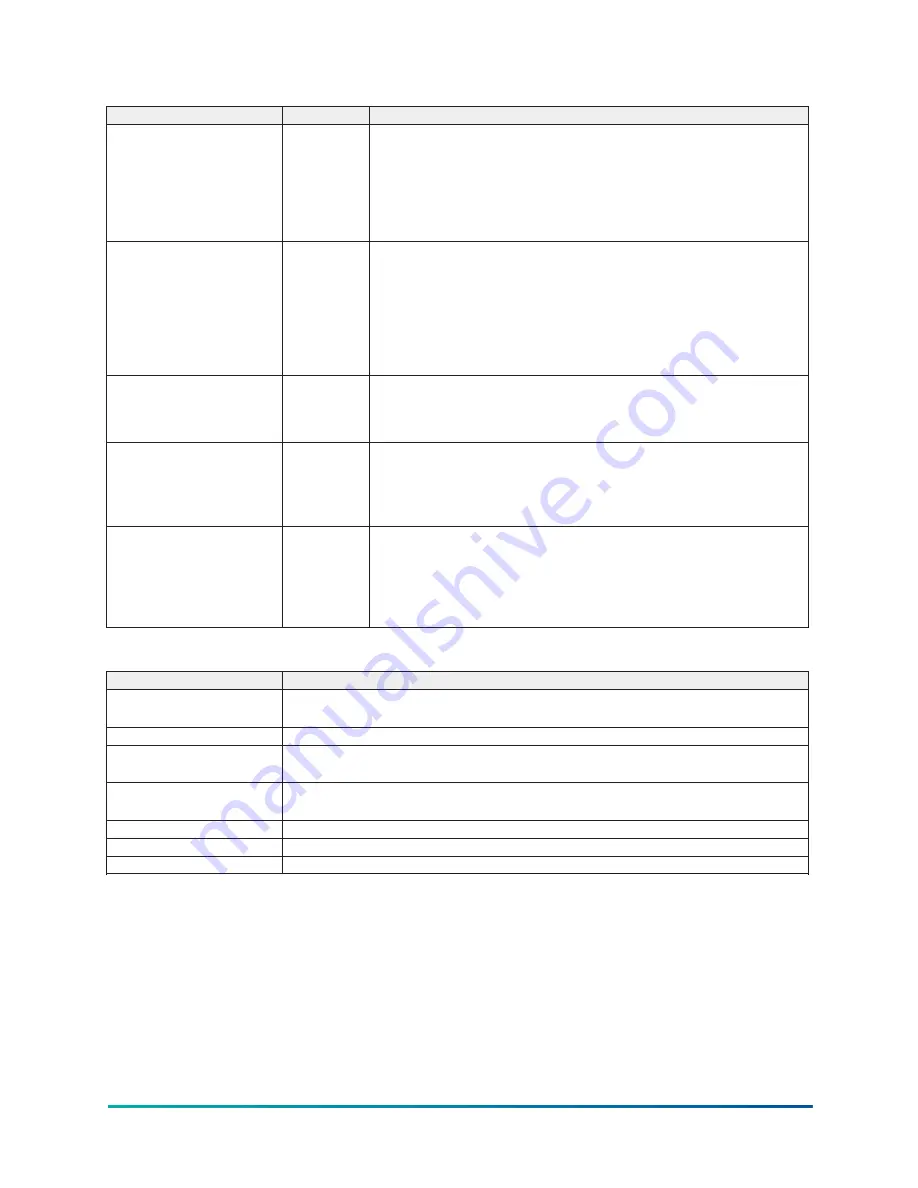
Table 51: Programmable
Button
Access
Description
Present Date
Operator
Allows the user to specify the present date. This value is critical to logging
system shutdowns accurately and for using the scheduling capabilities.
When prompted to enter a date value, the user must enter the day, month,
and four-digit year (using leading zeroes as necessary). If within range,
the value will be accepted. If out of range, the user is prompted for the
information again. At this point the user may retry the date entry, or cancel
the programming attempt.
Present Time
Operator
Allows the user to specify the present time. This value is critical to logging
system shutdowns accurately and for using the scheduling capabilities. When
prompted to enter a time value, the user must enter the hour and minute
desired (using leading zeroes as necessary). If the chiller is presently set to
24-hour mode, the time must be entered in the 24-hour format. Otherwise,
the user must also select AM or PM for the entered time. If out of range, the
user is prompted for the information again. At this point the user may retry
the time entry, or cancel the programming attempt.
Clock (Enabled /Disabled)
Operator
Allows the user to enable or disable the real-time clock in order to conserve
battery life. The clock will be disabled during manufacturing and must
be enabled at system commissioning. In addition, when preparing for
prolonged shutdown, the clock should once again be disabled.
12/24Hr
Operator
Allows the user to specify the format in which the time will be presented. This
setpoint affects the display of the time on the chiller panel and on all reports
generated. The 12-Hour time format will include the AM and PM modifiers
and show the range of time between 1:00 and 12:59, while the 24-Hour time
format will show the range of time between 0:00 and 23:59.
Change Settings
Operator
Used to enter the following setpoints. Pressing this button places a green
selection box around the first changeable setpoint. The access level
determines which setpoints can be changed. Use the ▲ and ▼ buttons
to place the selection box around the required setpoint. With the setpoint
selected, press the ENTER (
✓
) button. A dialog box appears with the range of
settings.
Table 52: Navigation
Button
Description
Home
Access level required: Operator
Moves to the subscreen allowing configuration of user preferences.
Schedule
Moves to the subscreen allowing definition of the chiller operation schedule.
User
Access level required: Operator
Moves to the subscreen allowing configuration of user preferences.
Comms
Access level required: Operator
Moves to the subscreen allowing configuration of system communications.
Printer
Moves to the subscreen allowing configuration and control of printer functions.
Sales Order
Allows the user to navigate to the Sales Order screen.
Operations
Allows the user to navigate to the Operations screen.
65
YVAM Control Center
Summary of Contents for YORK YVAM 0350
Page 2: ...2 YVAM Control Center...
Page 10: ...Figure 4 Variable speed drive nomenclature YVAM Control Center 10...
Page 15: ...Figure 8 System piping and instrumentation diagram P ID 15 YVAM Control Center...
Page 154: ...Figure 62 Sample printout status or history YVAM Control Center 154...
Page 155: ...Figure 63 Sample printout status or history continued 155 YVAM Control Center...
Page 156: ...Figure 64 Sample printout setpoints YVAM Control Center 156...
Page 157: ...Figure 65 Sample printout setpoints continued 157 YVAM Control Center...
Page 158: ...Figure 66 Sample printout schedule YVAM Control Center 158...
Page 159: ...Figure 67 Sample printout sales order 159 YVAM Control Center...
Page 160: ...Figure 68 Sample printout security log report YVAM Control Center 160...


