143
m
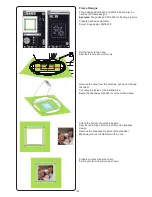
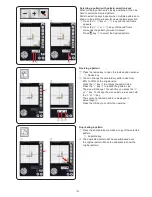
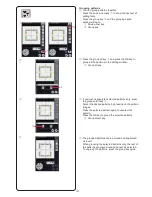
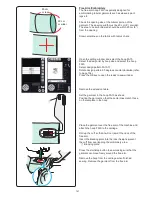
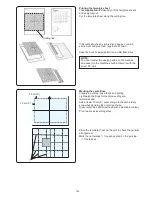
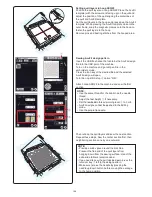
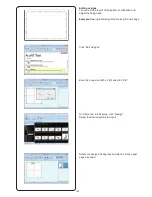
Set the fabric in the hoop and adjust the fabric
position
to match the centerlines for the second
pattern and
template.
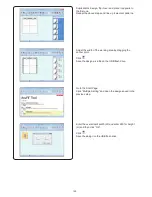
Attach the hoop to the carriage and press the start/
stop button.
Press the OK key when the message appears.
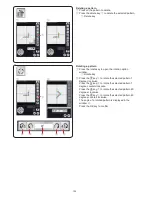
The hoop will move to the first marking point for the
second pattern.
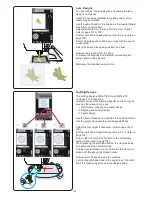
Lower the needle by turning the hand wheel to check
if the needle is right above the last marking point of
the first pattern.
Adjust the hoop position with the jog keys if necessary.
Press the start/stop button to sew the second pattern.
u
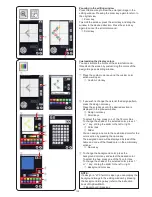
Connecting the patterns in the editing window
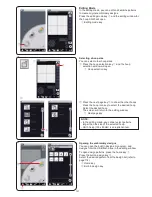
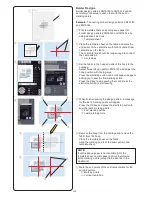
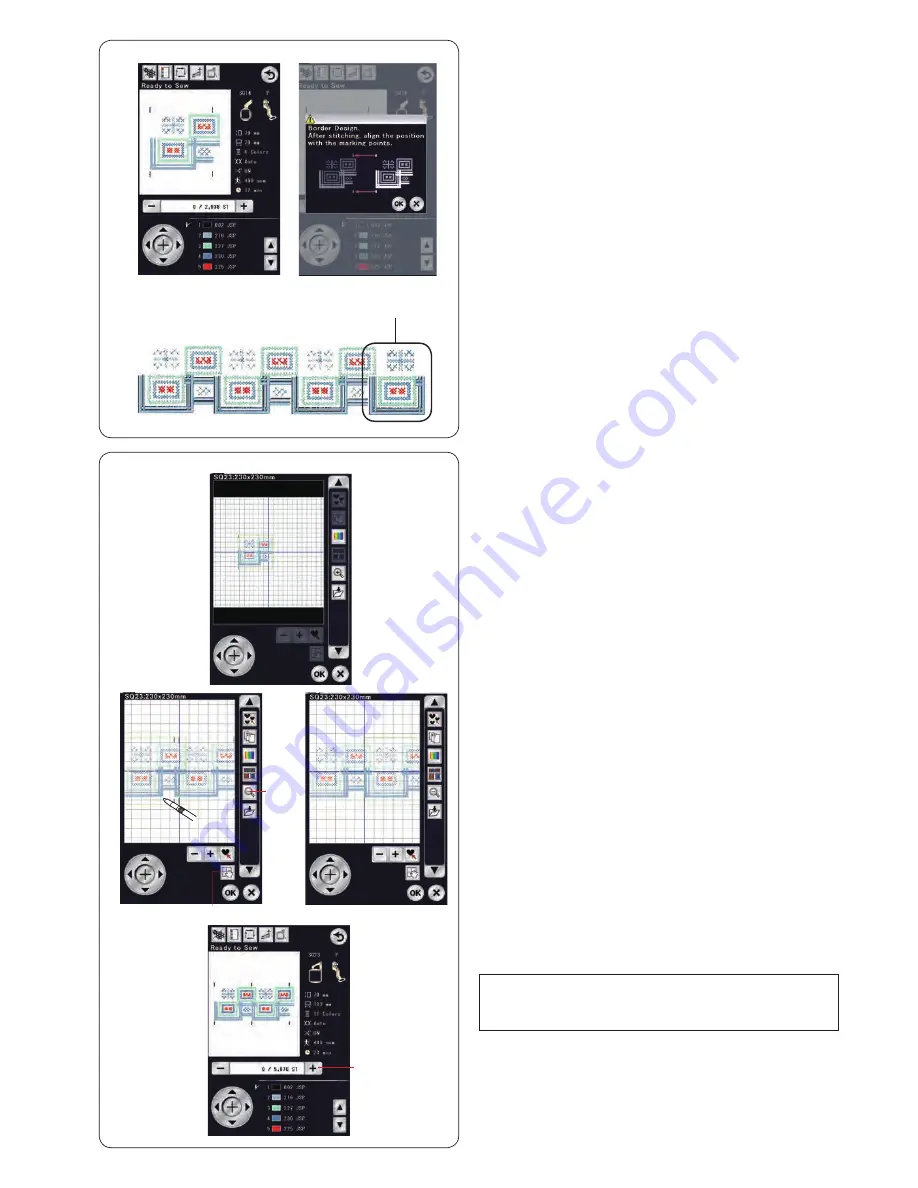
You can connect border design patterns in the editing
window.
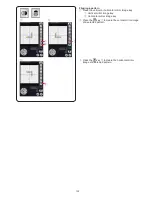
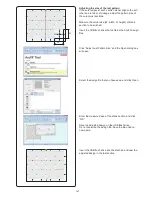
Open the editing window and select the hoop SQ23.
Select border design pattern SQ14-145.
Move the pattern to the left end and duplicate the pattern.
Move the duplicate to the right until the marking points of
both patterns overlap.
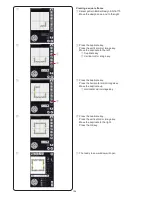
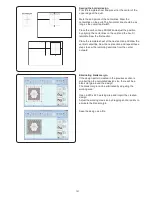
Press the zoom key to enlarge the pattern image.
Press the scroll key and drag the image to show the
marking points.
Press the jog keys and adjust the position of the second
pattern to align the marking points exactly.
q
Zoom key
w
Scroll key
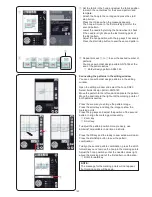
To adjust the pattern position more precisely, use
EmbLinkTool available in Horizon Link Suite.
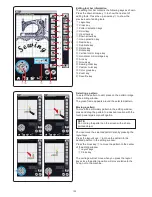
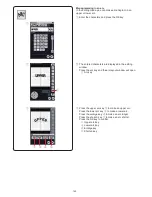
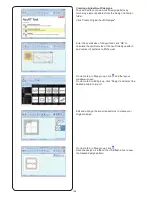
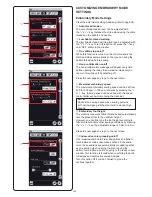
Press the OK key and the ready to sew window will open.
Press the start/stop button to sew the pattern
combination.
To align the second pattern combination, press the stitch
forward key once to move the hoop to the marking points.
Adjust the hoop position so that the needle comes right
above the marking point of the first pattern combination.
e
Stitch forward key
NOTE:
The message for the marking points will not appear,
but marking points will be sewn.
m
,
w
q
e
,
Repeat process
b
to
m
to sew the desired number of
patterns.
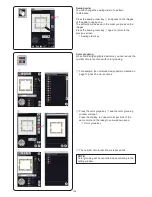
You may sew border design pattern SQ14-146 at the
end of the pattern series.
u
Border design pattern SQ14-146
Summary of Contents for Horizon Memory Craft 15000
Page 1: ...Memory Craft 15000 Instruction Manual ...
Page 170: ...165 STITCH CHART Ordinary Sewing Block Script Symbol Broadway Block 9 mm ...
Page 178: ...173 DESIGN CHART Embroidery Gothic Script Cheltenham Bauhaus Galant Typist ...
Page 180: ...175 DESIGN CHART Embroidery Micro Gothic ...
Page 184: ...862 801 005 EN ...

