ITW
Dynatec
D15/D25/D45
V6
DCL
ASU
Manual
#20-63
Maintenance Page 6-5
Revised 10/14
Purging the Filter Manifold (Output Filter) of Adhesive and Pressure
As a safety precaution, the ASU’s system should be purged of pressure and adhesive before at-
tempting to change the output filter or before removing any of the hoses or applicators from their
manifold port.
Refer to the illustration on page 6-2 while following these instructions.
The ASU should be at operating temperature. Turn the ASU’s pump/ motor OFF.
1. Locate the bleed valve (purge screw) on the output filter manifold.
2. With a hex key screwdriver (M5 Allen wrench), slowly loosen the purge screw (do not attempt to
remove it) which is in the bleed valve’s port. Allow the adhesive and pressure to escape out of the
manifold. The adhesive will flow into the heat-resistant container positioned below the manifold.
3. After all adhesive has run out, re-tighten the purge screw.
Flushing the System
Contaminated adhesive, accumulation of residue in the system and hopper, or changing the adhesive
formulation may require the system to be flushed. To flush the system, have at least 6 liters (1.5 gal-
lons) of flushing fluid on hand (PN L15653).
1. Pump out as much of the molten adhesive from the hopper as possible.
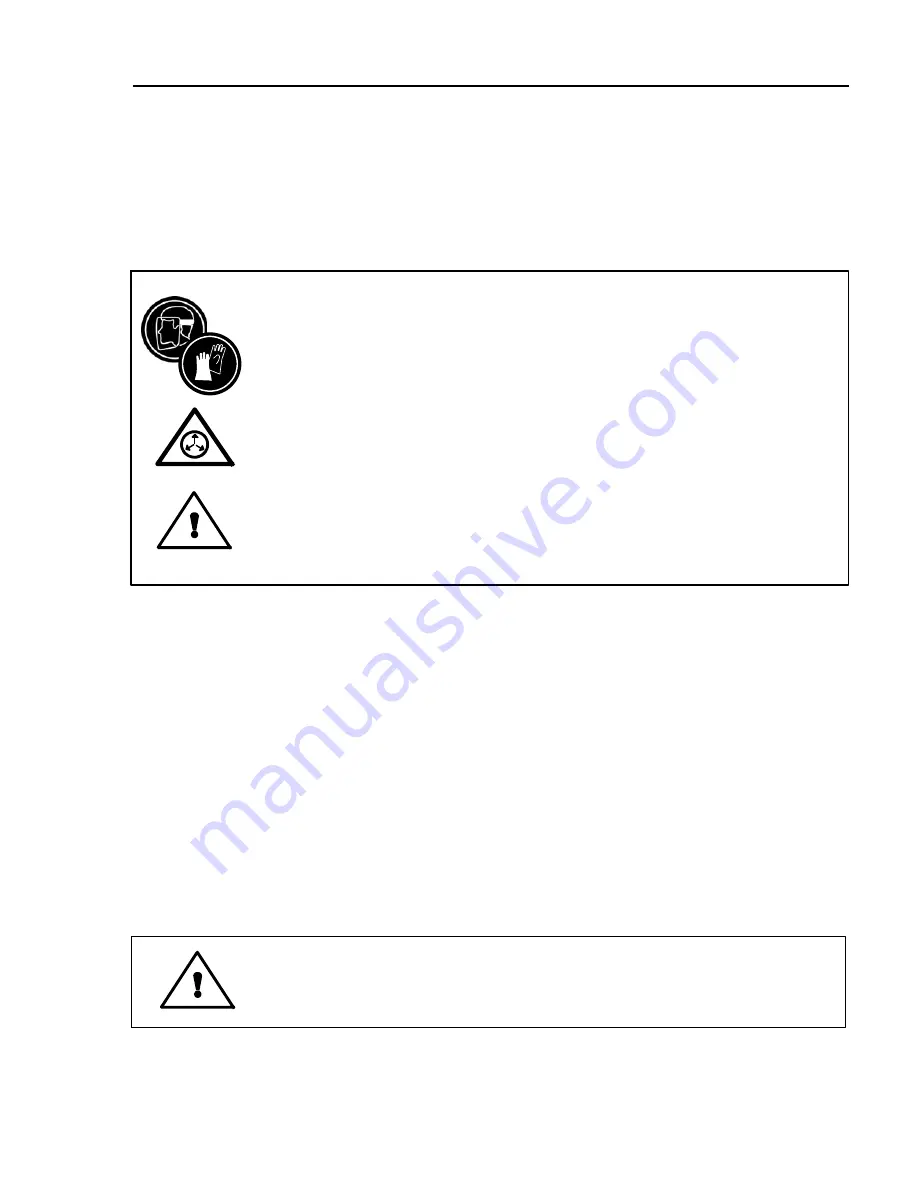
WARNING
PPE REQUIRED
Failure to wear a face shield or safety glasses could result in severe eye injury
during these procedures. Protect yourself from potential burns by wearing
insulated gloves and arm guards.
HIGH PRESSURE
Use the output filter manifold’s bleed valve to relieve adhesive pressure before
performing any pump filter maintenance. See page 6-5 for detailed instructions.
HOT ADHESIVE
Avoid splashing hot adhesive. The filter screen will be covered with hot
adhesive and must be handled with proper tools. Position a heat-resistant
container under the manifold’s purge drain before proceeding.
WARNING HOT ADHESIVE
The flushing fluid will splash easily. Wear protective clothing, gloves and
a face shield to prevent severe burns.
Summary of Contents for DYNAMELT D15 Series
Page 3: ......
Page 4: ......
Page 10: ...Page viii Revised 11 14 ITW Dynatec D15 D25 D45 V6 DCL ASU Manual 20 63 ...
Page 22: ...Page 2 8 Description Revised 10 14 ITW Dynatec D15 D25 D45 V6 DCL ASU Manual 20 63 ...
Page 76: ...Page 5 28 LCD Programming Revised 10 14 ITW Dynatec D SERIES V6 DCL ASU Manuals ...
Page 148: ...Page 7 14 Troubleshooting Revised 10 14 ITW Dynatec D SERIES V6 DCL ASU Manuals ...


