


IPOX NVR N9000 Manual
IPOX NVR N9000 Manual
67
7.5 Disk
7.5.1 Disk Management
➢
Disk Management
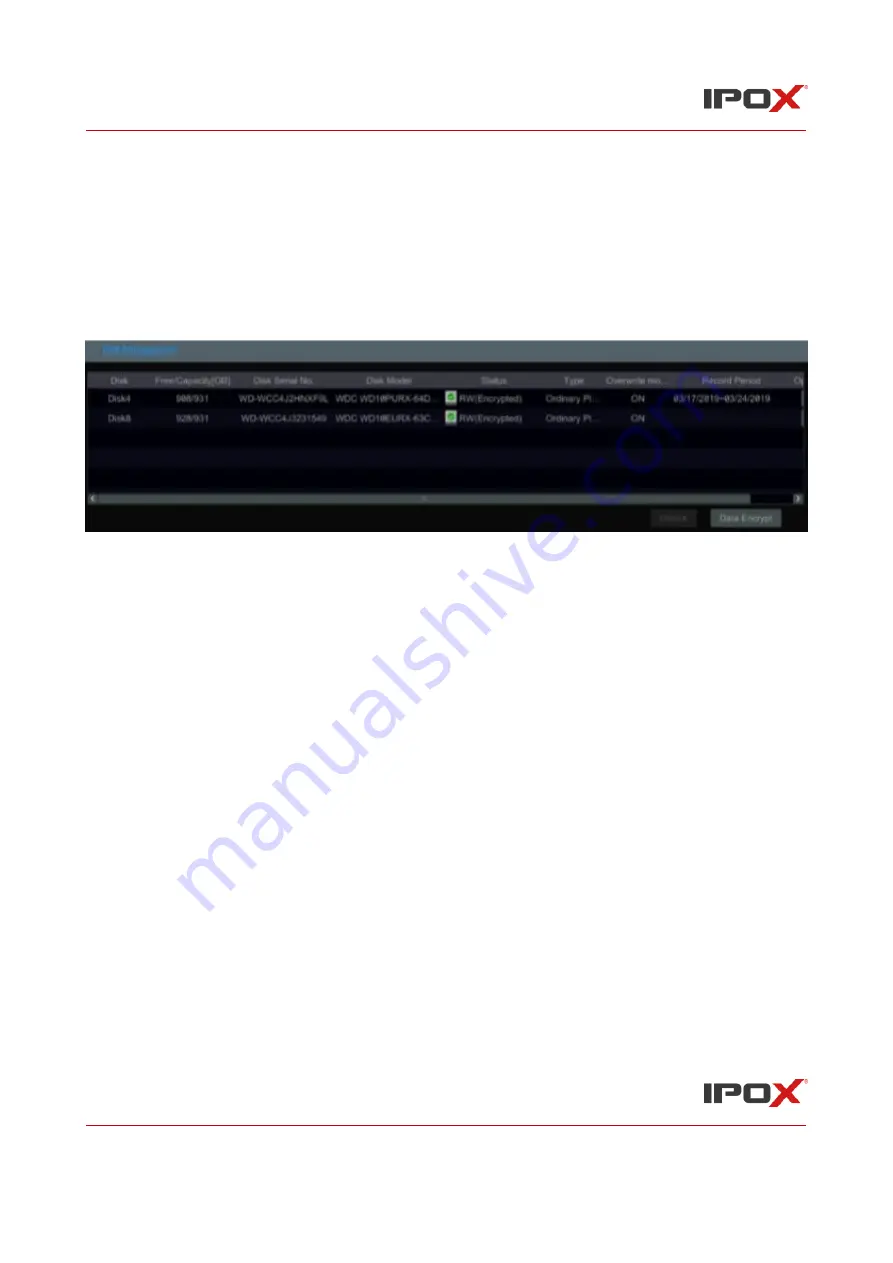
Click Start
→
Settings
→
Disk
→
Disk Management to go to disk management interface. You can view
the NVR
’
s disk number and disk status and so on in the interface. Click
“
Formatting
”
to format
the HDD.
Data Encryption:
①
Click
“
Data Encrypt
”
.
②
Enter the username and password used to log in the NVR. This username and password shall
have the permission of disk management.
③
Check the disk you want to encrypt and then enter the password.
After you encrypt the data of a disk, this disk cannot be read by other NVRs unless it is unlocked.
Data Decryption:
①
Click
“
Data Encrypt
”
.
②
Enter the username and password used to log in the NVR. This username and password shall
have the permission of disk management.
③
Check the disk you want to decrypt and then empty the password.
Unlock the disk: when one encrypted disk is transferred from another NVR to this NVR, it will be
in locked status. Then you can select this locked disk and click “Unlock”. After you enter the
password of its data encryption, its status will be “Read Only”. Now you can read the data of this
disk but it cannot write anything.
Some models may not support RAID function. The settings of RAID are as followings. Please skip
the settings of physical disk, array and disk mode if the NVR doesn’t support this function.


