Step-by-Step with the In-Wall Master Controller
Providing a brighter solution.™
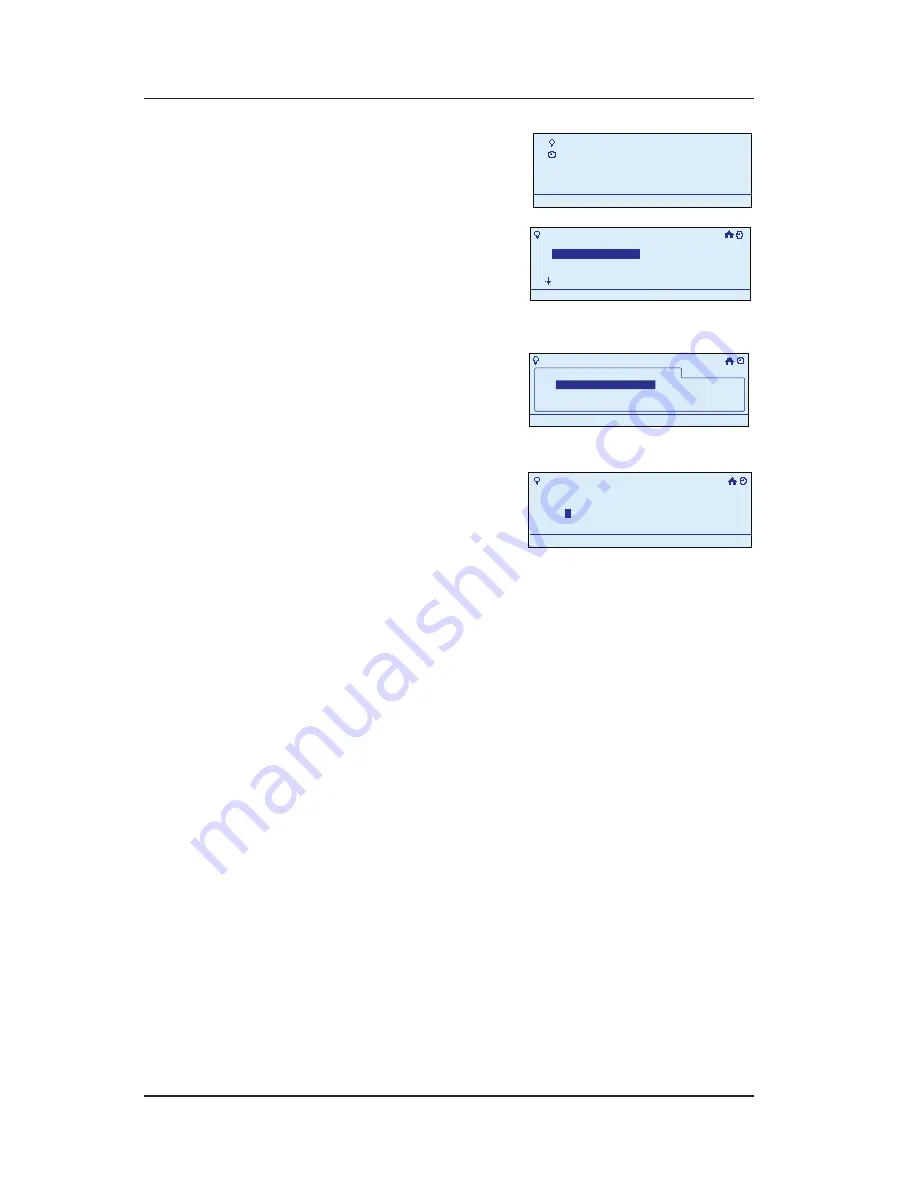
Press
<ENTER>
. The screen
displays the Main Menu.
Scroll with the
<UP/DOWN>
arrows to select
My
Scenes
, then press
<ENTER>
. The screen
displays a list of options for working with scenes.
Select
Rename Scene
,
then press
<ENTER>
. The
screen displays a list of
the scenes programmed
in your system.
Select the scene you
want to rename and press
<ENTER>
. The first letter of
the existing scene name
is highlighted.
Scroll with the
<UP/DOWN>
arrows to change the first
character of the new name, then press the
<RIGHT>
arrow to select the second character, and continue
creating the new name.
The characters repeat in a loop in the order shown
below, starting from wherever you are at the time.
There is a “blank space” symbol between the “
~
”
symbol and the “
!
” symbol, as shown below.
ABCDEFGHIJKLMNOPQRSTUVWXYZ[\]^_`
abcdefghijklmnopqrstuvwxyz{|}~ !
”#$%&’()*+,-./0123456789:;<=>?@
NOTE:
To shorten a name or “erase” unwanted
characters, override them with a “blank space”
character.
When you are satisfied with the new name of the
scene, press the
<ENTER>
button to highlight
Save
& Close
, then press
<ENTER>
again to finish the
renaming procedure. The display returns to the Main
1.
2.
3.
4.
5.
6.
My Scenes
My Events
Setup
11:25a
My Scenes
My Events
Setup
11:25a
My Scenes
Turn on Scene
Configure Scene
Add Scene
Rename Scene
11:25a
My Scenes
Turn on Scene
Configure Scene
Add Scene
Rename Scene
11:25a
>Rename Scene
11:25a
My Scenes
Scene 1
>Rename Scene
11:25a
My Scenes
Scene 1
>Rename Scene
Enter Scene Name
S
cene 10
11:25a
Save & Close
>Rename Scene
Enter Scene Name
S
cene 10
11:25a
Save & Close


