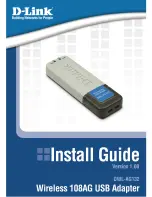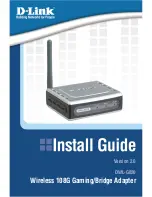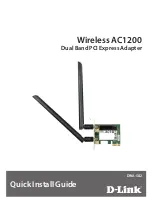
Intel® Network Adapters Quick Installation Guide
Install the Intel PCI Express Adapter
1. Turn off the computer and unplug the power cord.
2. Remove the computer cover and the adapter slot cover from the slot that matches your adapter.
3. Insert the adapter edge connector into the PCI Express slot and secure the bracket to the chassis.
4. Replace the computer cover, then plug in the power cord.
NOTE:
For information on identifying PCI Express slots that support your adapters, see your Dell system guide.
Attach the Network Cable
1. Attach the network connector.
2. Attach the other end of the cable to the compatible link partner.
3. Start your computer and follow the driver installation instructions for your operating system.
Install the Drivers
Windows* Operating Systems
You must have administrative rights to the operating system to install the drivers.
To installing drivers using setup.exe:
1.
Install the adapter in the computer
and turn on the computer.
2. Insert the installation CD in the CD-ROM drive. If the autorun program on the CD appears, ignore it.
3. Go to the root directory of the CD and double-click on setup.exe.
4. Follow the onscreen instructions.
Linux*
There are three methods for installing the Linux drivers:
l
Install from Source Code
l
Install from KMOD
l
Install from KMP RPM
NOTE:
This release includes Linux Base Drivers for the Intel® Network Adapters. These drivers are named
e1000e
and
igb
and
ixgbe
. The ixgbe driver must be installed to support 10 Gigabit 82598 and 82599-based net-
work connections. The igb driver must be installed to support any 82575 and 82576-based network con-
nections. All other network connections require the e1000e driver. Please refer to the user guide for more
specific information.
Other Operating Systems
To install other drivers, visit the Customer Support web site:
http://www.support.dell.com
.


