19
Insignia NS-F20TR 20" Flat Tube TV/DVD/VCR Combo
www.insignia-products.com
To search with index markers:
1
Press the
SETUP
button.
2
Press the
or
button to select
TIME
SEARCH
, then press the
ENTER
button.
3
Press the
or
button one or more times
to select the number of programs you want to
skip.
4
Press the or button. Your TV combo
rewinds or fast-forwards through the number
of programs you specified, then starts
playback automatically.
5
To cancel the index search, press the
STOP
button on the remote control or
STOP/EJECT
button on the front of your
TV combo.
Selecting a tape speed for recording
You can record a videotape in one of two
speeds: SP (standard play) and SLP (super long
play).
Recording a program
To record a program:
1
Insert a videotape with the erase-prevention
tab in place. For more information, see
“Preventing a videotape from being erased”
on page 22.
2
Press the
CH
or
CH
button to select
the channel you want to record.
3
Press the
SPEED
button to select the tape
speed you want. For more information, see
“Selecting a tape speed for recording” on
page 19.
4
Press the
REC/OTR
button to start the
recording.
5
If you do not want to record parts of the
program, such as advertisements, press the
PAUSE•SLOW
button. When you want to
start recording again, press the button again.
6
To stop recording, press the
STOP
button.
Specifying the amount of recording time
You can specify the amount of time your want to
record, then start the recording by pressing the
REC/OTR
button on the front of your TV combo.
This is called an OTR (one-touch recording).
Your TV combo starts recording, then stops
when it has recording the amount of time you
specified.
To specify the amount of recording time:
1
Select the channel you want to record.
2
Press the
SPEED
button to select the tape
speed you want. For more information, see
“Selecting a tape speed for recording” on
page 19.
3
Press the
REC/OTR
button on the front of
your TV combo one or more times until the
amount of time you want to record appears
on the screen. Each time you press the
button, the time increase by 30 minutes. You
can specify as much as 8 hours. Recording
starts immediately.
4
To cancel the recording, press the
STOP
button on the remote control or
STOP/EJECT
button on the front of your
TV combo.
Setting up a recording schedule
You can set up a recording schedule so your
TV combo automatically records a program on a
specific date and at a specific time. You can
schedule as many as nine programs within a
one year time frame.
To set up a recording schedule:
1
Press the
SETUP
button.
2
Press the
or
button to select
TIMER
PROGRAMMING
, then press the
ENTER
button.
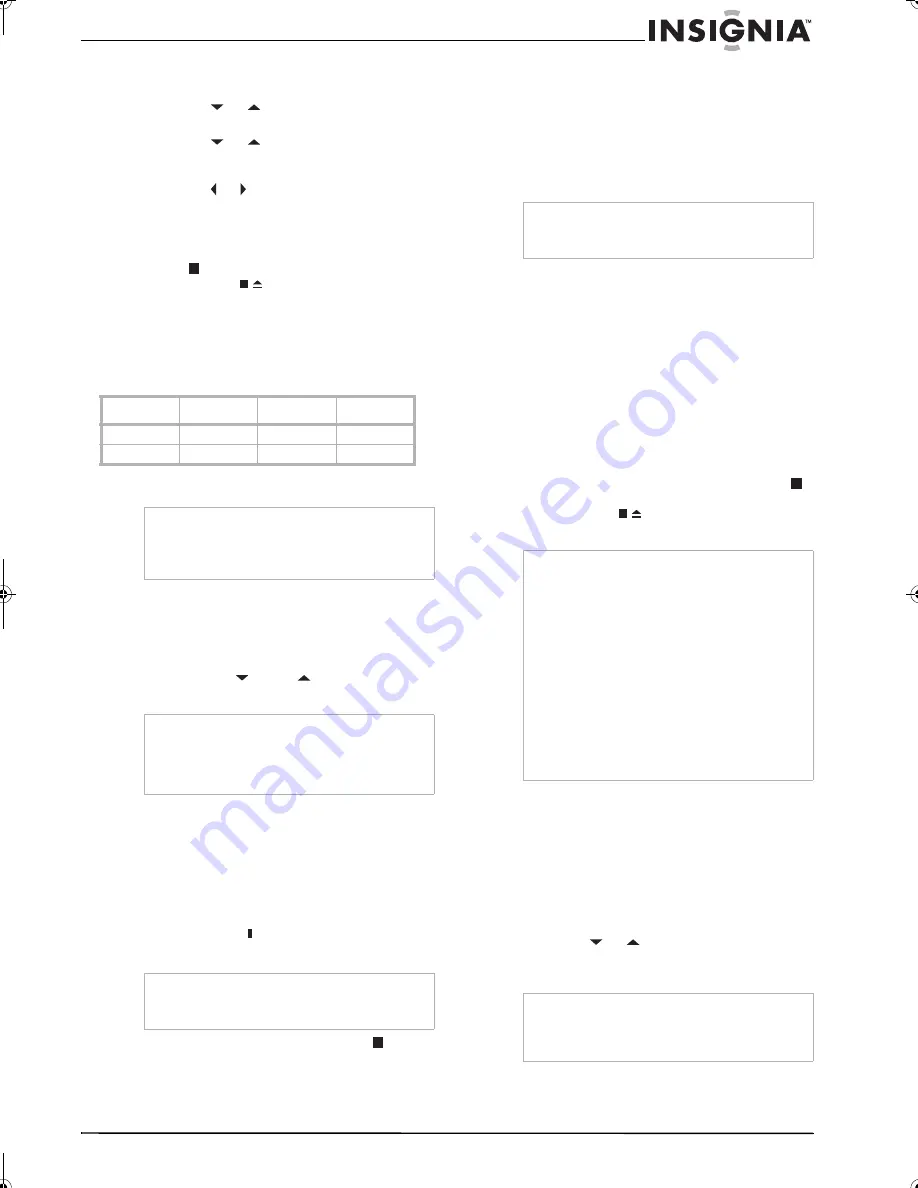
Speed
T60 tape
T120 tape
T160 tape
SL
1 hour
2 hours
2-2/3 hours
SLP
3 hours
6 hours
8 hours
Note
•
You cannot record from a DVD that is playing
in your TV combo.
•
You can only watch the TV program that you
are recording.
Note
If your TV combo is connected to a cable
converter box or satellite receiver, your TV combo
channel must be set to 3 or 4. Select the channel
you want to record from the cable converter box or
satellite receiver.
Note
If the videotape is paused for more than five
minutes, your TV combo starts recording again to
prevent damage to the videotape.
Note
You cannot start an OTR from the remote control.
You must press the
REC/OTR
button on the front
of your TV combo.
Note
•
If you press the
REC/OTR
button when “OTR
(8:00)” is displayed, your TV combo returns to
normal recording mode.
•
If your press the
POWER
button during an
OTR recording, your TV combo continues to
record.
•
In SLP mode, the maximum recording time is
eight hours for a T-160 videotape and six hours
for a T-120 videotape.
•
If the videotape runs out before the OTR time is
reached, your TV combo stops recording,
ejects the tape, and turns off.
•
To view the remaining time for an OTR, press
the
DISPLAY
button. The remaining time
appears on the display, then disappears after a
few seconds.
Note
If you have not set the clock, “MANUAL CLOCK
SET” appears on the screen. You need to set the
clock before you continue. For more information,
see “Setting the clock” on page 12.
NS-F20TR_ENGLISH.fm Page 19 Thursday, January 11, 2007 4:22 PM


