


Understanding scan to computer options
Sides (Duplex)
This option informs the printer if your original document is simplex (printed on one side) or duplex (printed on both
sides). This lets the scanner know what needs to be scanned for inclusion in the document.
Note: Duplex scanning is not available on selected printer models.
Darkness
This option adjusts how light or dark your scanned documents will turn out in relation to the original document.
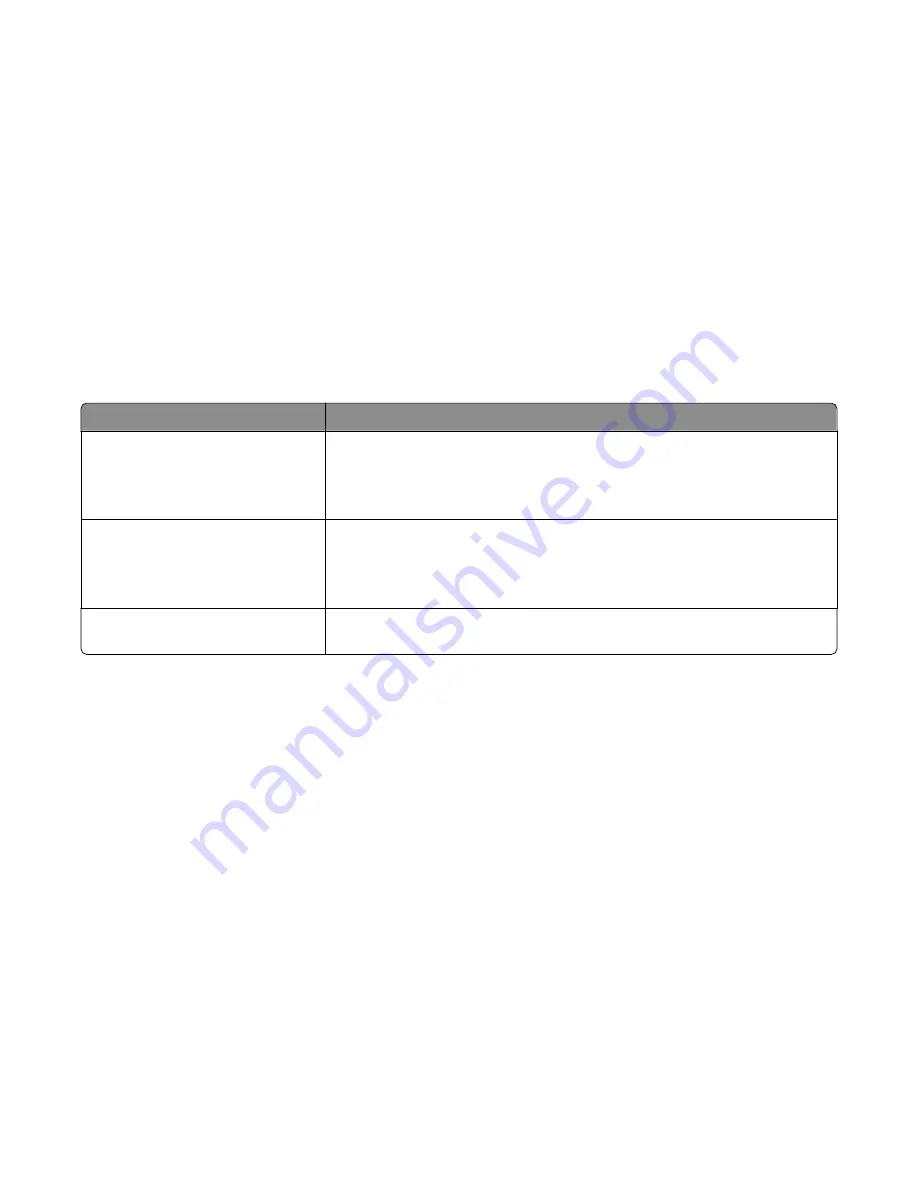
Improving scan quality
Question
Tip
When should I use Text mode?
•
Use Text mode when text preservation is the main goal of the scan, and
preserving images copied from the original document is not a concern.
•
Text mode is recommended for receipts, carbon copy forms, and documents
that only contain text or fine line art.
When should I use Text/Photo mode?
•
Use Text/Photo mode when scanning an original document that contains a
mixture of text and graphics.
•
Text/Photo mode is recommended for magazine articles, business graphics,
and brochures.
When should I use Photo mode?
Use Photo mode when scanning photos printed on a laser printer or taken from
a magazine or newspaper.
Using the Scan Center software
Understanding the Scan Center features
The Scan Center software lets you modify scan settings and select where to send the scanned output. Scan settings
modified with the Scan Center software can be saved and used for other scan jobs.
The following features are available:
•
Scan and send images to your computer
•
Convert scanned images to text
•
Preview the scanned image and adjust the brightness and contrast
•
Make larger scans without losing detail
•
Scan two-sided documents
Scanning to a computer or USB flash memory device
97
Summary of Contents for Color 1826
Page 1: ...InfoPrint Color 1826 MFP MT 4989 User s Guide G510 7212 00...
Page 2: ......
Page 3: ...InfoPrint Color 1826 MFP MT 4989 User s Guide G510 7212 00...
Page 12: ...10...
Page 83: ...Faxing 81...
Page 84: ...3 Connect the answering machine or telephone to the adapter Faxing 82...
Page 164: ...3 Open the top door 4 Remove the right side cover Maintaining the printer 162...
Page 183: ...13 Insert the developer unit 14 Align and insert the imaging kit Maintaining the printer 181...
Page 235: ...replacing 161 Wireless menu 118 Y Yellow Low 147 Index 233...
Page 236: ......
Page 237: ......
Page 238: ...Printed in USA G510 7212 00...


